
For the last 9 months I’ve been knocking my head every time I get into the shower on my staghorn fern, which has been enjoying the humidity of bathroom life. I’ve been keeping it in its nursery pot but knew that I’d eventually want to divide and mount it for it to thrive. So over the weekend I got around to doing it and wanted to share the process with you, after having a number of ‘how to’ questions on my Instagram. If like me, you are curious as to where the name of the plant derives, Platycerium bifurcatum comes from the Greek platys meaning broad and ceras meaning horn, and bifurcate is to split into two.

WHY DO IT?
Before we get started, let me mention what this process is and why the plant would benefit from being planted in this way, because to the novice plant lover, the principle can seem a little strange! This type of fern, grows off tree trunks in its natural habitat of Australia. It’s an epiphytic plant which (just as air plants do) absorb the moisture and nutrients they need from their environment through their fronds. They are non-parasitic which means they don’t harm the tree they are growing on. Epiphytes generally have small root systems, and these small fibrous roots grow well in moss or on wood, which is why they are often mounted in this manner.
Platyceriums have antler shaped fronds, which gives them the nickname ‘stag horn ferns’, you’ll notice that they have a slightly waxy texture which you must not remove (it’s a protective coating) and at the base of the plant you will find flat round basal fronds, or shield fronds, which go brown with age. Again, this is an integral part of the plant so do not remove or damage these.
THINGS YOU WILL NEED:

- Staghorn fern!
- Sphagnum moss / sheet moss (I had a bit of both)
- Wood/cork something to mount the plant onto/ into
- A small amount of potting mix
- Nails (flat top if possible)
- Hammer
- Clear fishing line / invisible thread / florists wire
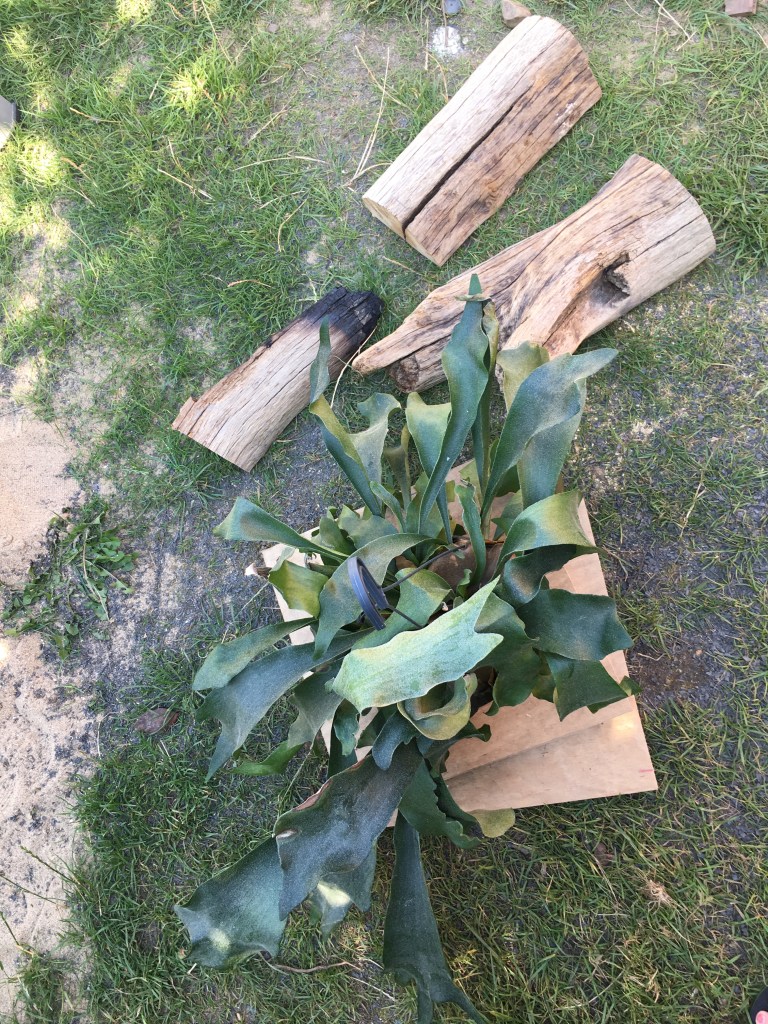
I divided up my big plant into three; keeping a large part of it to mount onto a recycled board and two smaller parts to attach onto driftwood. The principle is the same for each ‘mount’ so here is a step by step guide: I’ll use the photos from the large mount to talk through the process, then include the other pieces I made later in the post.
STEP BY STEP GUIDE

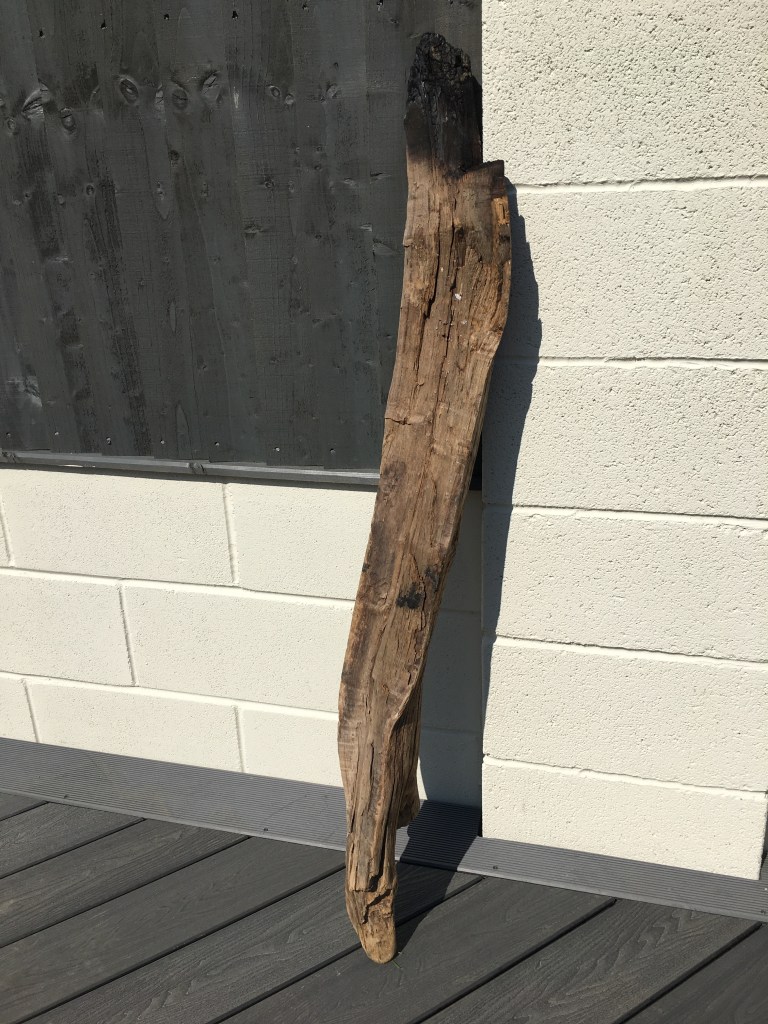
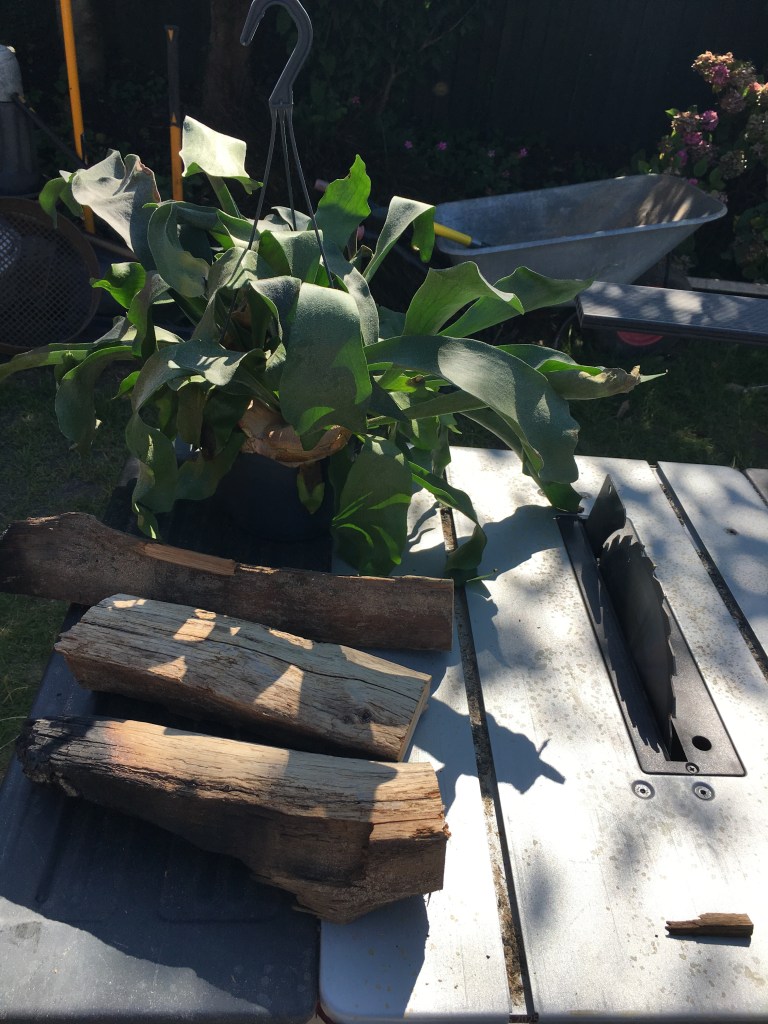
Step 1: Get everything listed above together and start by cutting your bases to size. Here I used recycled board and a piece of driftwood, which I cut into three. Soak the sphagnum moss in water.
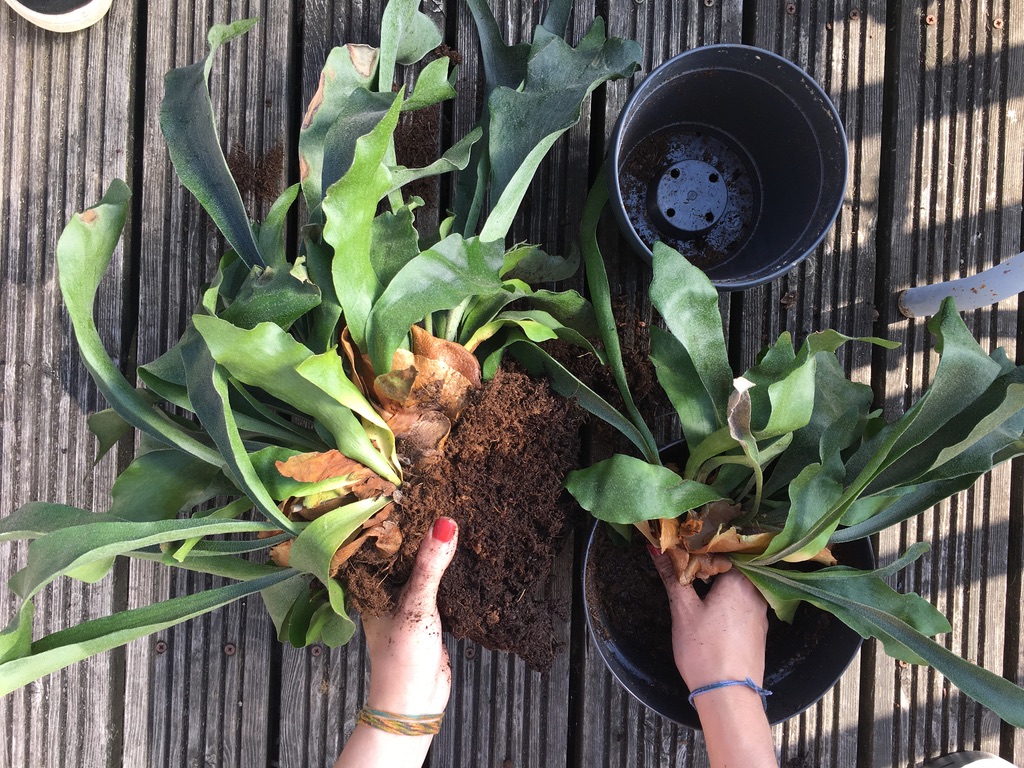
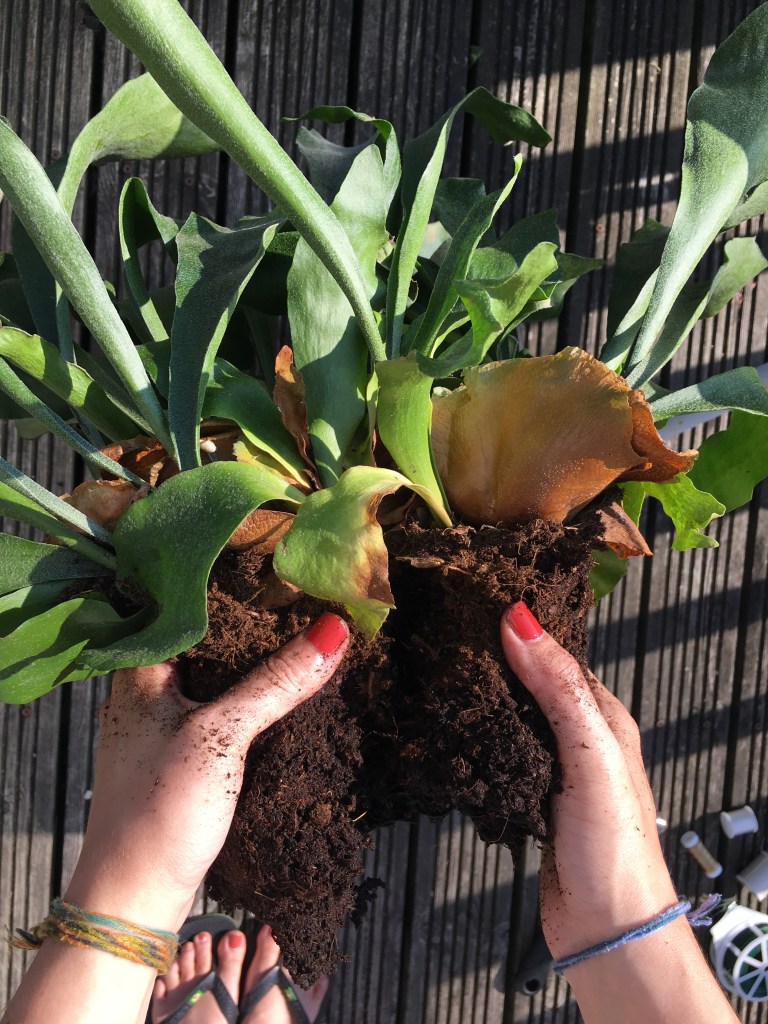
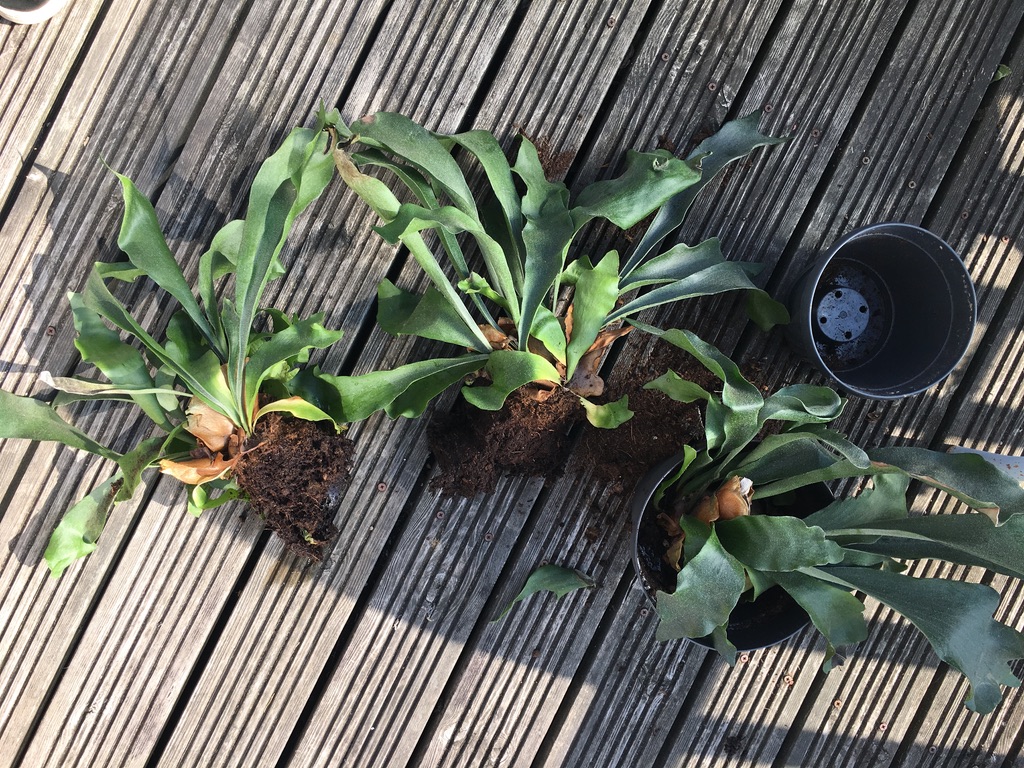
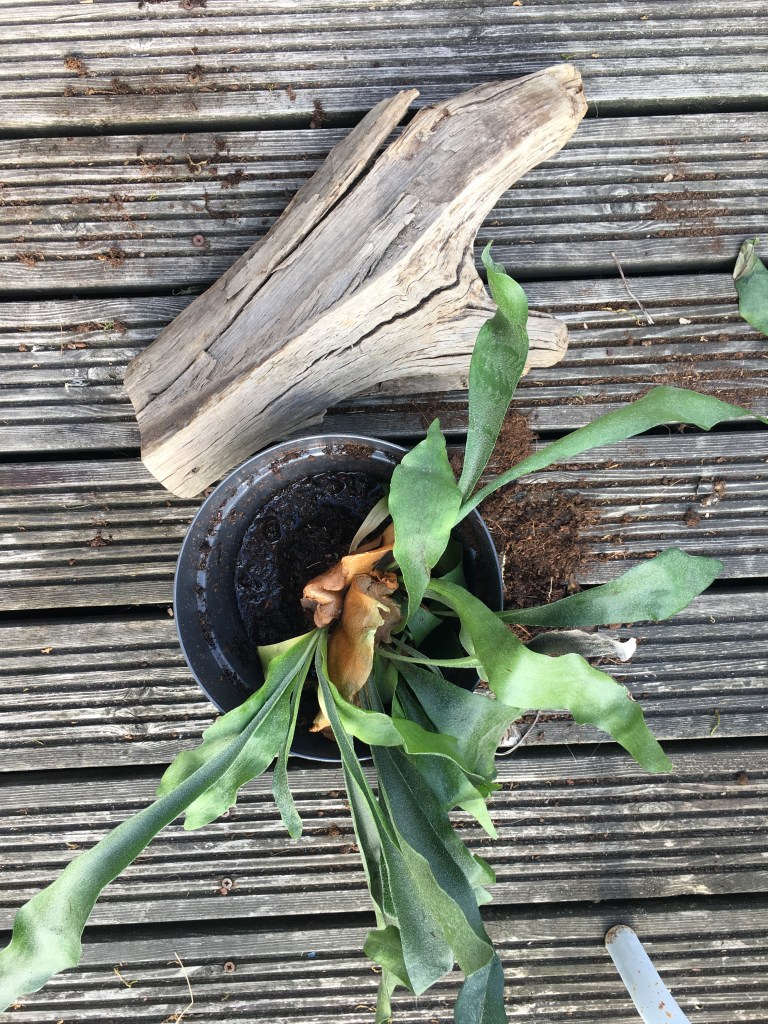
Step 2: Gently remove the plant from its pot, inspect the roots (which are quite fine and fibrous) and identify the basal fronds. Most pots are made up of multiple plants so choose how many plants you want to mount on one piece of wood. Separate the plants out, loosen the roots and shake off excess soil. You only need to leave a small amount of soil attached to the roots, or else the plant will be too heavy to mount.

Step 3: At this stage I decided on the plants I was putting on which pieces of wood, then popped all my separated plants in a bucket of water and gave them a drink while I prepped the bases of the mounts. Lay the wood out and get your hammer and nails ready! Hammer in nails in a circular shape on the base, leaving approximately 1.5-2cm above the wood for the wire / line to be woven around. As you can see from the photos, because I used wire, I used quite small nails, but if you have ones with flat heads on, these are also good (and you can knock them down at the end of the process).

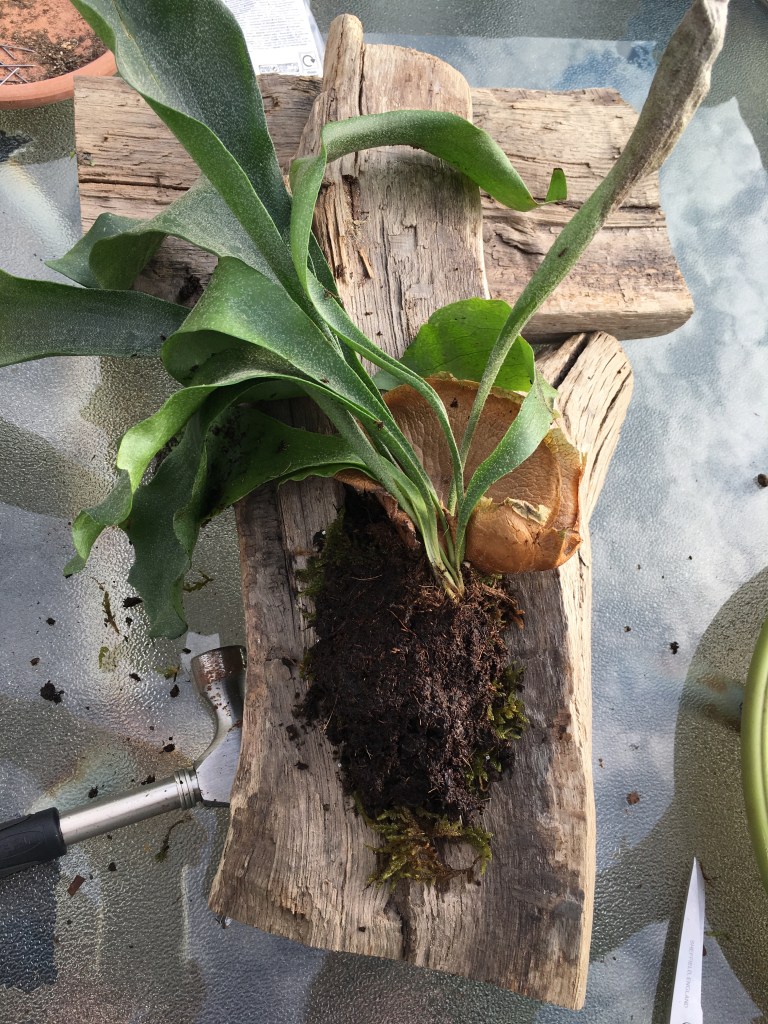
Step 4: This is where it looks a bit like you are making a mud pie! Take some moss out of the water where it has been soaking and squeeze out the excess moisture. Here I add a small amount of potting mix and mix with sphagnum moss into the centre of the nails; you are essentially making the bottom of a ‘bed’ for your stag horn fern to live on.


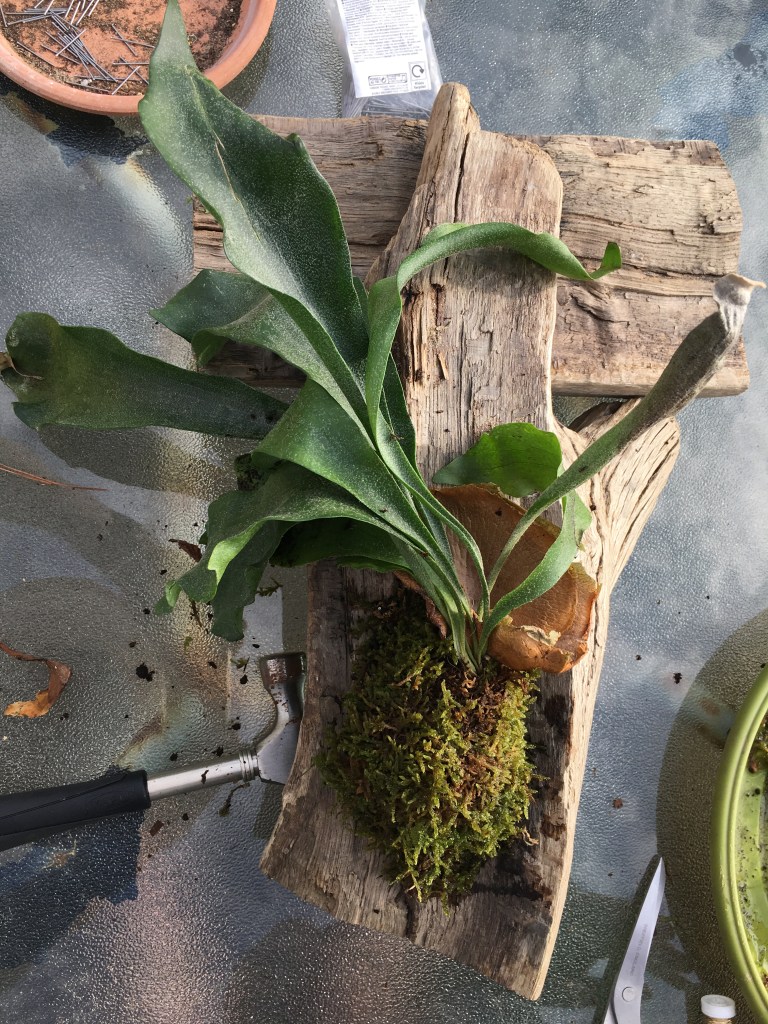
Step 5: Lay the corresponding plant down and make a blanket of moss over the top of the root ball. Here I used some of the sheet moss I had left. Make sure the basal frond is pointing upwards (when more mature these will ‘clasp’ onto the moss/board and provide additional stability). Check you are happy with the positioning and get out the wire / line.

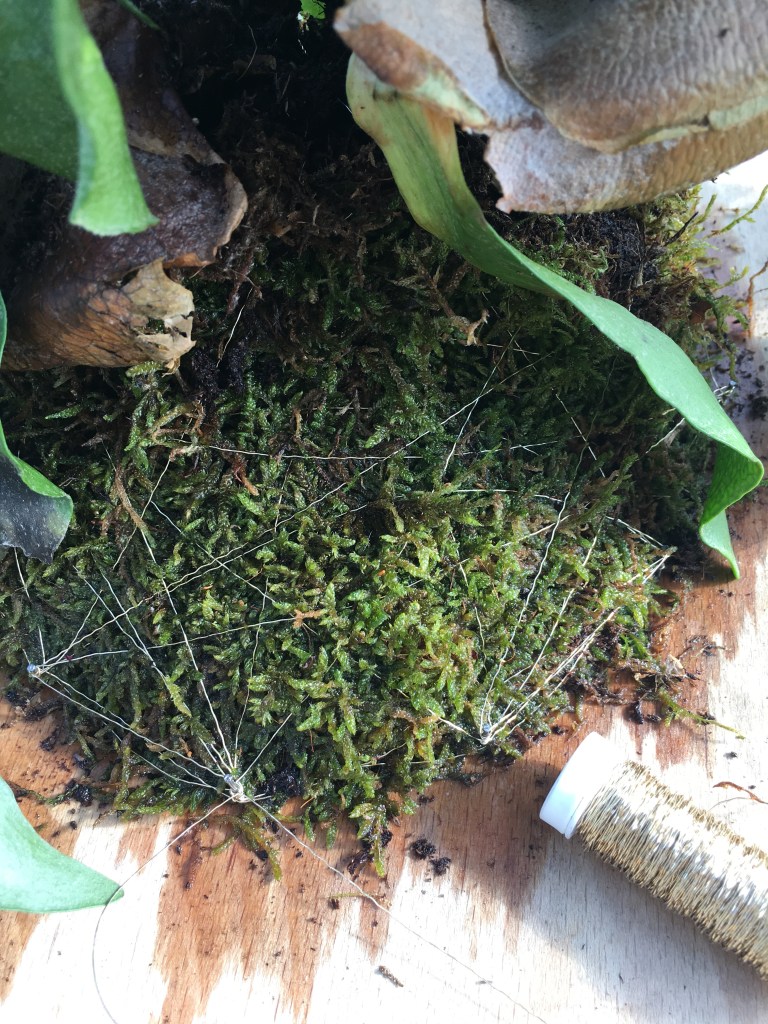
Step 6: Make a web using your wire / line of choice – here I am using gold florists wire (oasis 0.3mm bullion wire) as I liked the look of it against the moss and it was easier to show up in photos. Think spiders web, and weave over the moss around and over until you feel you have secured the plant adequately. This can take a bit of time depending on the shape of your base and size of your plant!

Step 7: Stand up the board and check if it is secure! If not, go back a stage until it can hold itself onto the base. As you can see in the big plant, there is quite a mound of moss, you don’t need to use as much as this, but I wanted it to stand off the board a bit more to create a more three dimensional shape.
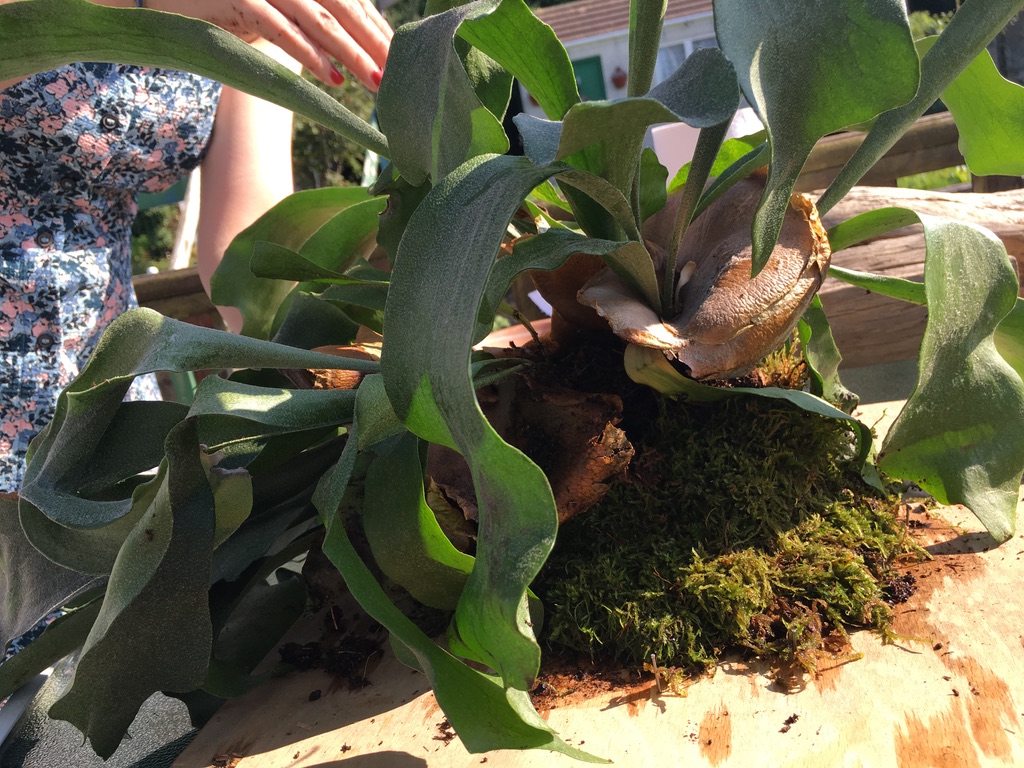
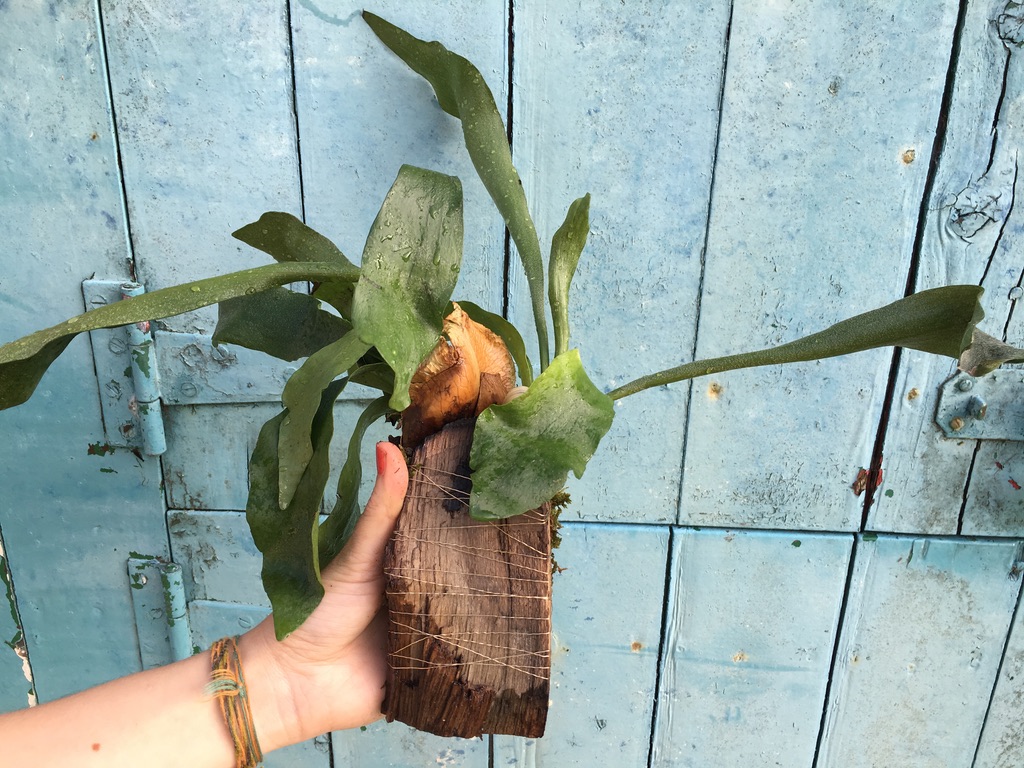
SECOND STAGHORN ON DRIFTWOOD MOUNT
Here’s a visual step-by-step of how I mounted a smaller part of the platycerium onto driftwood, I am quite pleased with how it looks nestled in the wood like this!


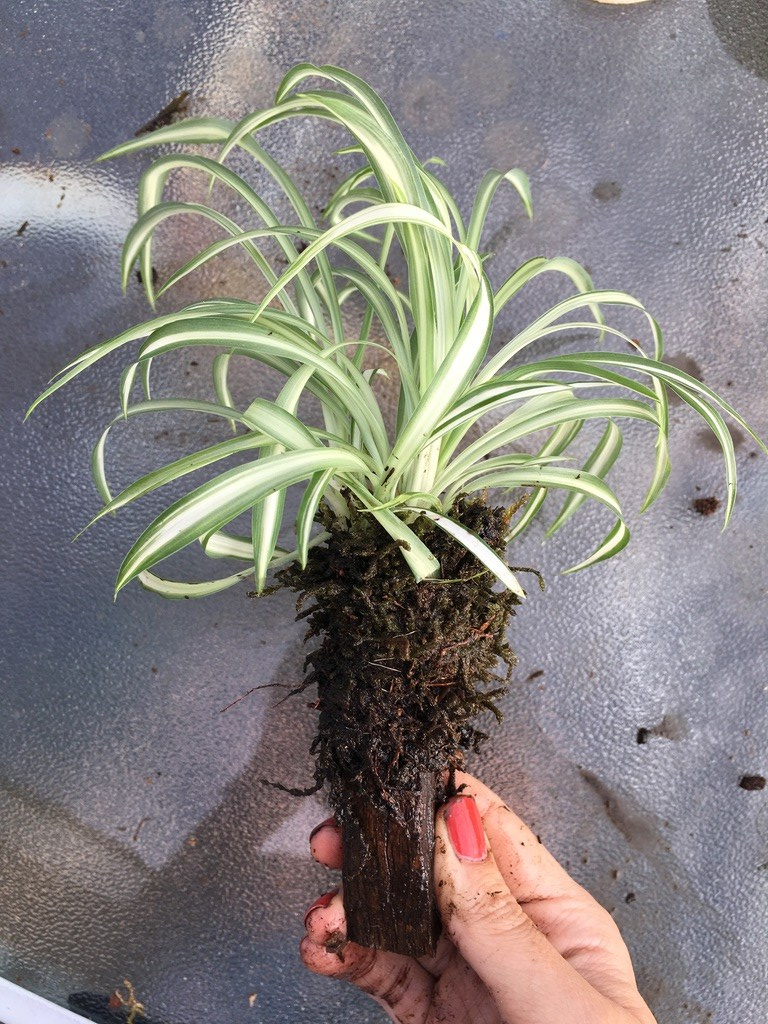
Other bits and bobs I made during the process; a small staghorn with exposed wire and a chlorophytum plantlet I thought I’d stick on a…stick. Well, a bit of leftover driftwood!


HOW TO CARE FOR YOUR STAGHORN FERN
A misconception about mounted ferns is that they are difficult to care for… but this really isn’t the case! The best way to consider its care needs is to think about how it lives in its natural environment. Here it would receive a good amount of humidity (or moisture when it rains) and filtered light through the canopy foliage. So at home, it is ideal in a humid environment with bright, indirect light. It doesn’t do very well in darker environments so bear this in mind.
Once a week, if the base is small enough, I submerge the whole plant (base and all!) in a bucket of water to let it soak for just a few minutes, leave to drip dry then pop back in position. If this is too difficult to do, you can make sure the moss is nice and moist, and then give the plant a fine mist. It will enjoy a shower too. If I am going away I add in a self watering stick into the moss so it can absorb the water as it needs it. You can also lay the plants outside in the rain for a natural watering solution! Obviously their environment will determine your own watering routines, but as a general guide, I do this once a week in summer and once every 2-3 weeks in winter. I feed with a balanced fertiliser into the moss once every 2 weeks between April and October. This can really help keep the plants healthy and strong.

Hope you enjoyed this post, there will be some accompanying videos of the process saved in my stories highlights to see some of the process.

Leave a Reply