
I thought I’d share my repotting from last weekend in this Repotting diaries… over the last few weeks I’d been aware that some of the plants in this post were needing watering more often (a tell-tale sign they might need a bigger pot) + when I checked, three of them were growing roots out of the drainage holes! I think it’s important to remember that it’s not good to re-pot your plants just as an activity for something to do. All repotting will cause some stress so only do it when your plants need it.
If this is the first post in this series that you’ve seen, these posts are intended to be short + ‘behind the scenes’ in style; showing a more everyday + relaxed view of what it is like to live with a lot of plants. In addition, if you have any of these plants it might help to see how I’ve repotted mine + things to look out for. Have a browse through the other posts in this series if you want to get in the mood for some plant care.


A recent addition that has made this potting malarkey a bit easier is the discovery of my old zinc bin that was still packed from the move until a few weeks ago. I also use a plastic storage tub for the same purpose, but I’m currently using it to store some pots. I mixed up a ‘bin full’ of potting mix for my foliage plants; two types of peat free multi purpose, perlite + orchid bark. I’d recommend making up a batch of mix as it makes the whole process infinitely more smooth.

Marble queen pothos
This is my small marble queen pothos which lives in a macrame hanger in my bedroom. Over the last few weeks it has been looking rather droopy and lacklustre + I’ve been needing to water it more often than usual. Sure enough, roots were circling the bottom of the pot as it had been growing. I just went up one pot size + gave it a shower to water it in…a few days later + its looking much better + definitely more perky!

Pothos plants are really responsive to a good watering + visually showing you when they are not very happy…so if your plant doesn’t seem to have much ‘bounce’ or life to it, check the roots to see if its pot bound!
Kentia palm
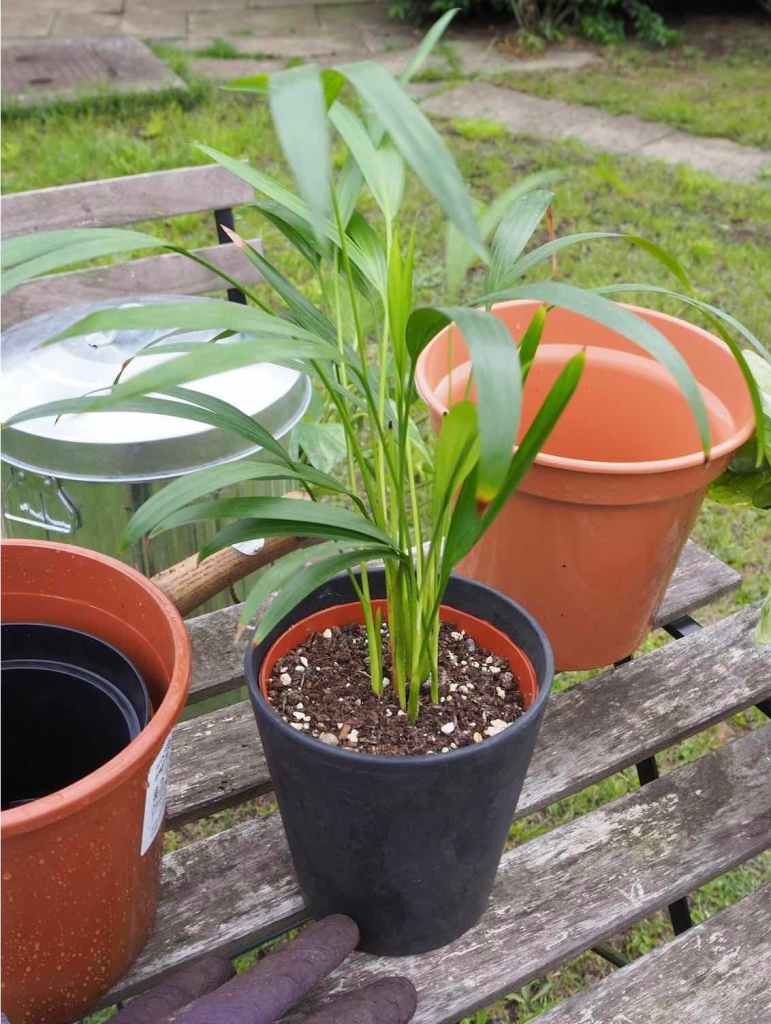


As the only palm in my collection, I’m so pleased with how this little kentia is doing! It consisted of about 3 stems when I was given it + I’ve been pleased with how easy going I’ve found it. If you have a bathroom with indirect light these are the ideal place as the extra humidity will help stop any crisping on the end of these leaves. This was in my bathroom until the light started getting a bit stronger over the last month or so — it’s since been living on a table downstairs. As the intensity of light changes throughout the year, be prepared to do a bit of a plant reshuffle if need be.
Manjula pothos (again!)

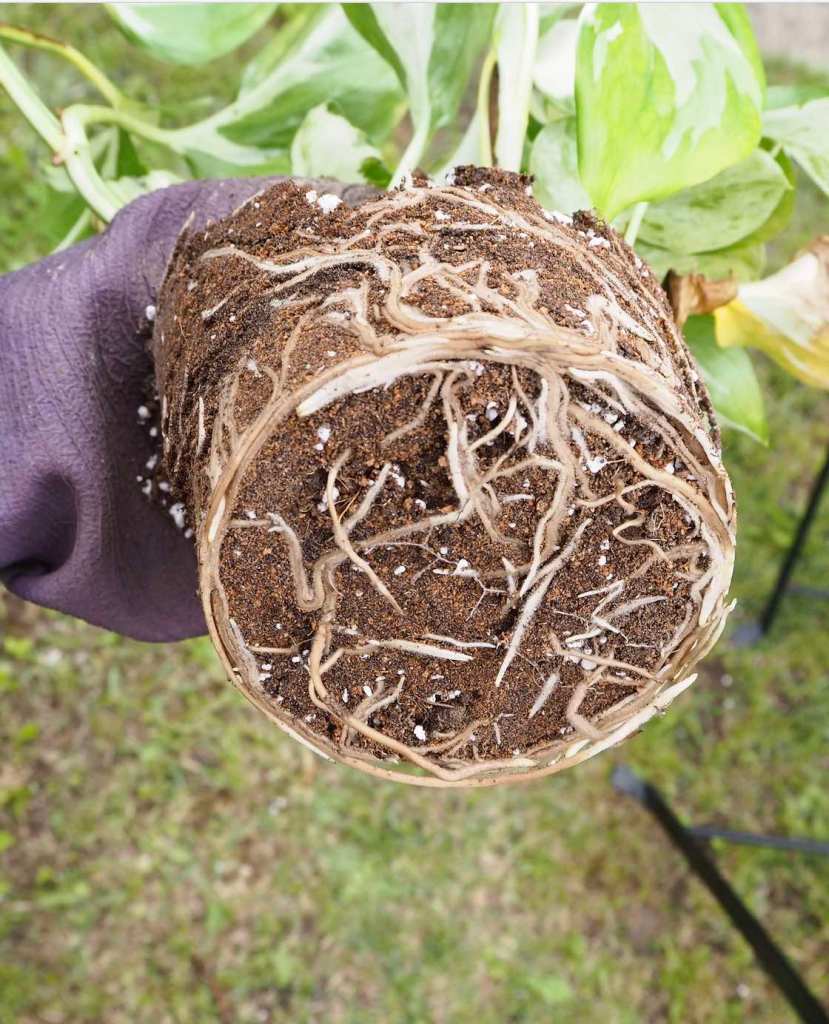
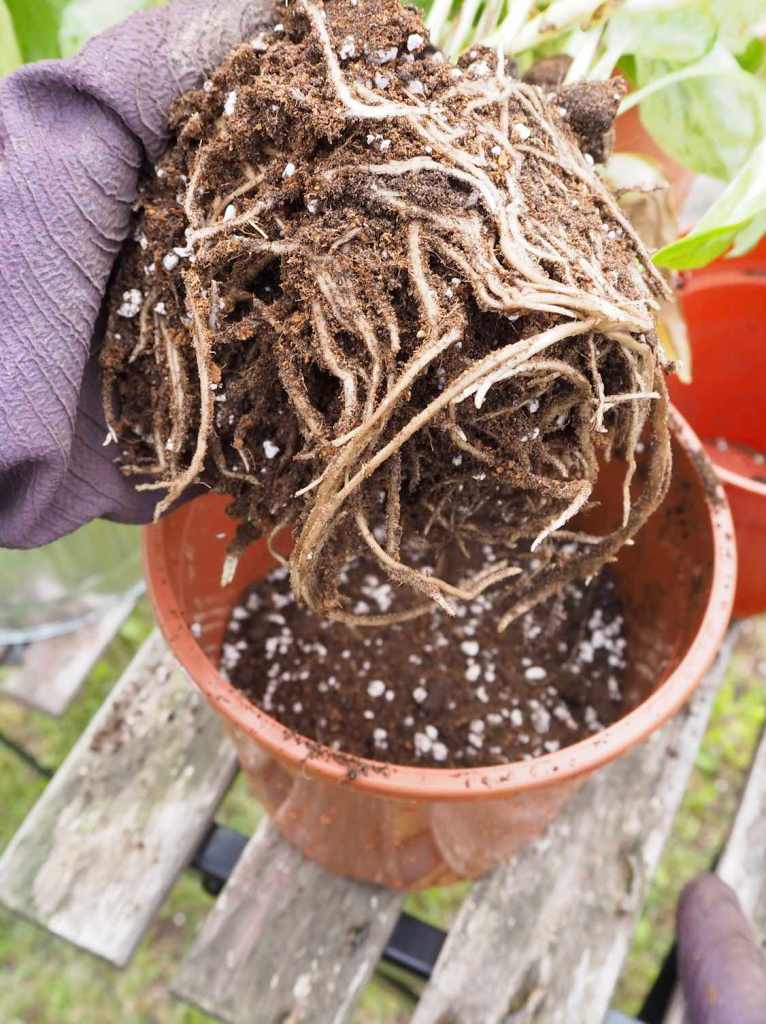
When the kentia palm above moved out of my bathroom, my manjula moved in. As you might be able to tell from these photos, it has exploded with new growth in this position which shows that it is happy. I just checked back to my third repotting diaries to find that it’s only been about seven weeks since I repotted this!
I loosened the roots well + this time went up to a different shaped pot — one that was taller, but not massively different in diameter. I’d recommend getting to know the type of roots your plant has + choosing the shape of the pot accordingly. This pot should be fine for my manjula for the growing season now… I hope!
Pilea x2

It wouldn’t be a repotting diaries without a pilea…or two! These were both quite in need of some fresh potting mix + something slightly roomier — I moved the one on the right into the pot behind, which free-d up the pot for the pilea on the left to jump into. Like UFO plant musical chairs!
Spider plantlets
I’d sort of forgotten about these plantlets that were propagating on my shelf so had a pleasant surprise when I noticed they were ready for planting. These days I like to pot a few plantlets together to save on space — as they grow they will look nice + full too!


Scindapsus Pictus ‘silvery Ann’
In the previous instalment of the Repotting diaries you might remember that I cut up the long stems of my silvery ann pothos to propagate… + one month later here we are! Most have rooted enough to be planted but some (that weren’t in such a bright spot) will take a little longer. I laid four cuttings around the edge of the pot, covered with potting mix then pushed down with my fingers to firm the cutting into place.

So far I’ve made up two little pots with cuttings + will grow these on a bit more before potting back into my main plant. You can definitely pot them straight in the top of the original pot if you want to — I just decided to do an ‘interim’ pot as these leaves are quite delicate + have short stems so I didn’t think they would get enough light to establish easily in the mother plant pot.

Pothos n’joy


The last bit of planting I did in this session was to pot up my pothos n’joy cuttings, also from the previous instalment. I made up a little pot with those that has rooted — I still have quite a few cuttings of this one with a way to go yet. As with the silvery ann, I did intend to plant these stems in the top of the original pot… but I might be tempted to make a new plant of this as I love the way these grow as younger plants.


An essential part of the repotting process is of course watering… I popped my smaller pots into the kitchen sink + the medium ones in the bath to give them all a good drink. Remember to keep your newly potted plants watered regularly!


And there we go… all done! Hope you enjoyed seeing what has been on my potting table this week.

Leave a Reply