
Today’s post is a ‘Repotting Diaries‘ from a session that I carried out a few weeks ago — I’m starting to pack now + I don’t generally like to re-pot too close to any re-location. I tackled some of those plants that really needed a re-pot before getting carefully boxed up — a couple of these had roots growing right out of their drainage holes so I knew they needed sorting.
If this is the first post in this series that you’ve seen, these posts are intended to be short + ‘behind the scenes’ in style; showing a more everyday + relaxed view of what it is like to live with a lot of plants. In addition, if you have any of these plants it might help to see how I’ve repotted mine + things to look out for. Have a browse through the other posts in this series if you want to get in the mood for some plant care: there’s a tab at the top of the homepage.
Pilea peperomioides
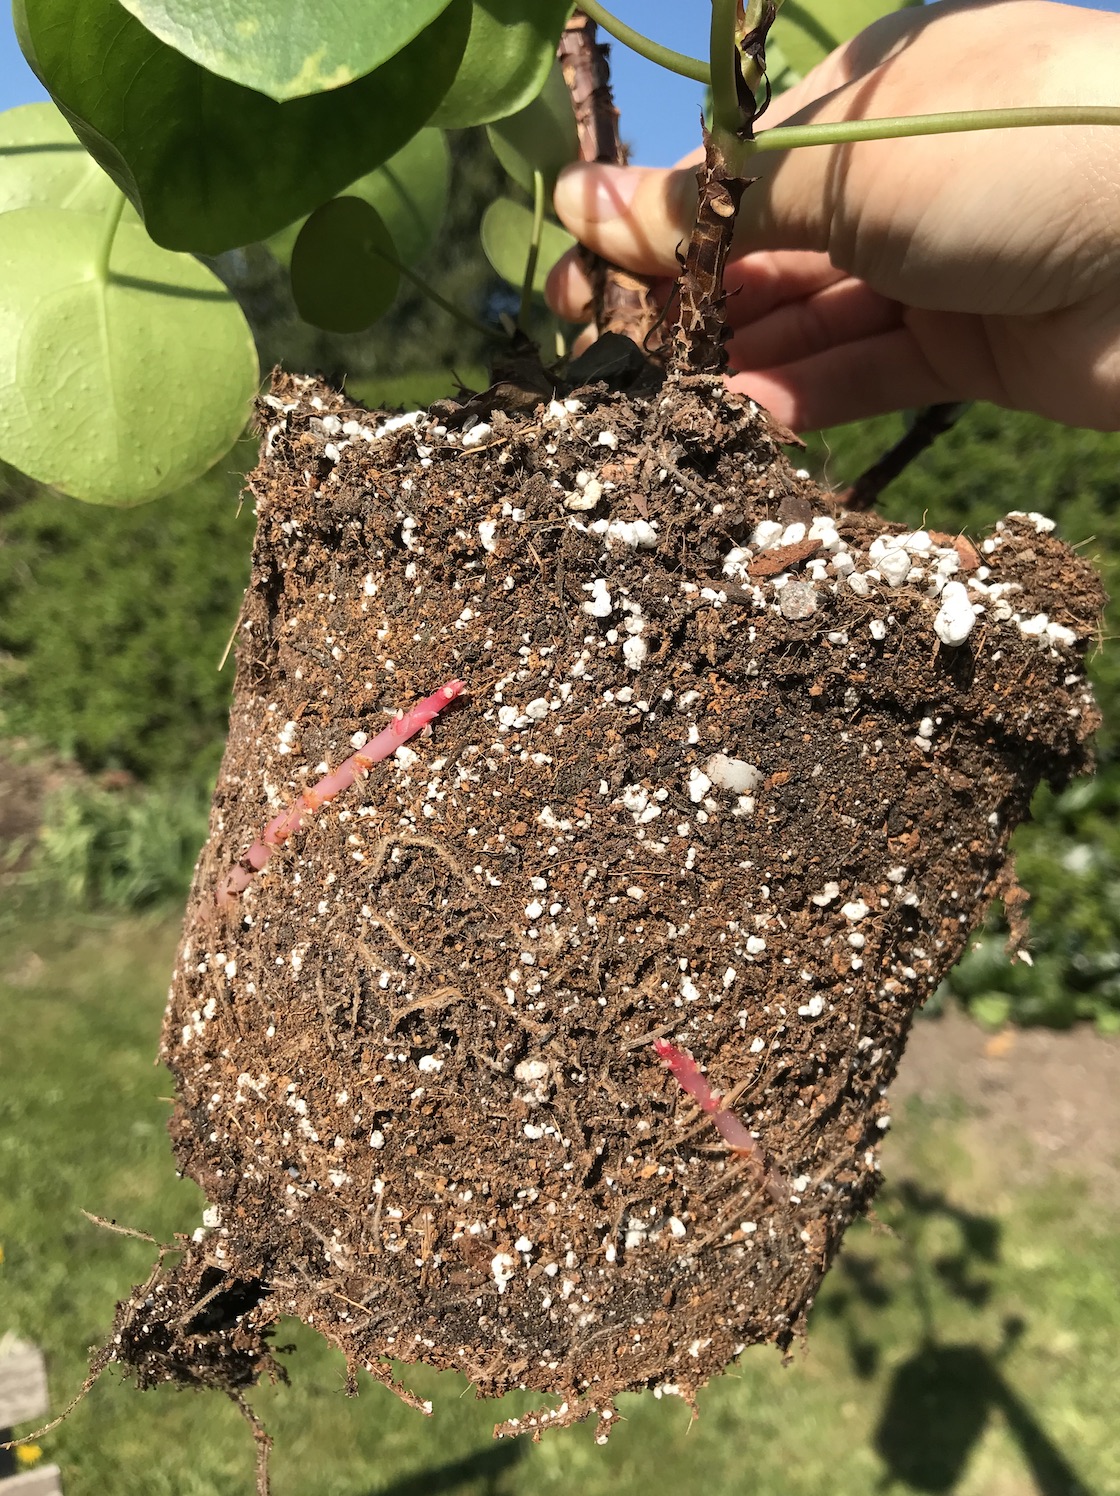
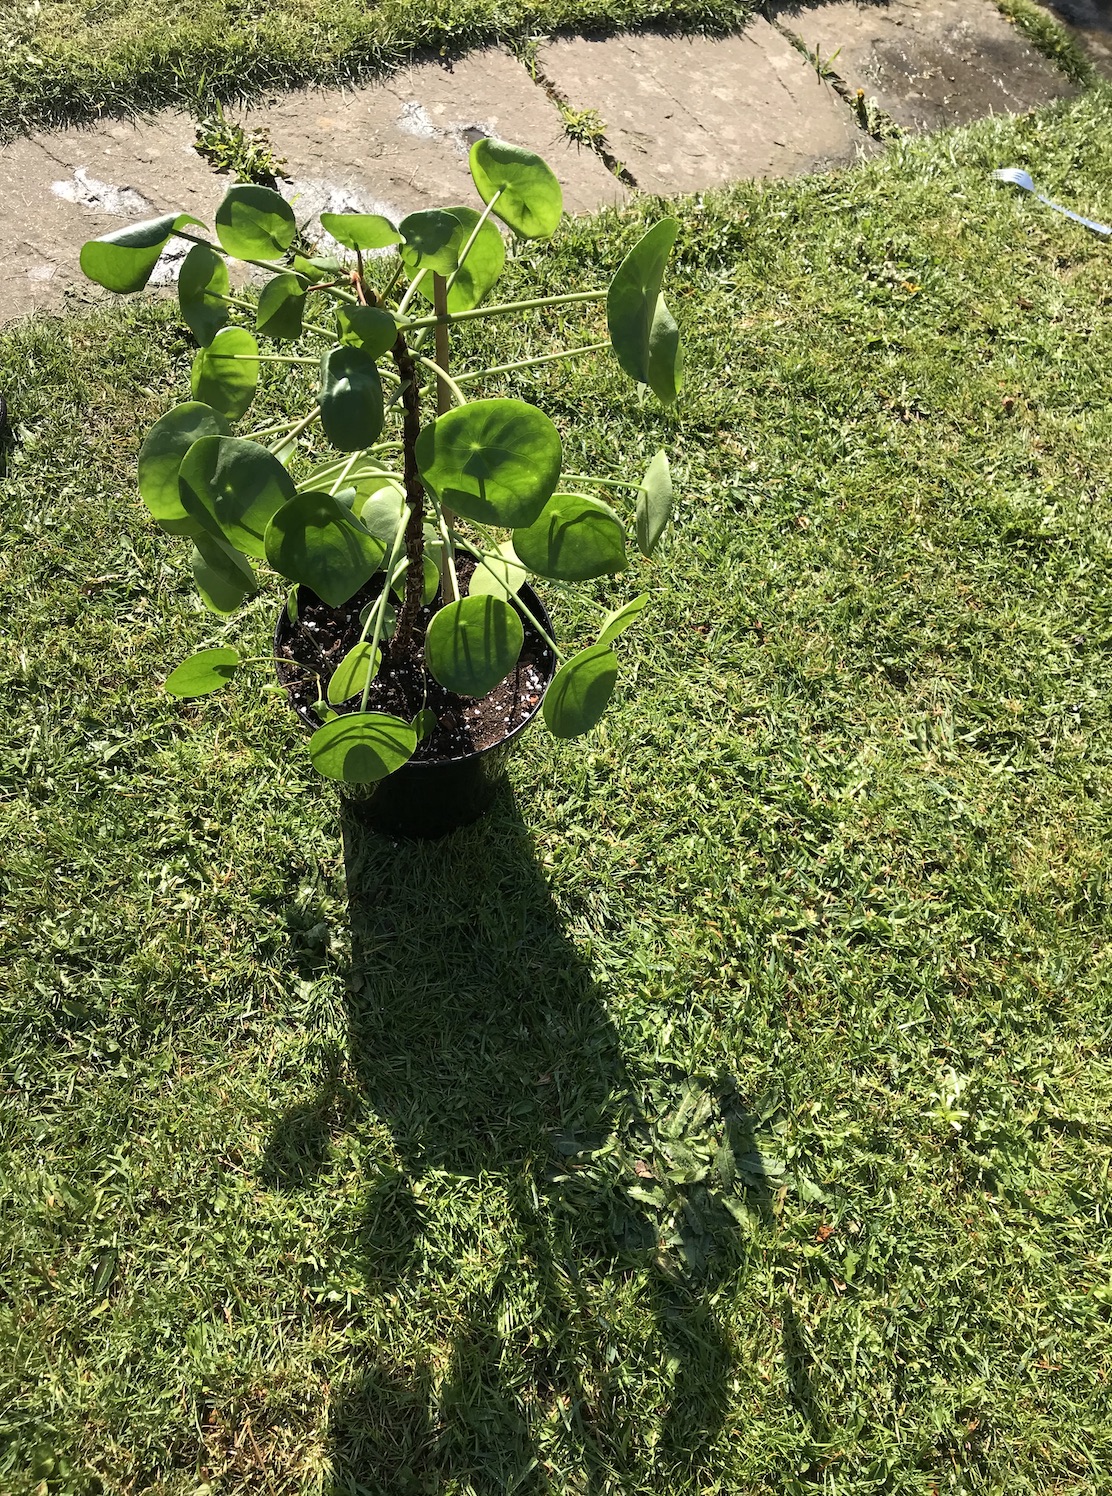
My largest Pilea plant was doing well, but after a long winter + lower light levels, it was looking pretty gangly. I don’t mind plants that look a little bizarre like this though, so I decided to just give this one a long-overdue re-pot. In the photo below left, you’ll see the new baby plantlets forming below the surface as pink stems. Be extra careful when repotting your plant if you notice signs of new growth like this. I gently loosened the roots before popping in a pot one size larger, using my houseplant potting mix. I’ve also staked the plant to help it stay upright as new growth appears. If you want to read more about how I look after my Pilea gang, I’ll link my care guide here + there’s a post all about my growing experiments linked here too. I’ve got quite a few plants now, but this big one is such a classic in my collection.
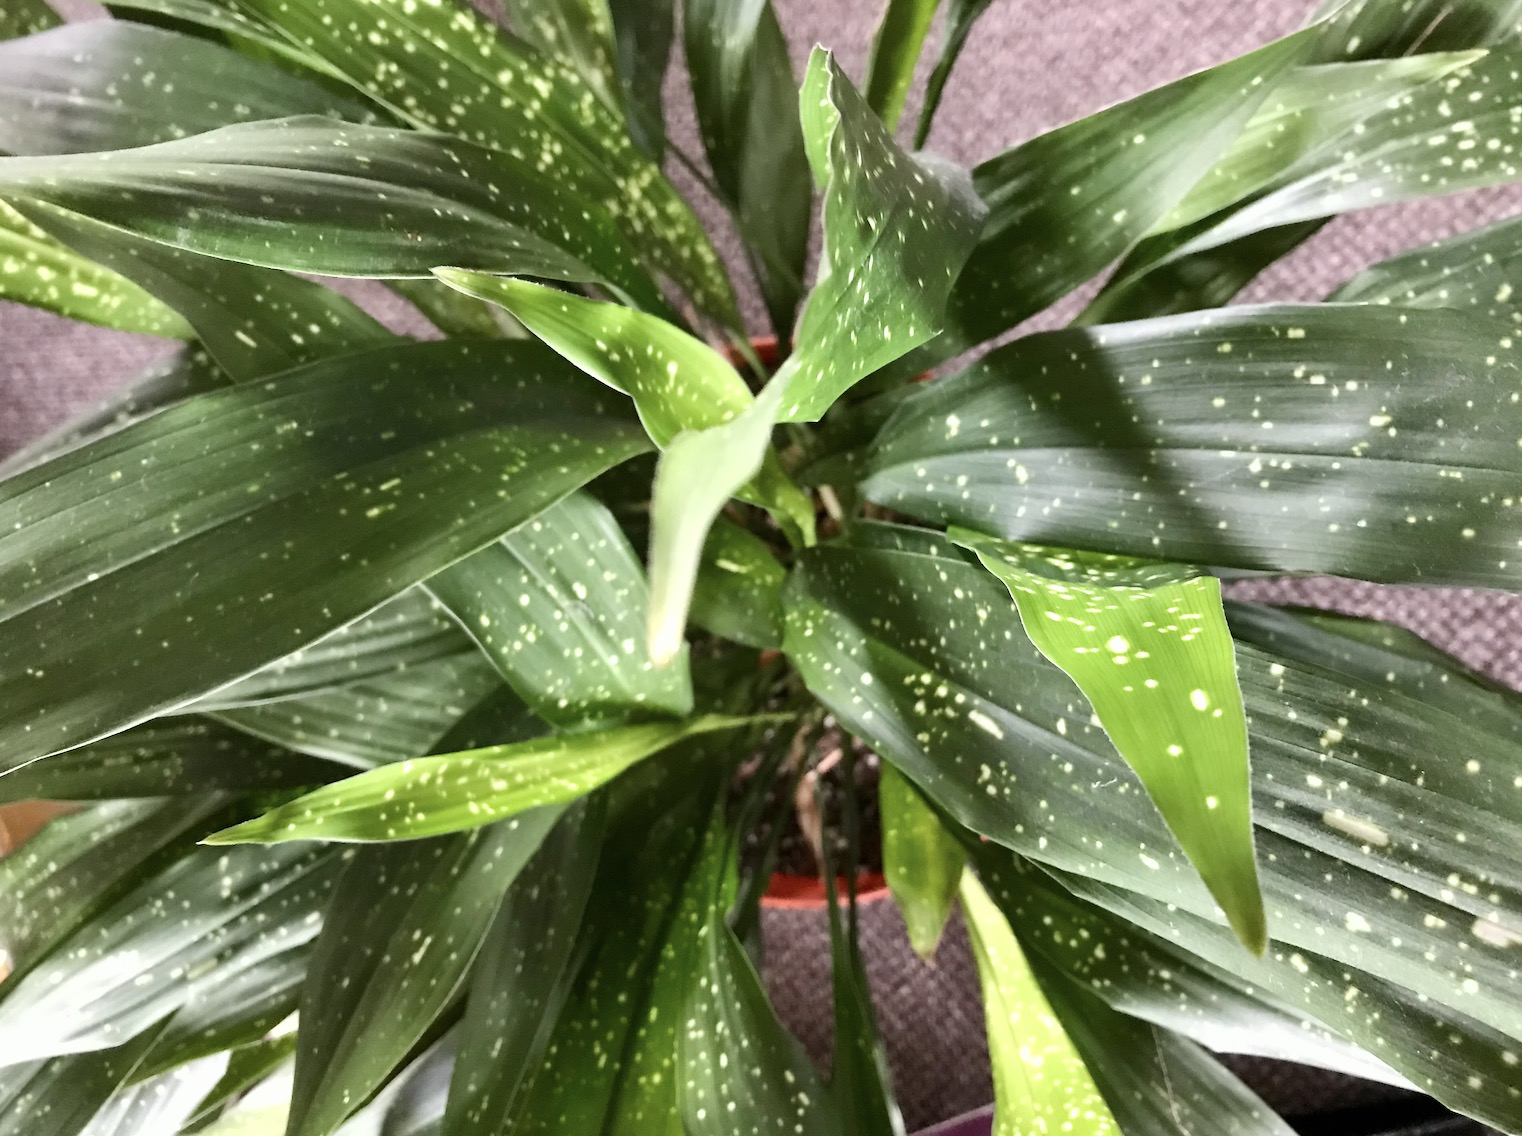
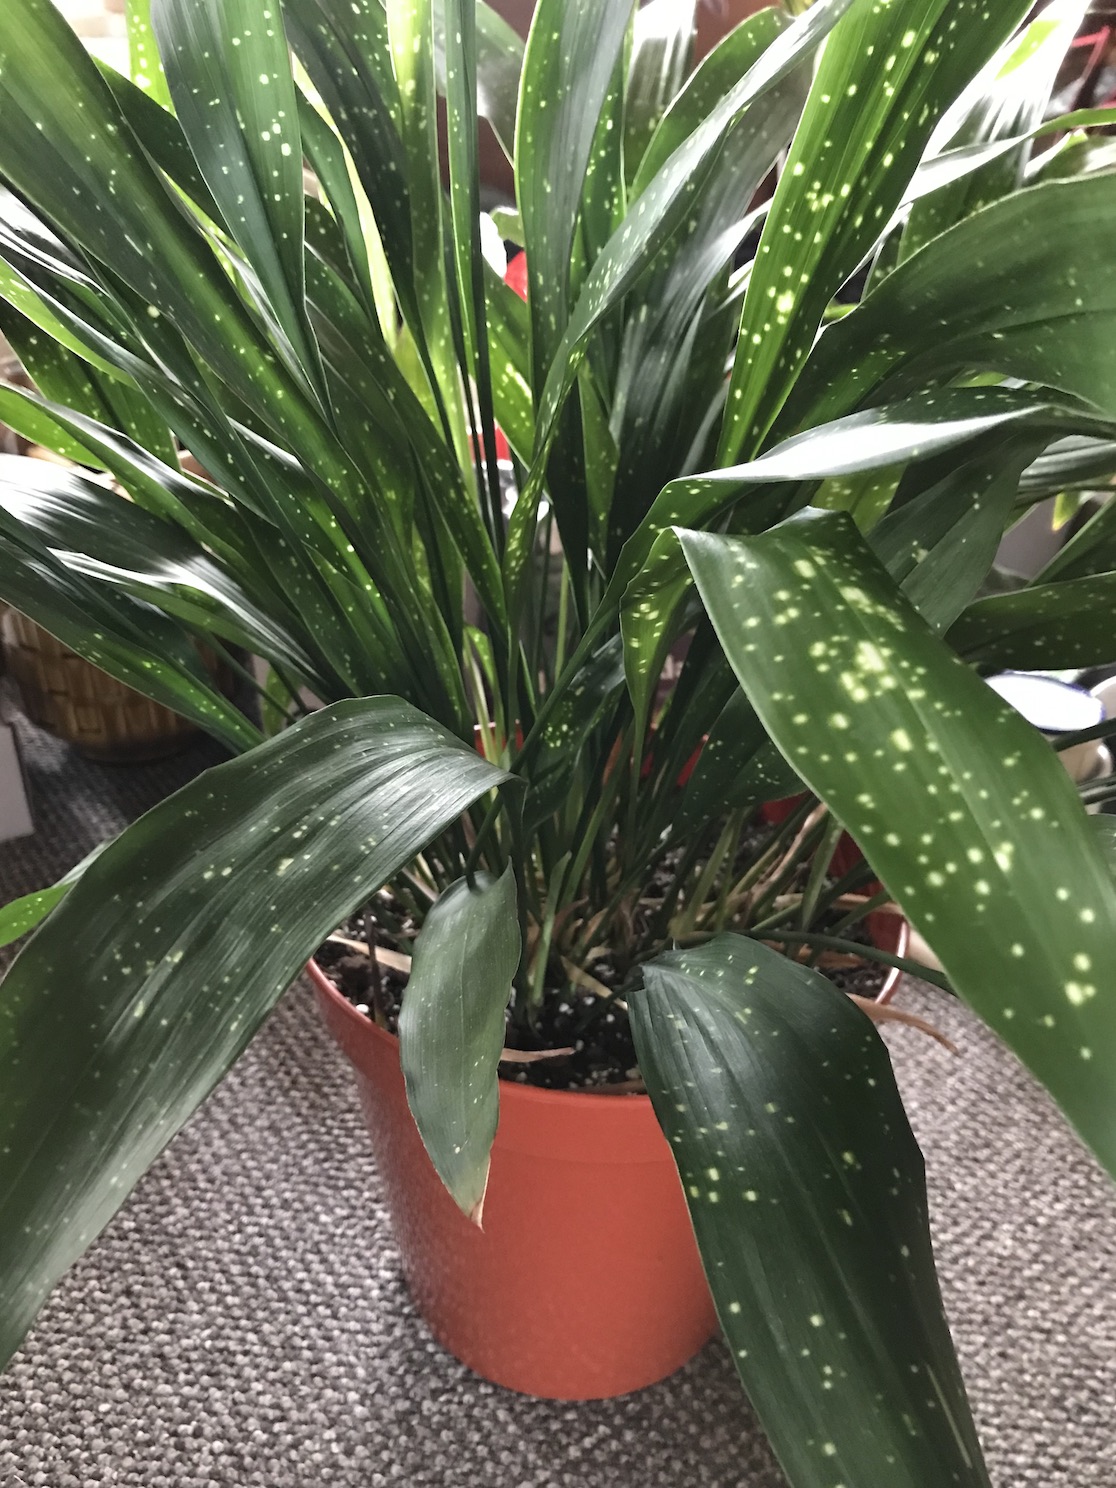
Aspidistra milky way
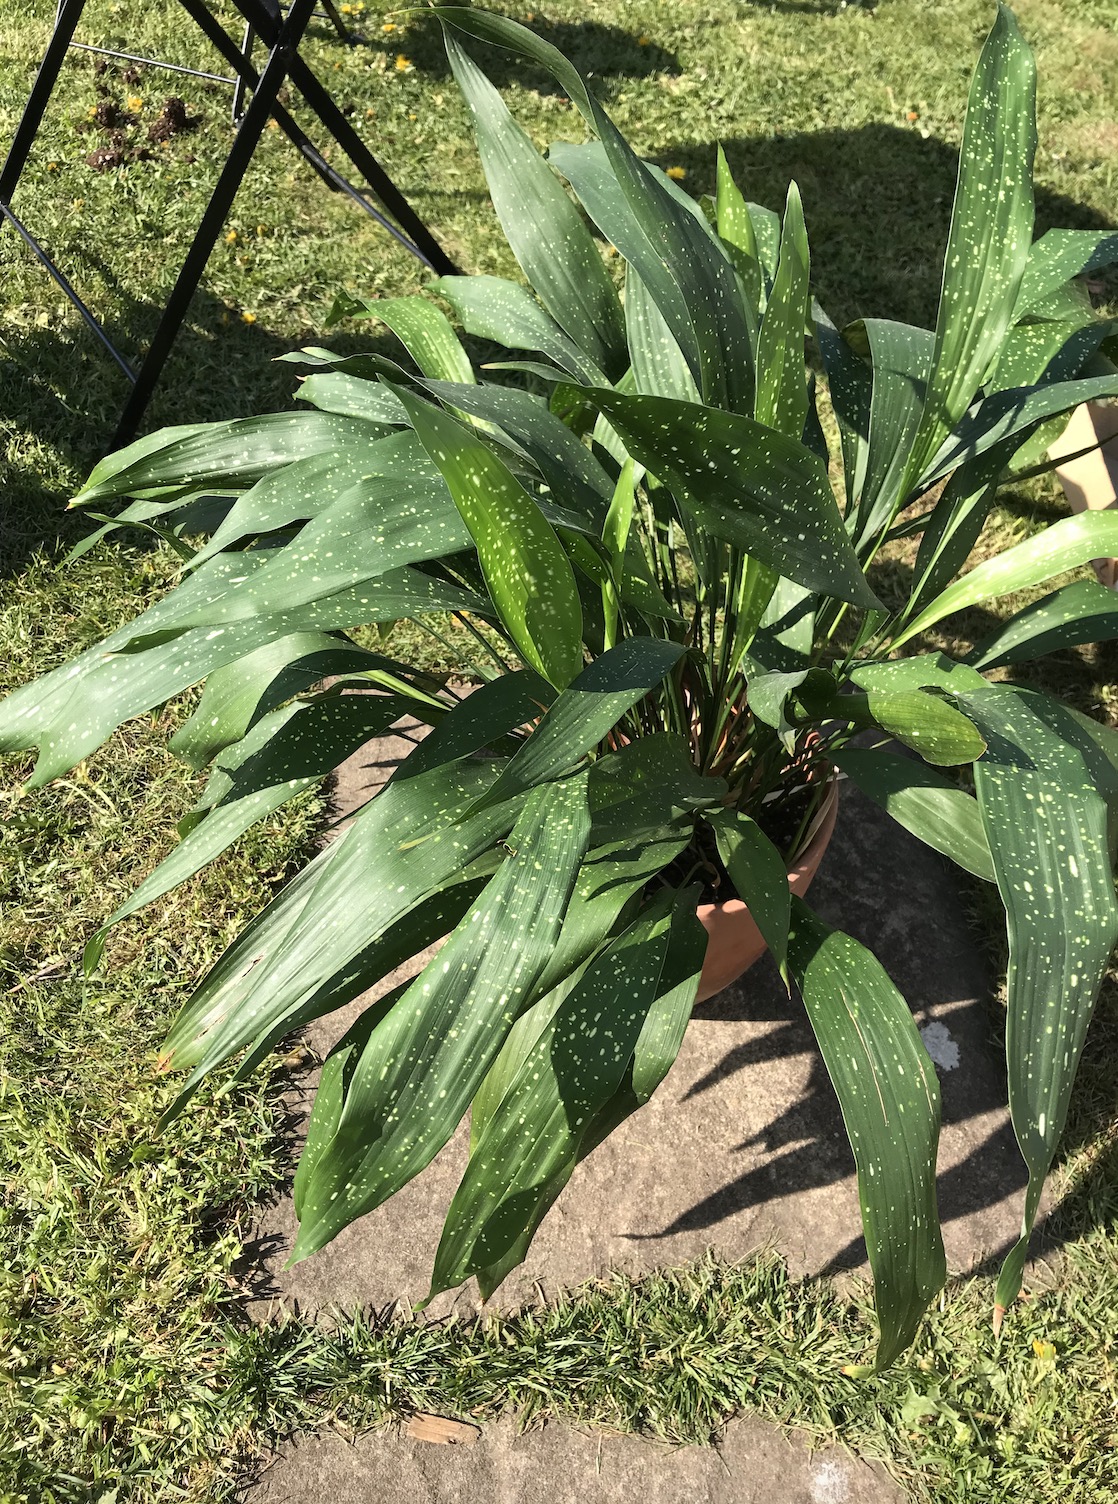
This whopper of a milky way Aspidistra has been in this pot for quite a few years + I finally decided it was time to give it a planter upgrade. The reason for this was that it was drying out much more quickly than usual — a surefire way to tell that your plant could do with a little more room to grow. You might know these are a very sentimental plant to me + of my three types of Aspidistra plants, the milky way is the fastest grower. I display it in a turned leg planter which raises it up off the floor by just the right amount to enjoy the speckled foliage. From a plant styling perspective, thinking about the height at which you place certain plants can make a big difference to your enjoyment of them. This one looks better from above, which is why I keep this pot planted low here at HPH.
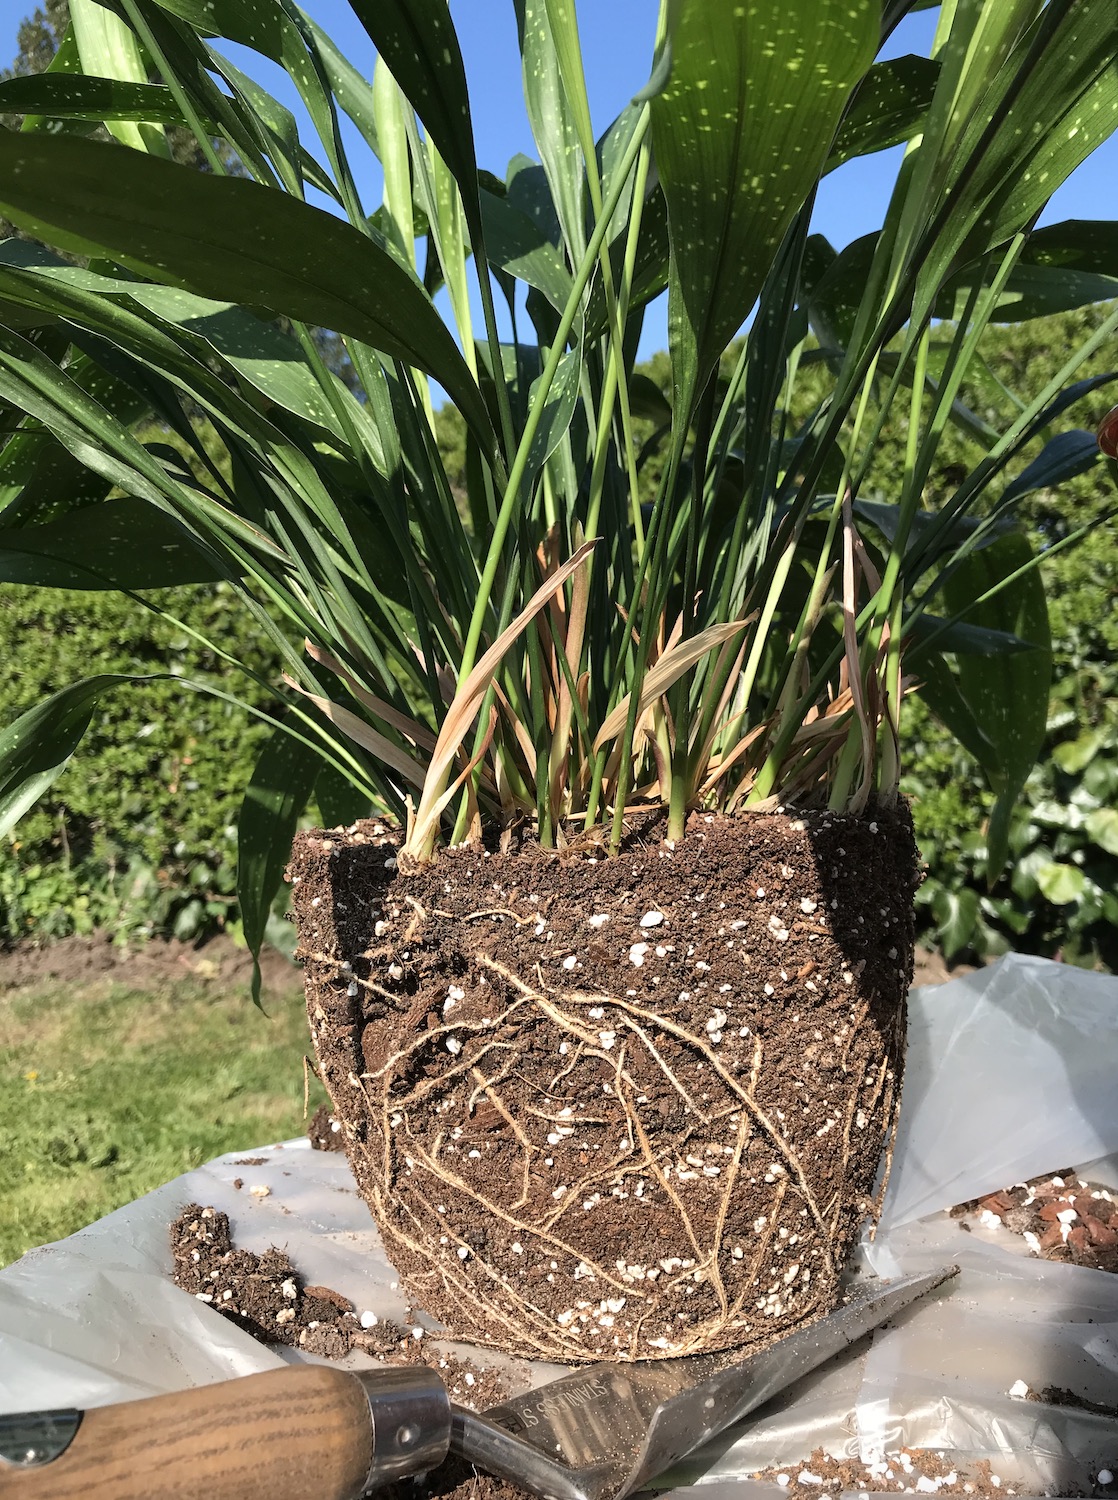
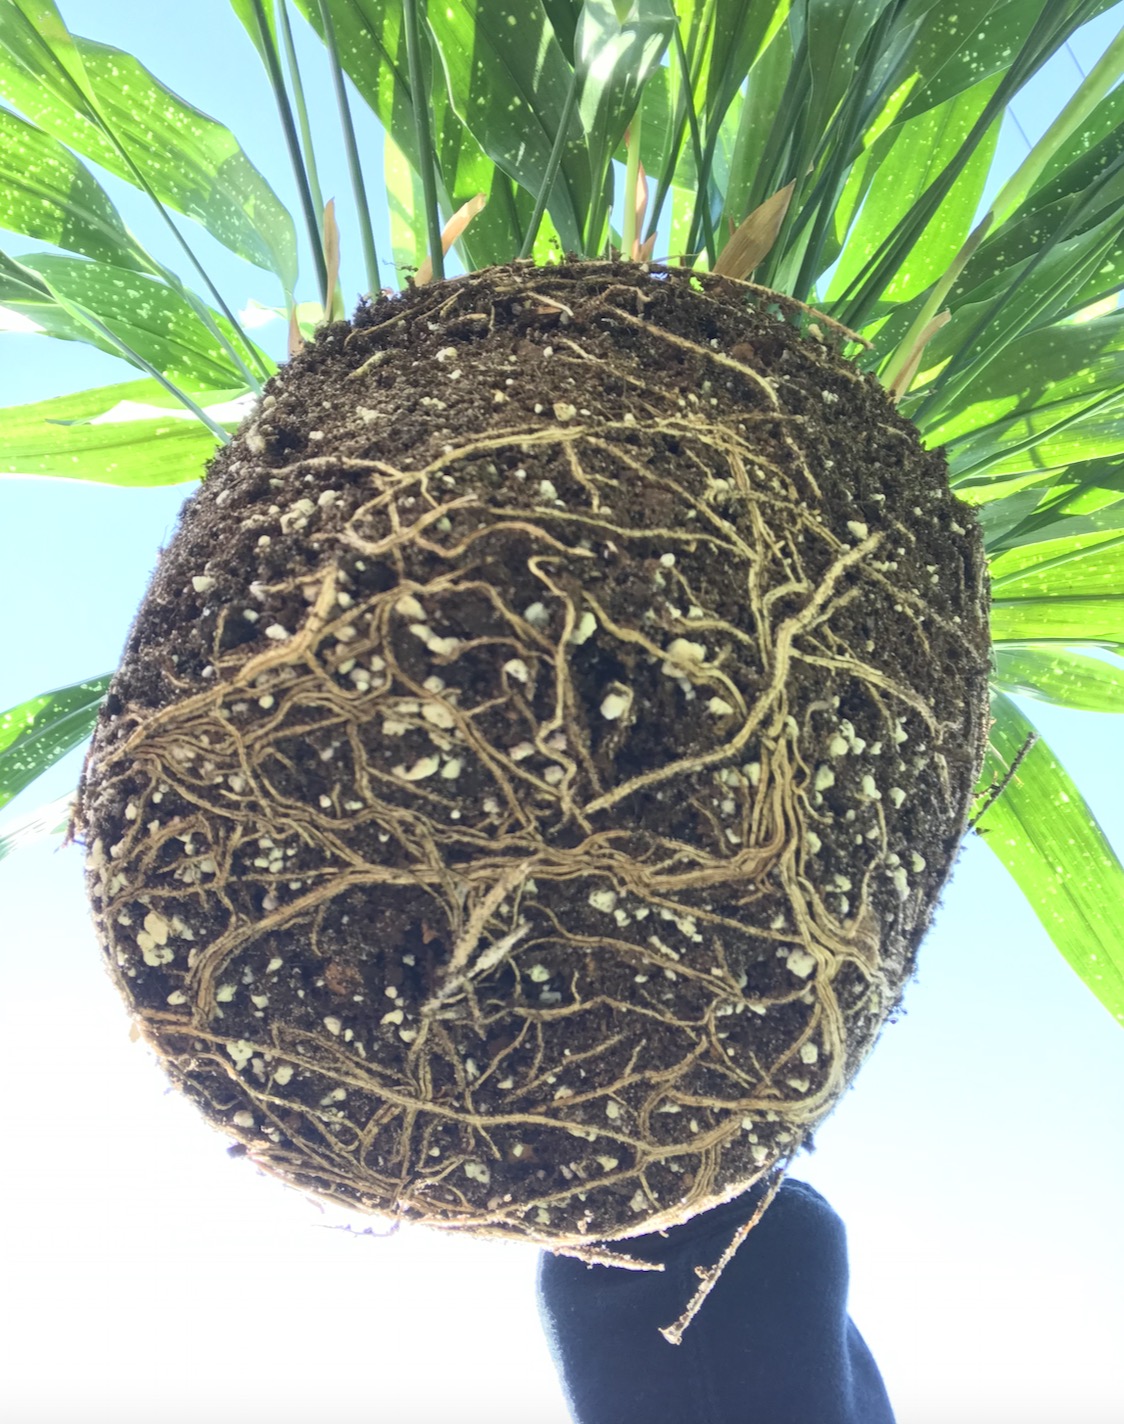
I was growing my plant in terracotta before now, but I decided to switch it out to a nursery container so that it didn’t dry out quite so quickly. If you are planting in terracotta, be sure to adjust your potting mix accordingly as a very light + free draining mix, coupled with terracotta can really dry-out those roots if you are a bit lax with your watering.
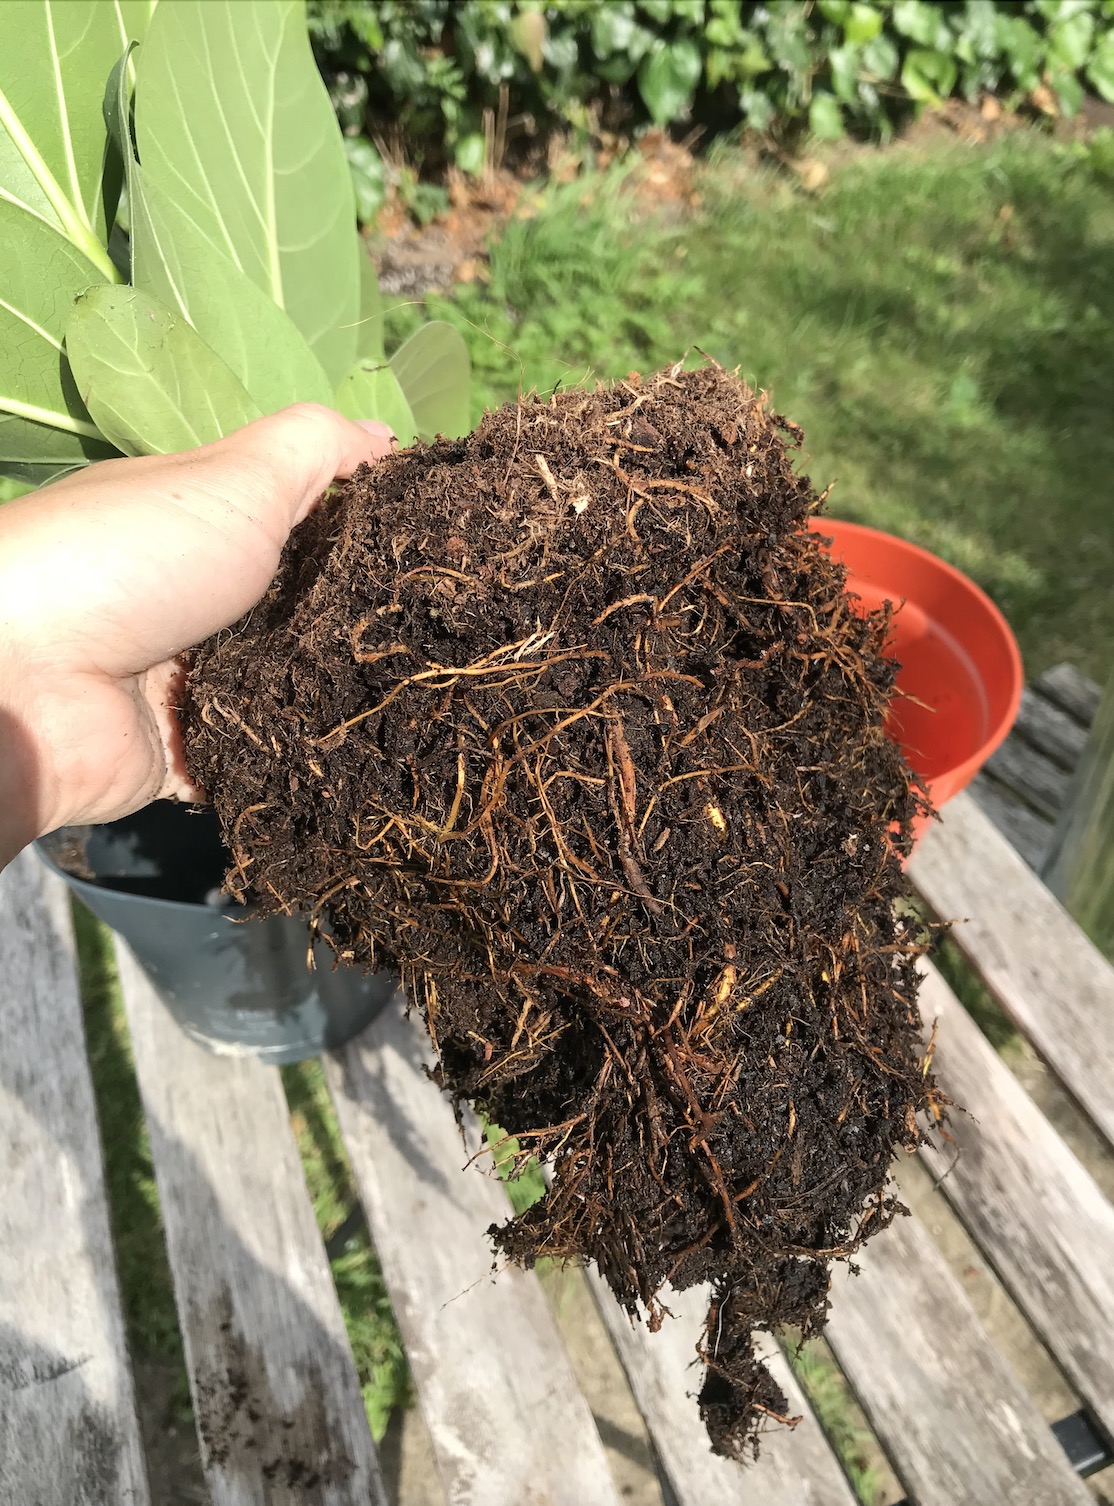
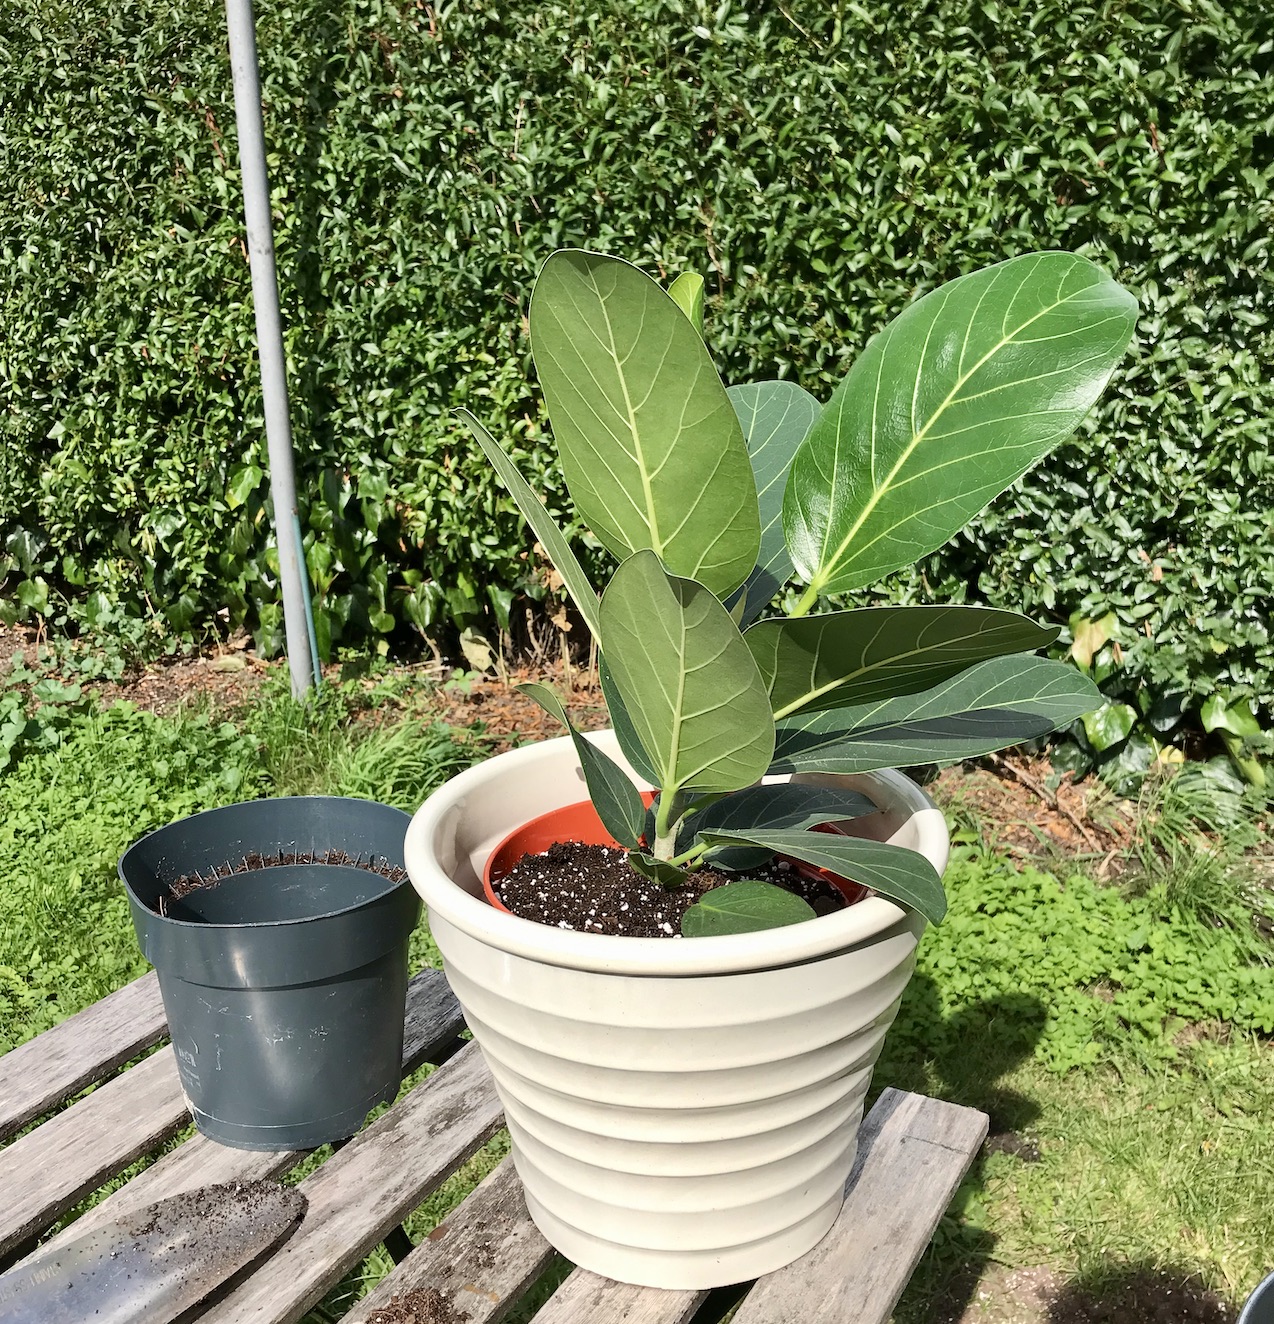
Ficus benghalensis Audrey
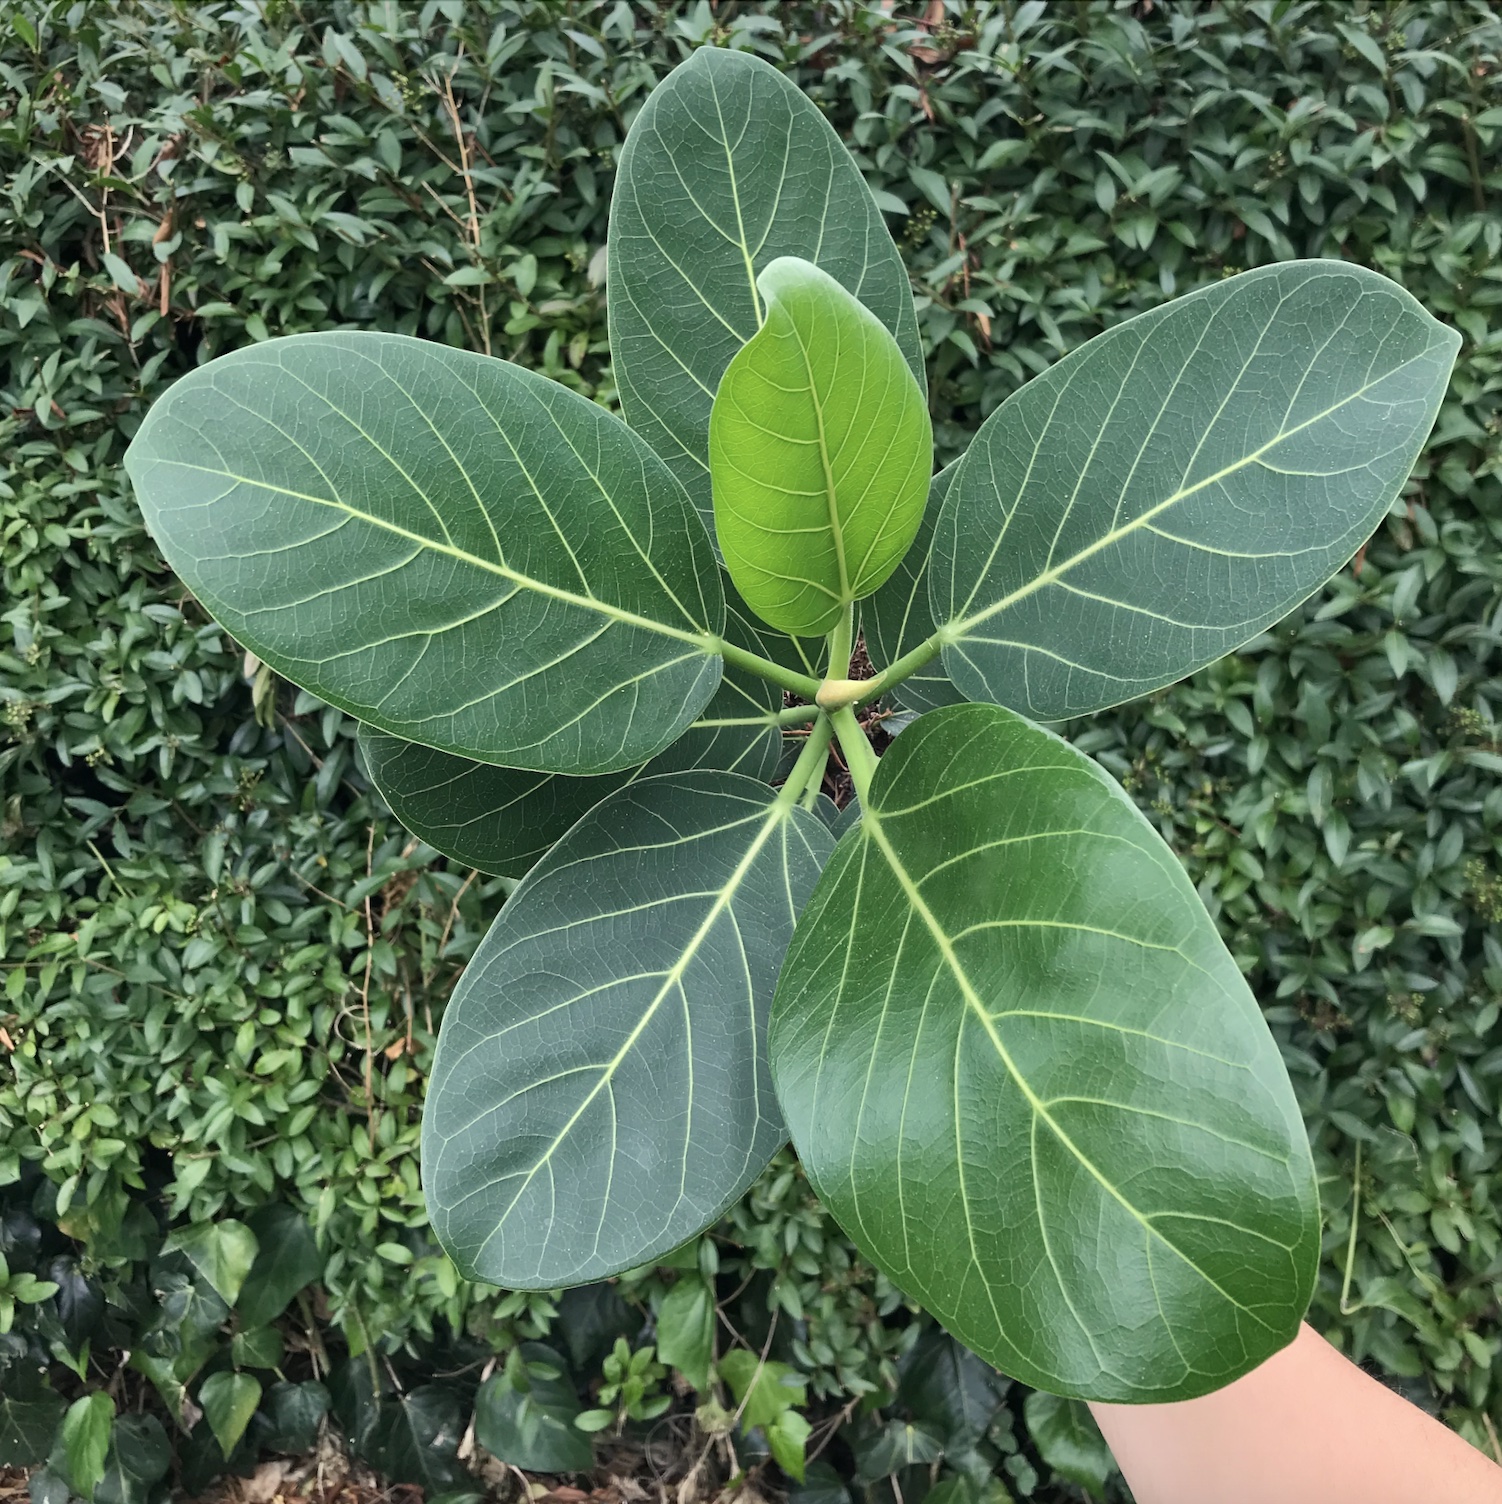
My Ficus Audrey has been in this pot for many, many months… as the roots show! I’d been waiting for signs of new growth as I only like to re-pot my Ficus plants when they are actively growing. I decided to get on with it once the plant had unfurled its newest leaf of the season a few weeks ago to give those roots some room to stretch out a bit. As you can see below left, when the roots are tightly entwined like this, I always loosen them before planting up as it can help them to adapt more quickly to their new pot.
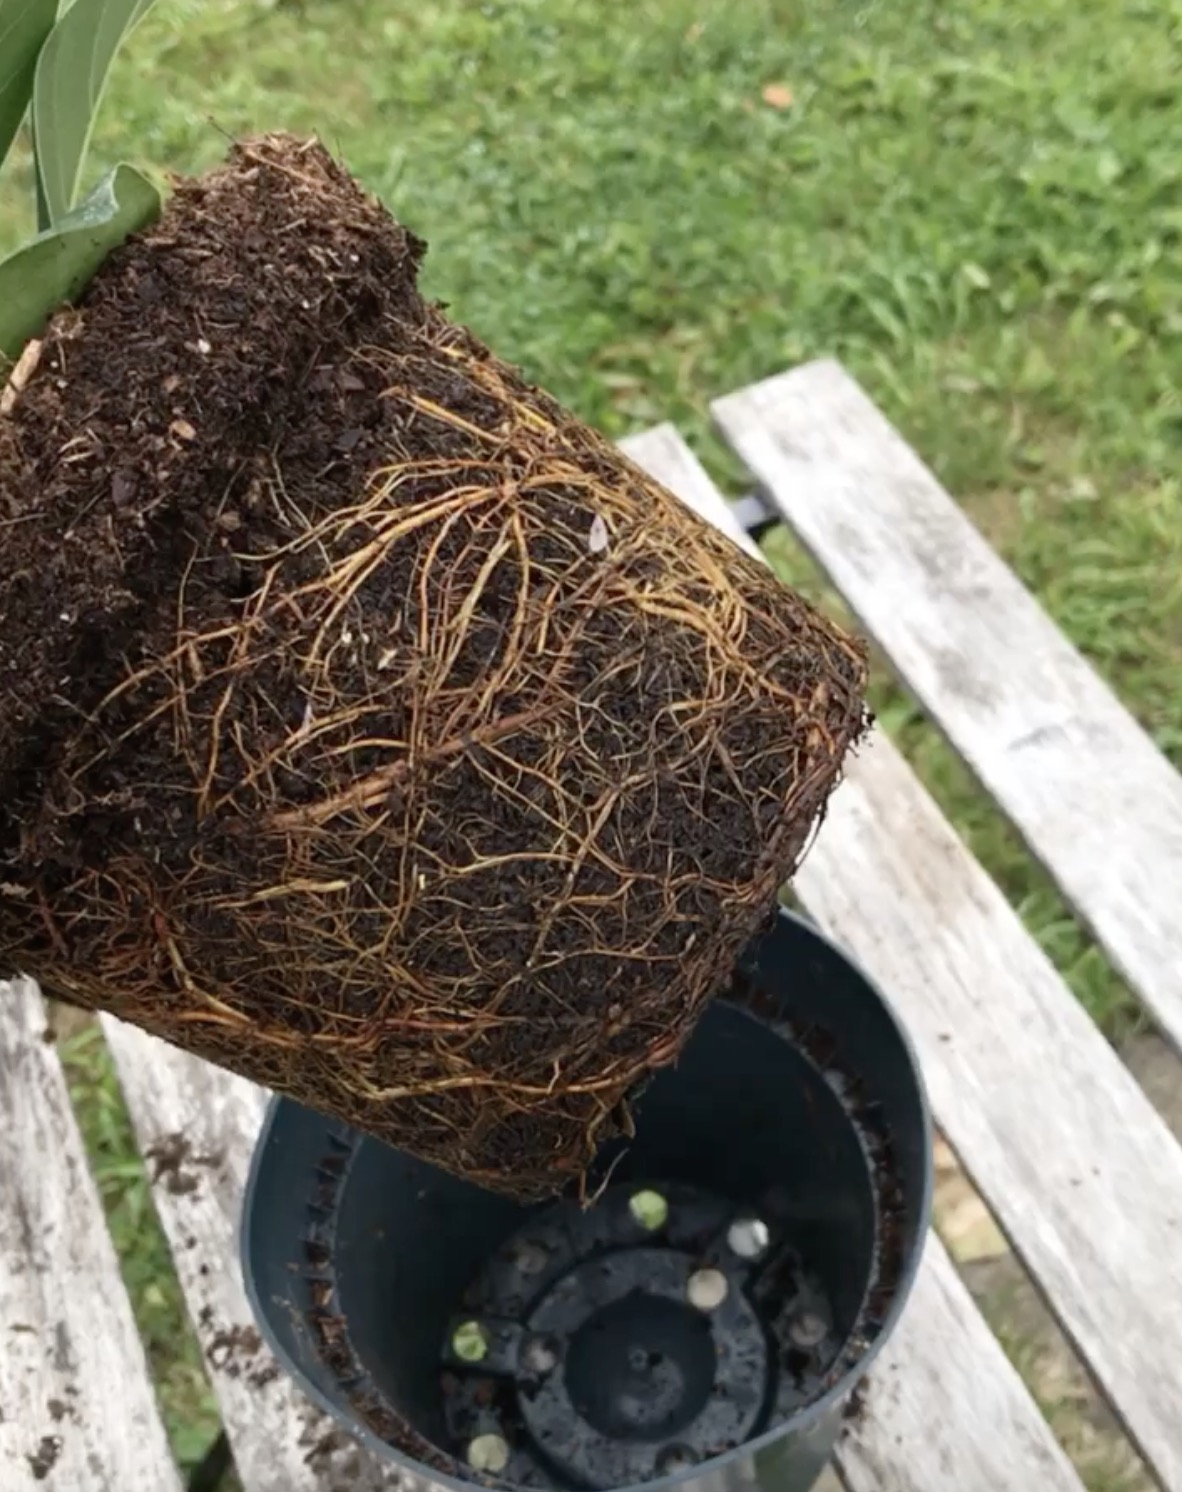
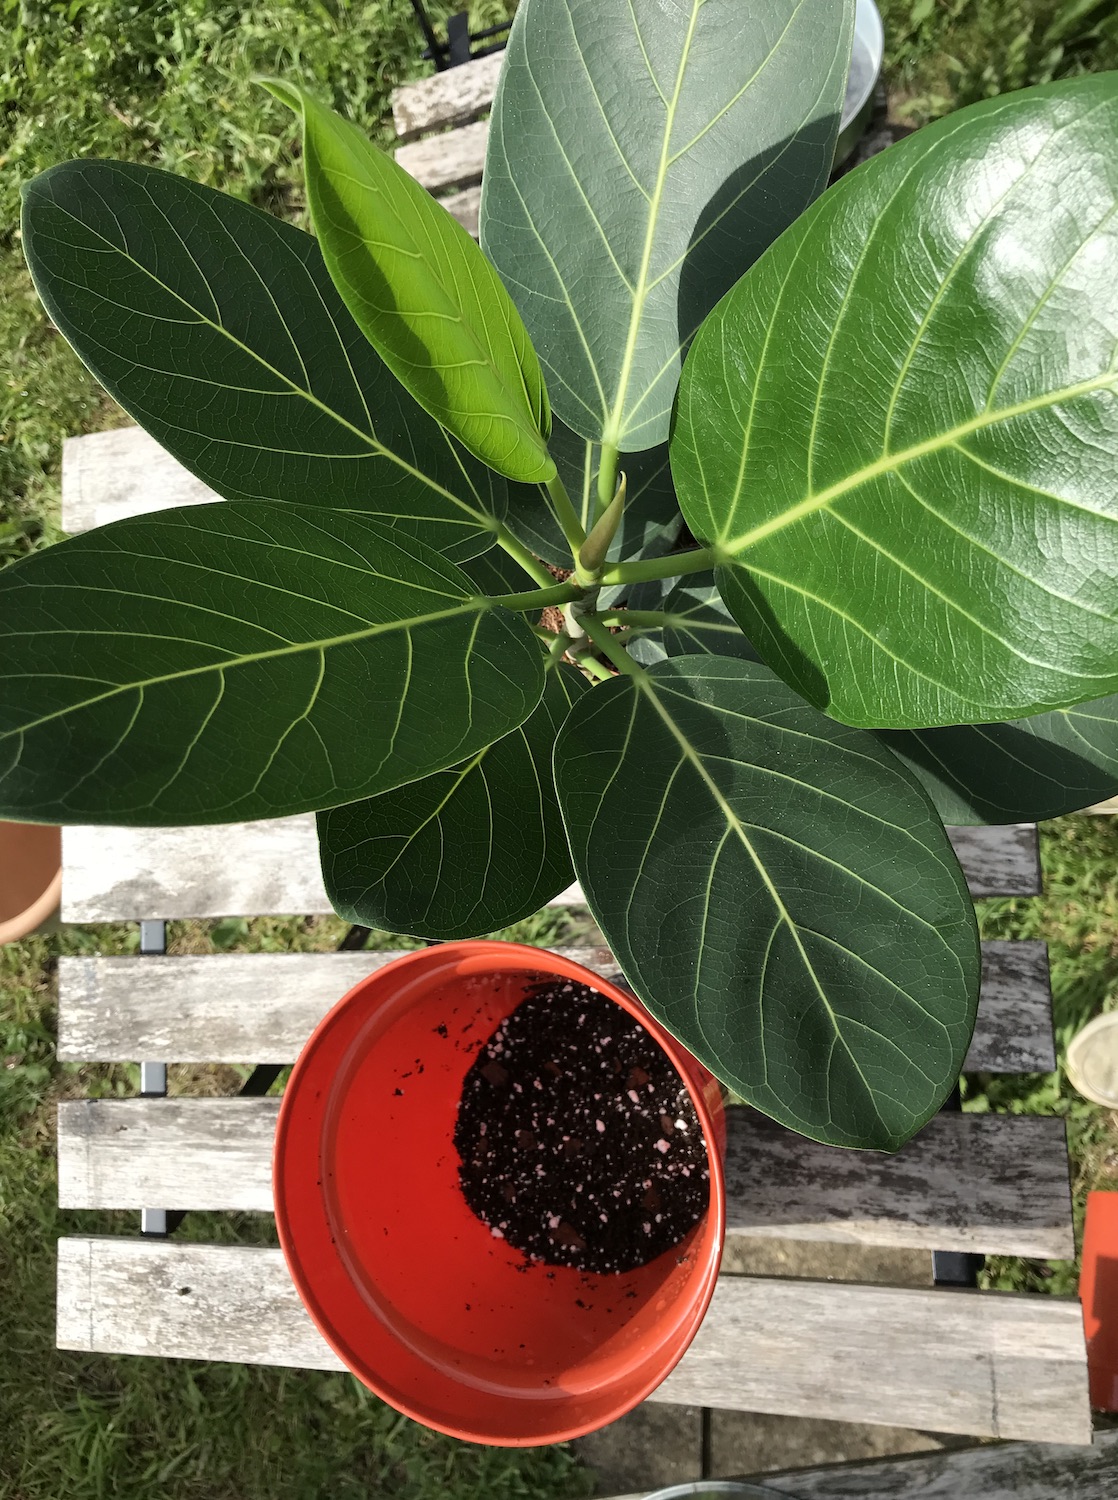
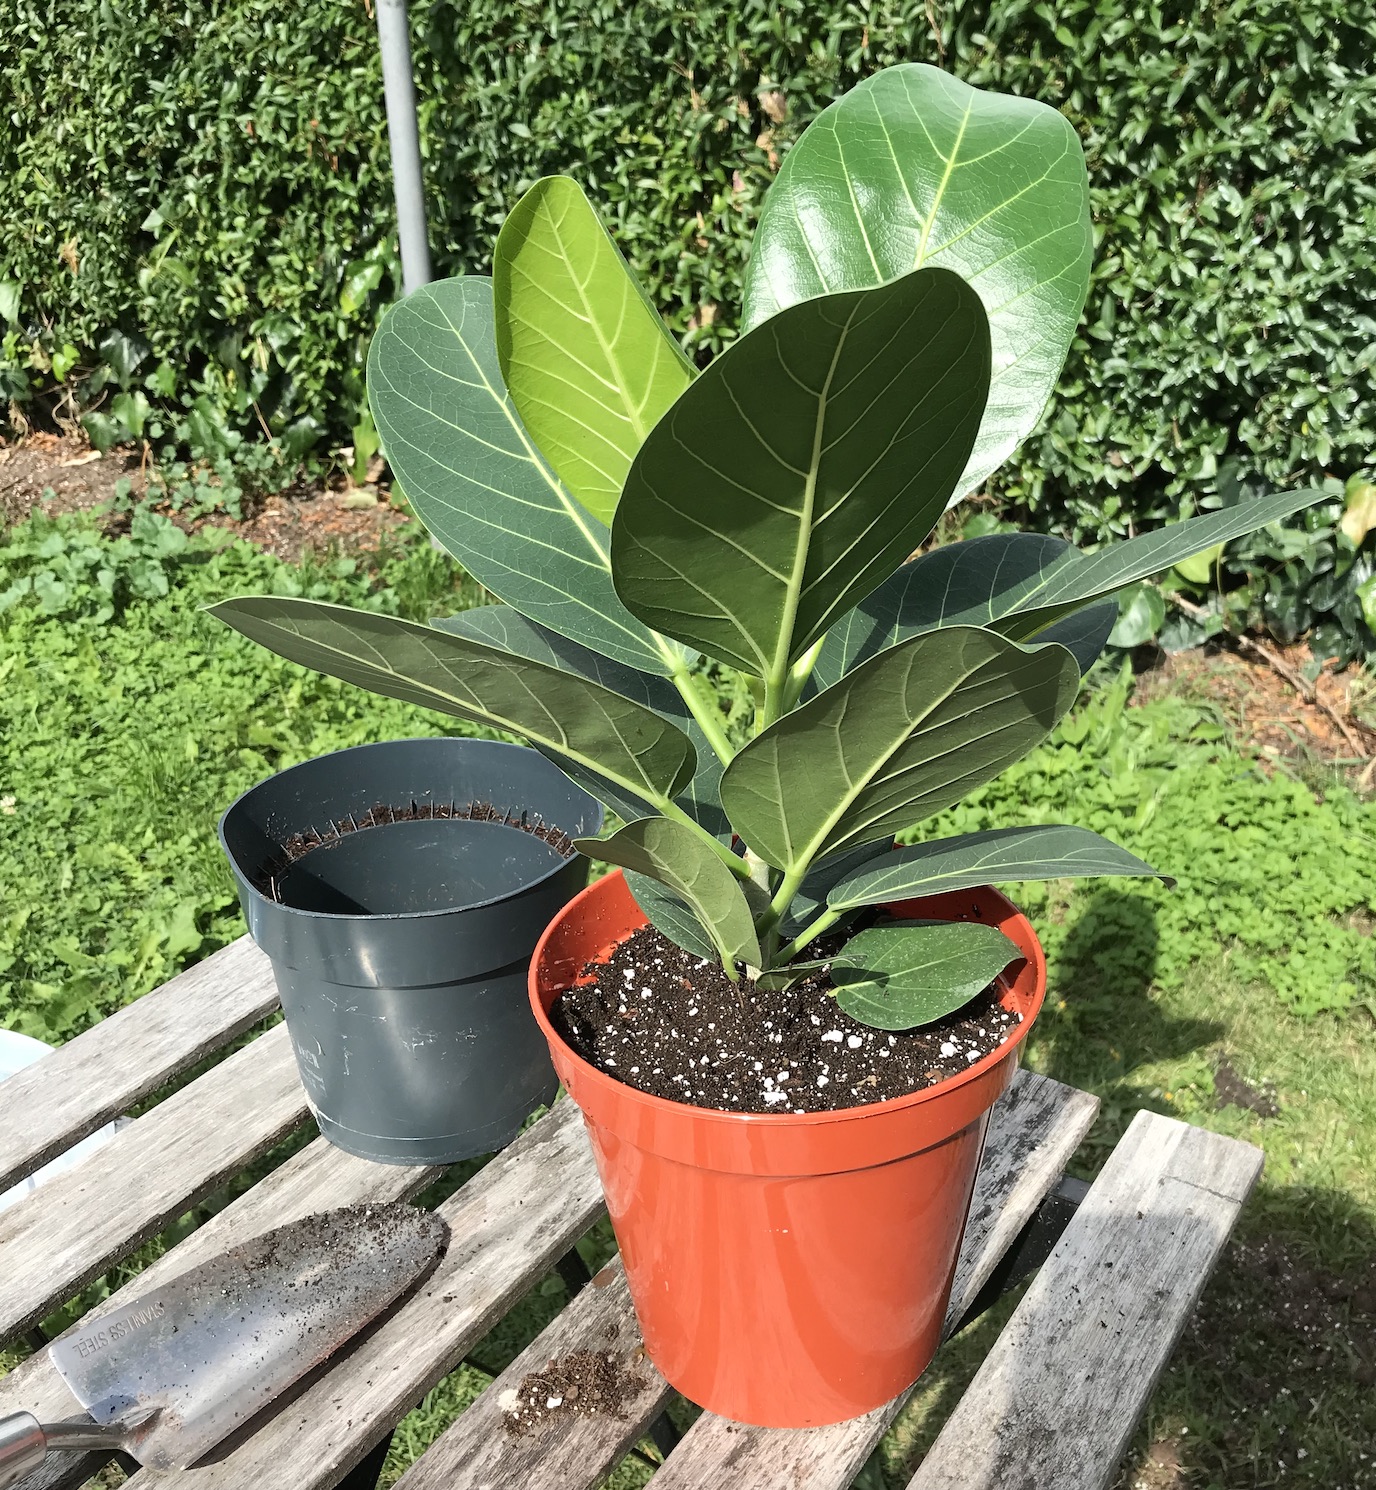
With my Ficus collection, I only pot them on when they really need it — I’ve found they aren’t too keen on frequent repotting + they don’t respond well to big increases in pot size, so this was just one size up.
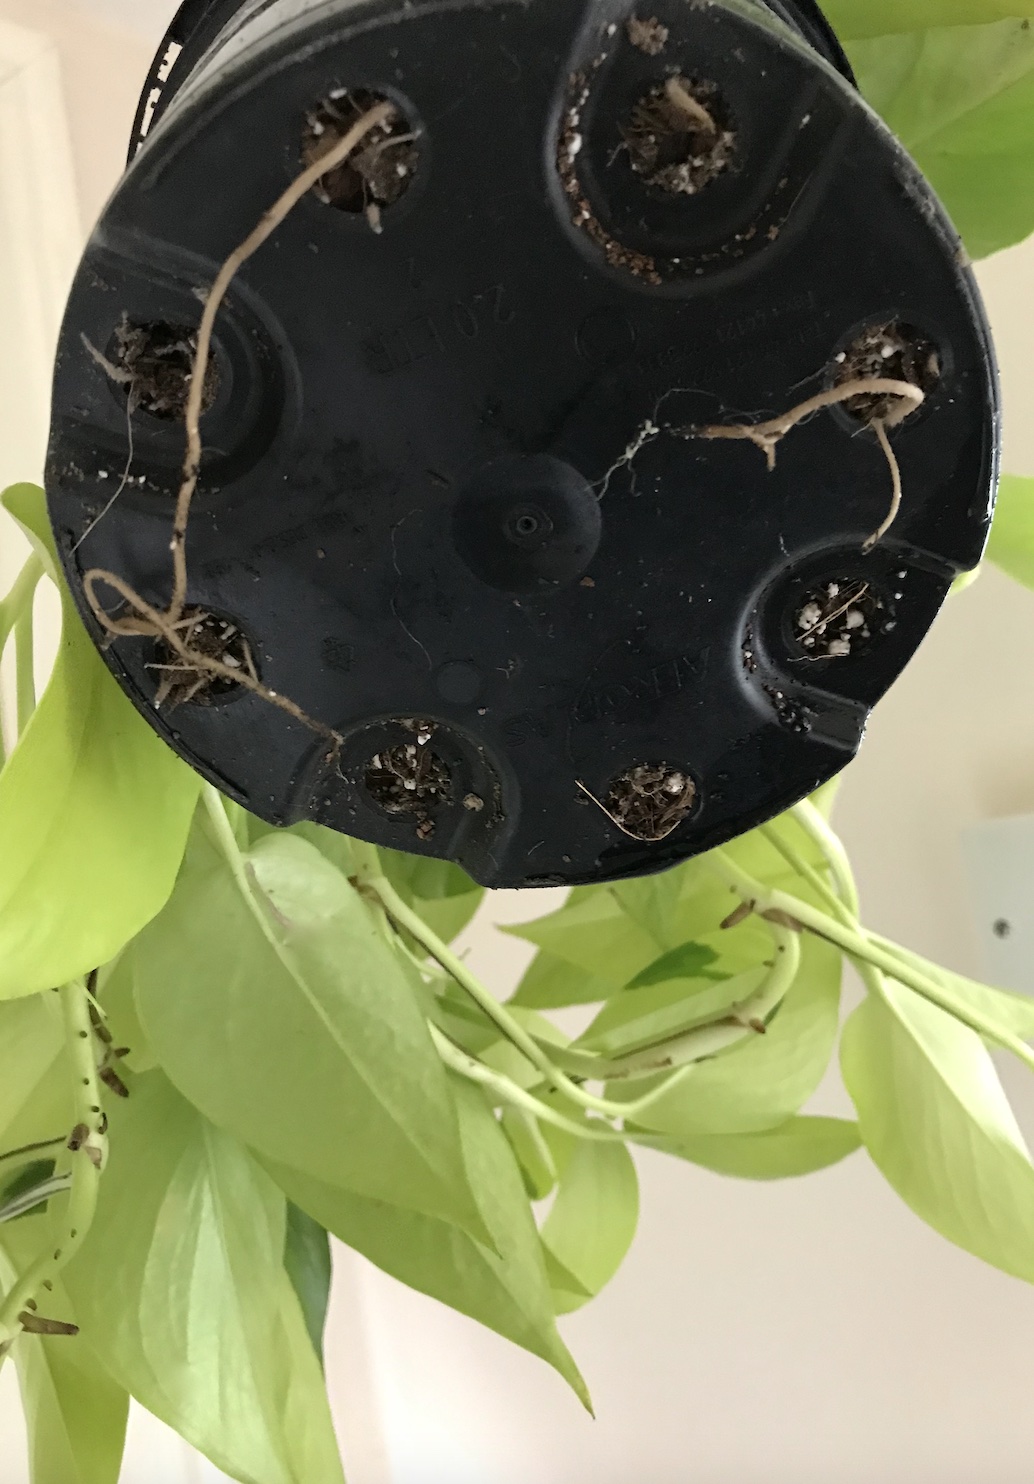
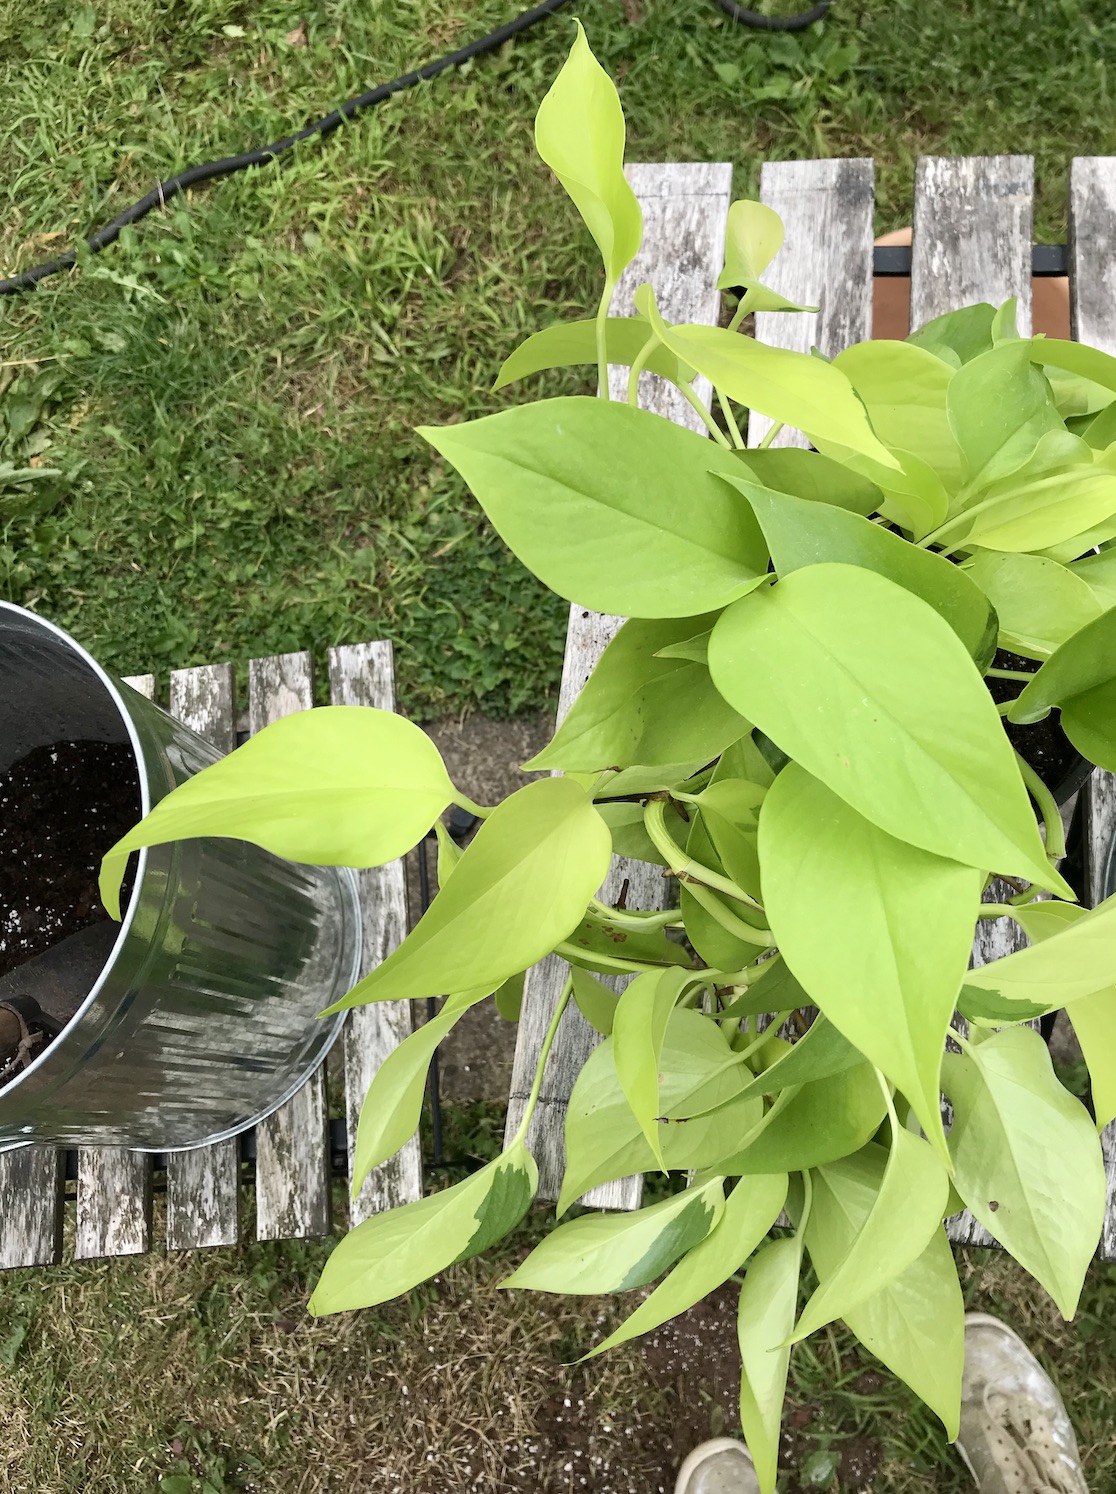
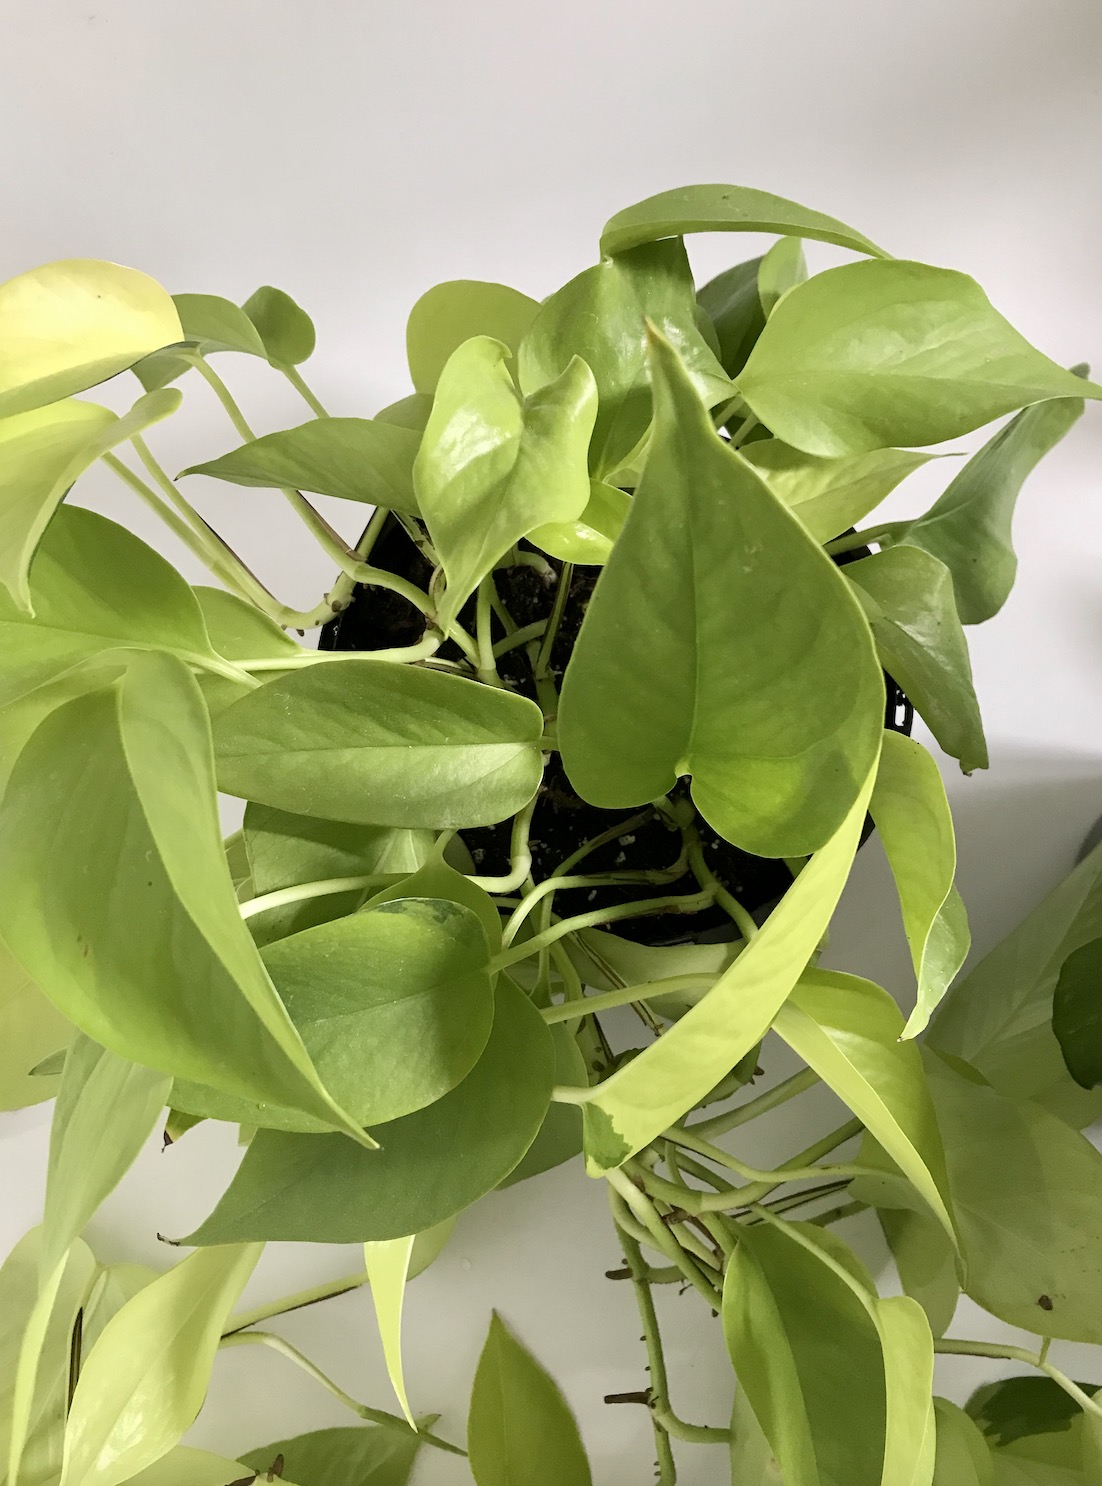
Neon pothos
My neon pothos has grown so nicely in my bedroom + even when I’ve been a little forgetful with watering, it bounces back pretty well. I noticed it was needing more frequent watering — with these, the foliage tends to droop when it’s dried out. I keep a lot of my plants in nursery pots within cache, or cover pots, which works for me in my living environment, except for those in terracotta. After lifting the pot out + checking the drainage holes, I could see the roots were coming out of the bottom! I like to look in the drainage holes first, before taking the plant right out of it’s pot (it’s less messy this way!). I only went up one pot size + gave it a good shower to clean the potting mix off the foliage, before putting it back in it’s usual position. I just love the zingy colour of this foliage — it’s one of my long-time favourites.
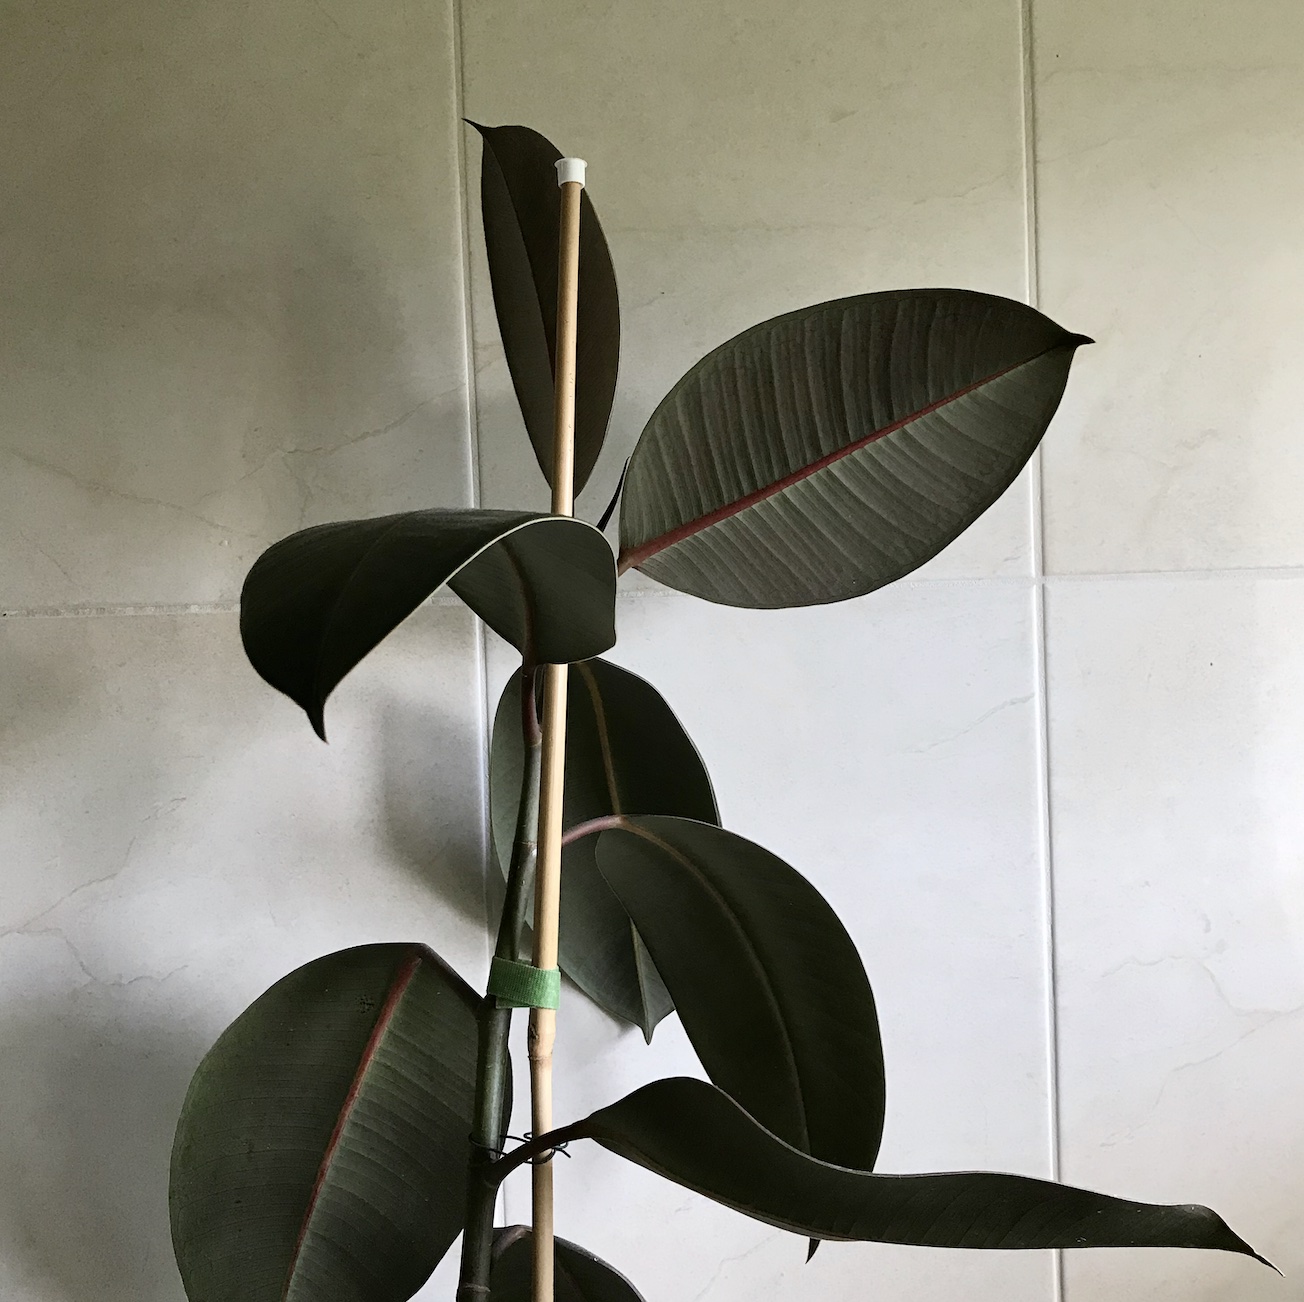
Ficus elastica Abidjan
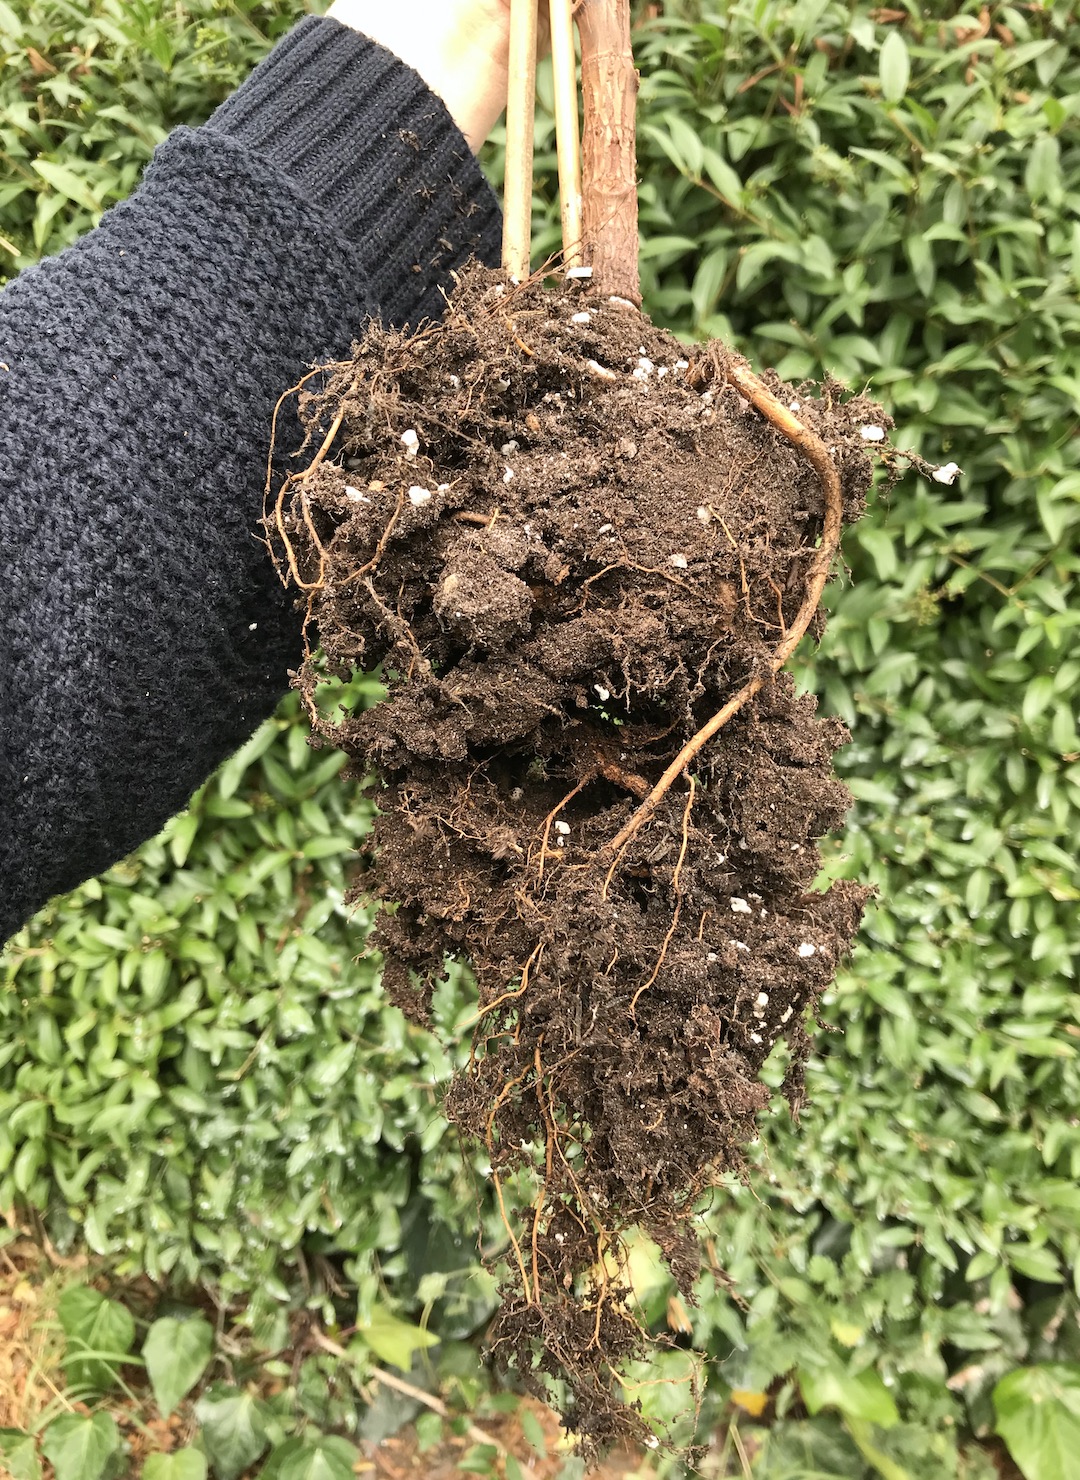
My Ficus has been somewhat neglected for a while + whilst it grows well next to my north-west window, over the last 18 months it’s got lanky + is a funny shape. Saying that, Ficus plants do grow best with a stronger light intensity than I’ve been able to give mine in the cottage, but as a non-variegated type, it’s more accommodating than my three Tinekes that I prioritise with giving a brighter spot. Now that I think about it, this might be the oldest Ficus in my plant collection + I’ve grown it from a small plant with just a couple of leaves. It really needed a potting mix refresh, so I wiggled the plant out of the pot… the roots has started growing out of the drainage holes!
I always prefer the look of a fuller Ficus planter + over a few years, the single stemmed plants like this one can look a bit top heavy, with leaves of different sizes! My aim with this one is to revive it a bit, before chopping the top half of it off — I’ll then try to root the cutting + if successful, I’ll plant into the same pot. Hopefully then, the top half of this cut plant might also branch, meaning I can create a fuller pot over time. This is a slow process that requires patience, as it can take a few months to see any progress, but I personally love this side of plant care! I’ve got a post about getting ficus plants to branch here.
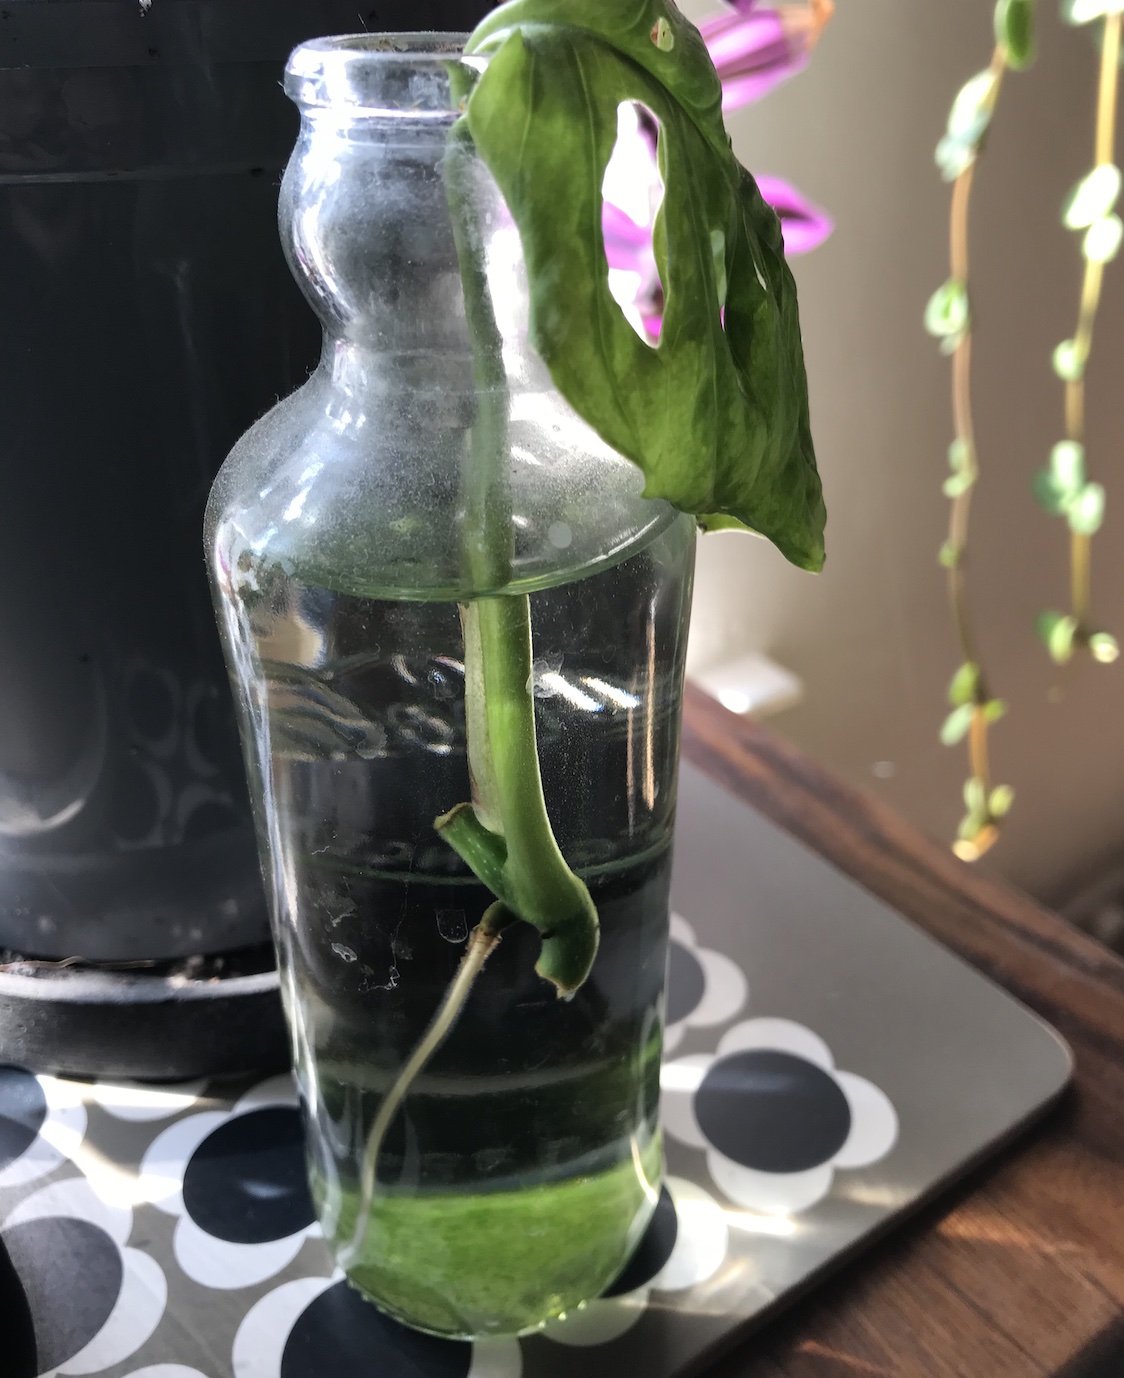
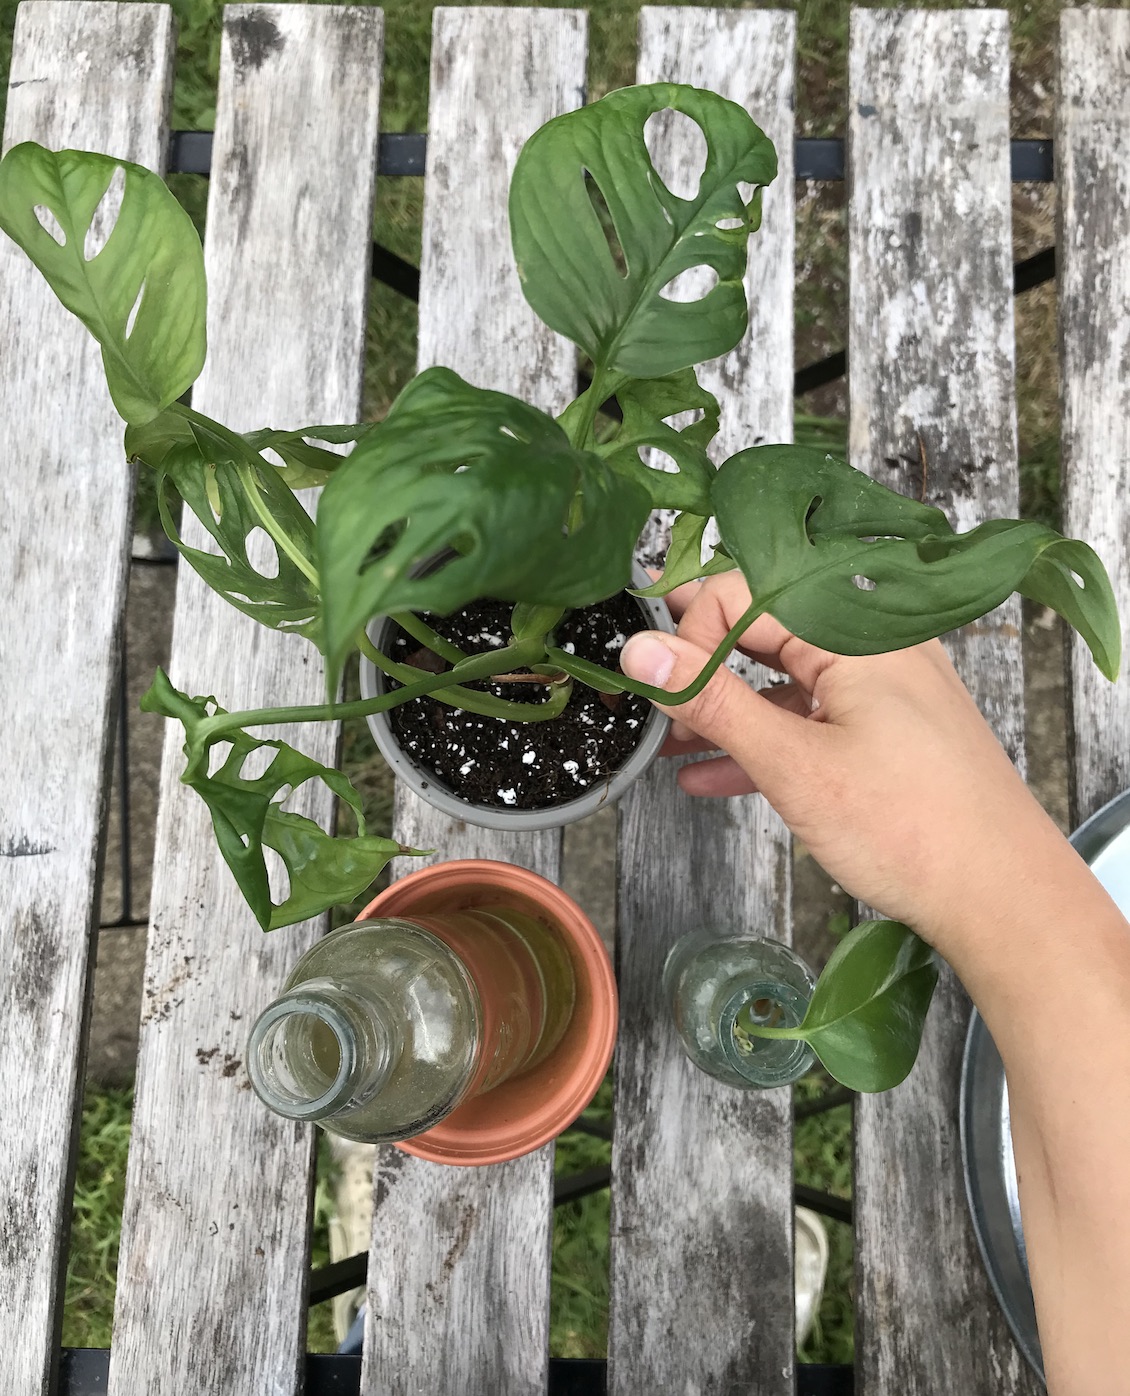
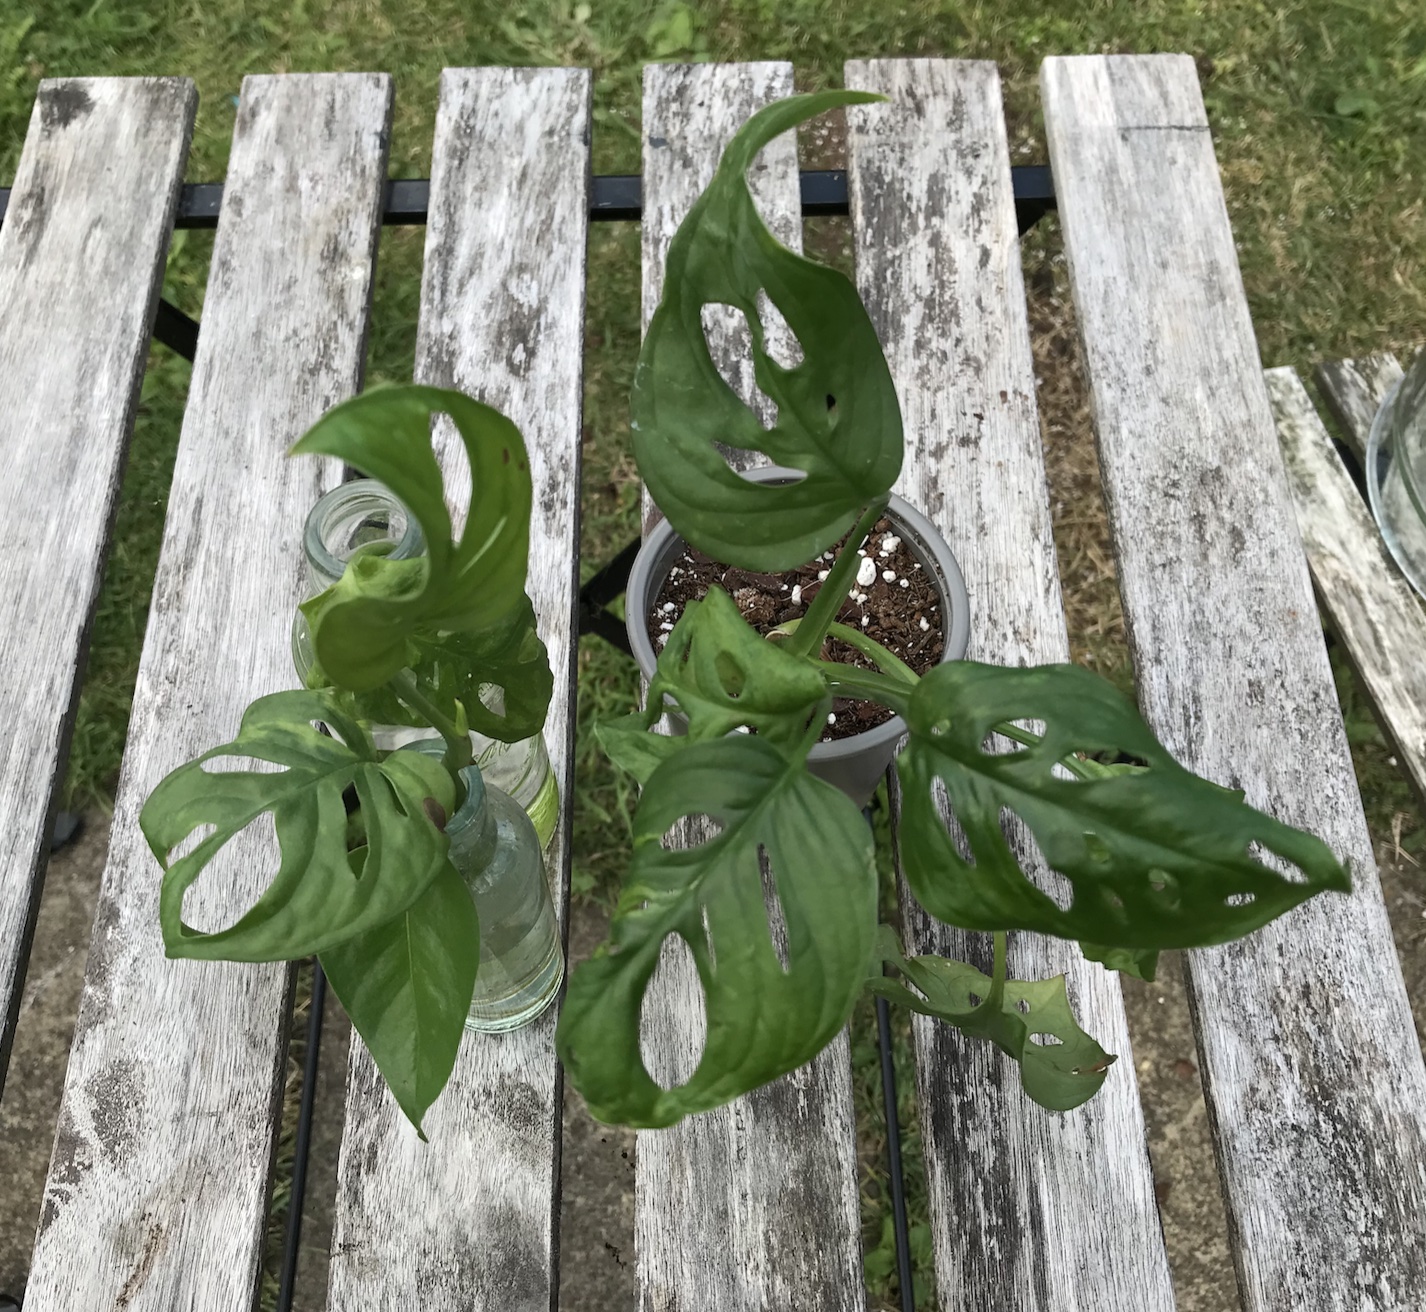
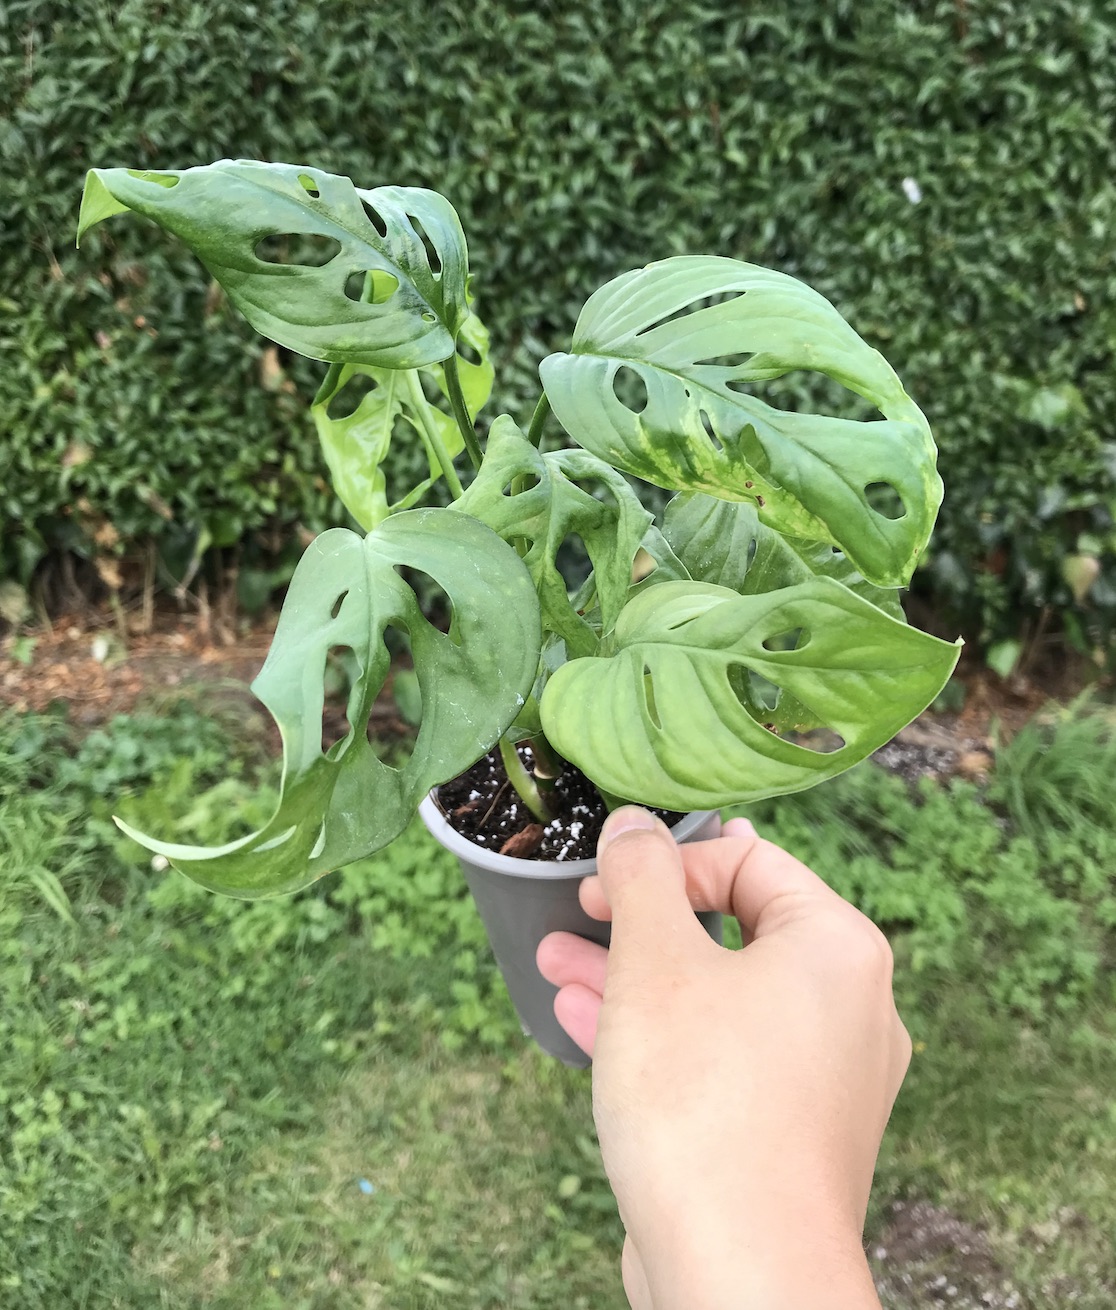
Monstera adansonii propagations
I still have a couple of my adansonii propagations in water + miraculously, after over 6 months of just sitting there, one of the stems decided to start rooting…! I had pretty much forgotten about it + almost gave up on the cutting, but as I was thinking about getting rid, there were little signs of roots forming. Two weeks later, the roots are 2inches long + ready for planting! I decided to take another cutting I’d been water propagating + plant these two in with my smallest pot of adansonii to create a fuller plant. This is such a good space-saving way to pot up smaller propagations without having loads of smaller pots all over the place. Plus, less pots means easier to move plants… which is what I’m working towards now!

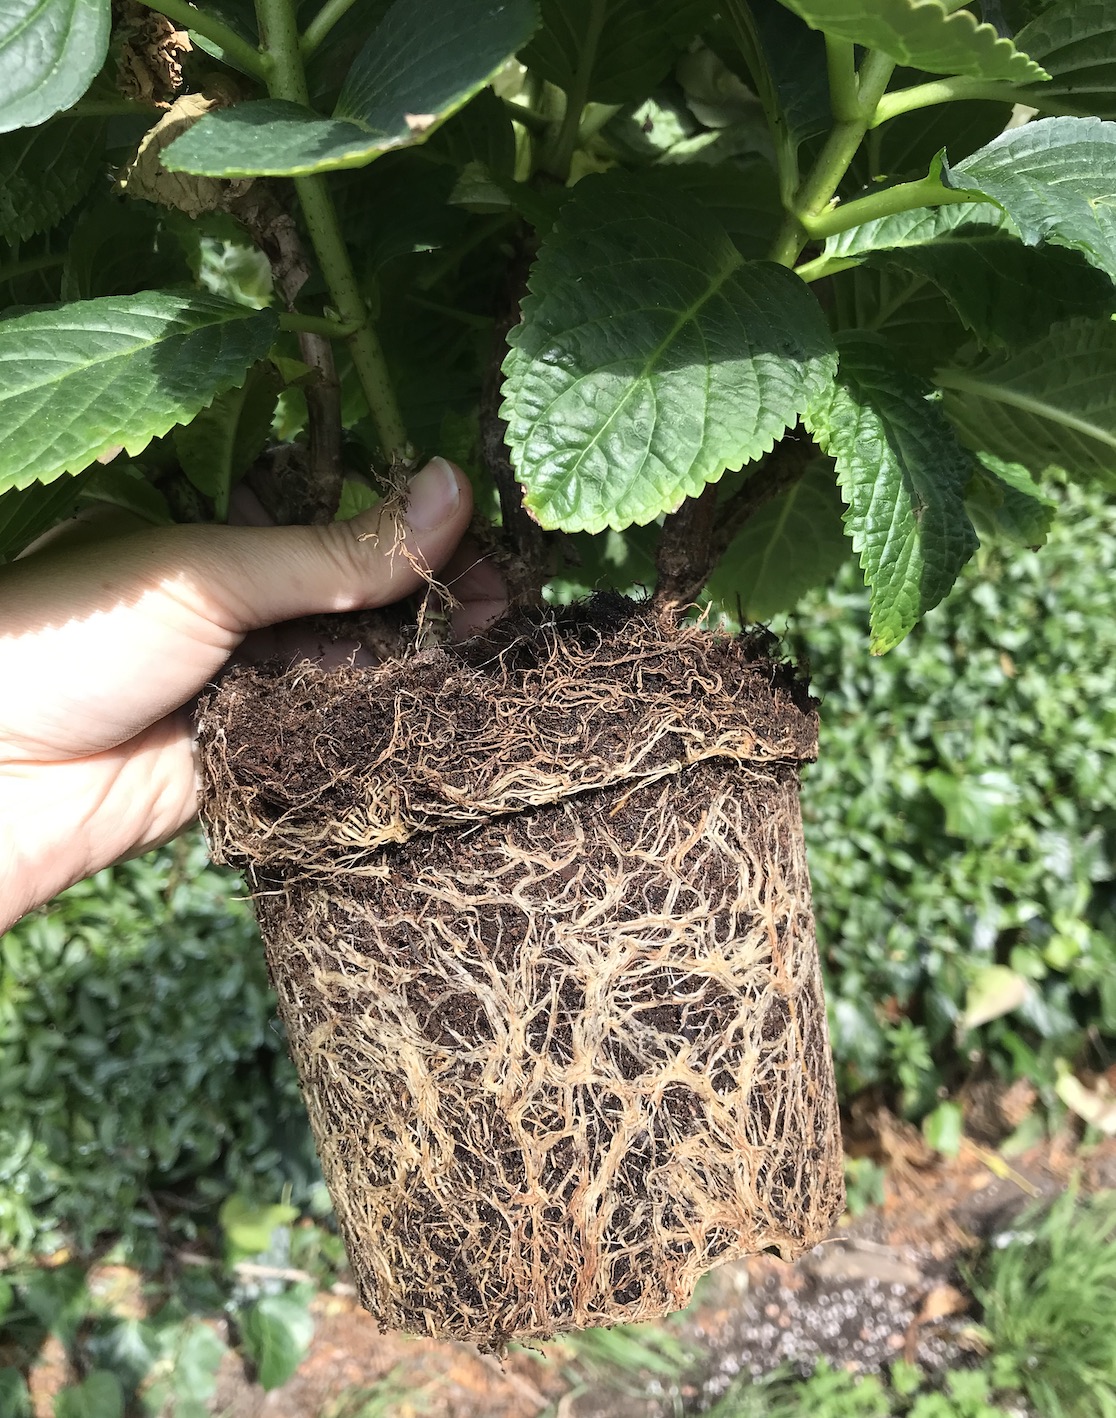
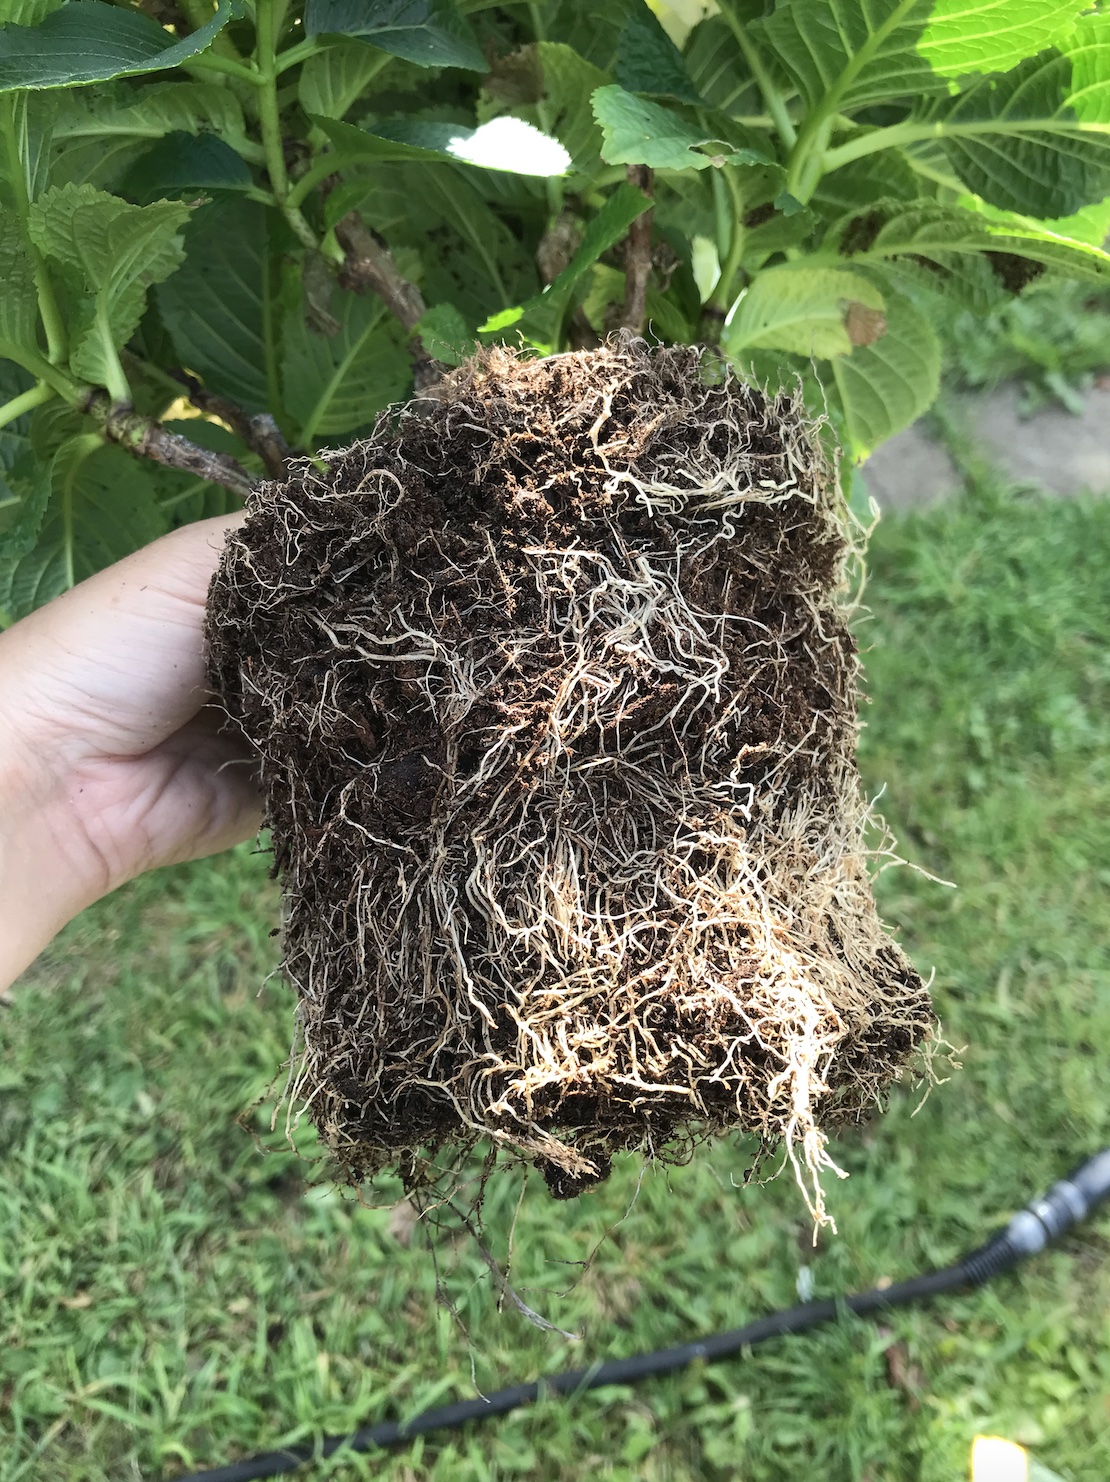
Conclusion… + my doorstep Hydrangea!
I know it’s not a houseplant, but I thought I’d share a photo of my lovely white Hydrangea that has been living on my doorstep to finish up today’s post. It has been in desperate need of a re-pot + I eventually got round to it as I have started prepping my outdoor plants for a holiday in a friends’ garden soon. The outside space in my new place is not in a state for plants at the moment so I’ve kindly asked for them to camp out on a mates patio space until I can safely welcome them to the new HPH HQ!

As I have mentioned in my previous couple of posts, it’s time for a little break here on the website (I’ll be back in 3 weeks) as I bundle my things + my plants up in boxes + move to a new space. It’s been something I’ve been planning for a long while now + I’m really excited to share this new chapter of HPH with you all soon. In case you are also moving with plants, I’ve got a trio of posts on the before, during + after process if you fancy a read! I have actually been re-reading these to prep myself for the process once again! I hope you enjoyed seeing what’s been on my potting bench over the last few weeks + there will be some related posts scheduled over on instagram + pinterest over the next few weeks too.

Leave a Reply