
For today’s renovation diaries instalment, you’ll see that the Chapel renovation started to look very much like a building site! This was also the part of the process where we brought services in, water, electric, gas, so that the Chapel could be brought up to modern day standards. After a few months of working with no water connection, this was quite a big milestone. The repairs and reconstructions commenced and there were a lot of bricks all over the place…
Taking the ceiling down
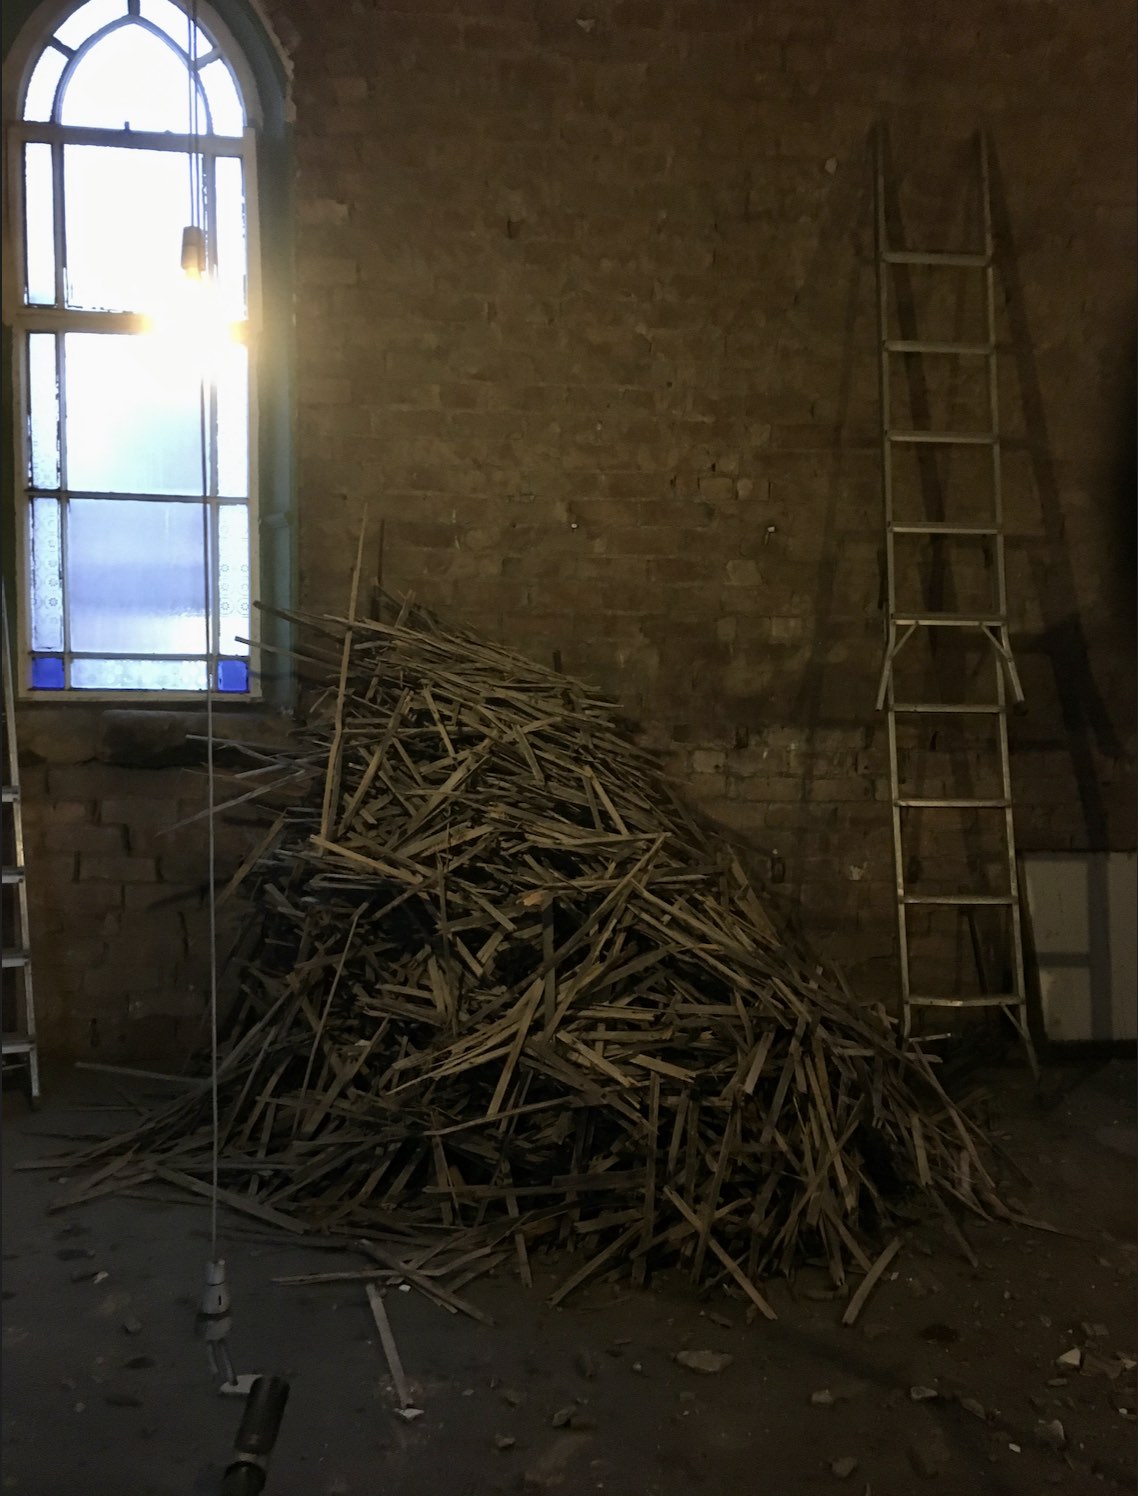
Once we’d painstakingly chipped the plaster off, the old lath and plaster ceiling was next in line for demolition.


The ceiling looked completely different once exposed and we got to see the actual structure of the Chapel.


Repairing + re-building, brickworks
Next up was the brickwork — there were some areas that needed attention and re-building inside before the builders started on the outer skin. The Chapel was built in 1879 and the brickies were interested to see that the building was of a double brick skin construction — an internal structure with a cavity and external walls. When re-building, they found primitive brick ties made from iron that held these two walls together. They remarked that this kind of construction wasn’t widely used until the 1920’s, so it would have been quite an experimental build in 1879!


First snow at the renovation project + getting the services in
A very necessary part of the project at this stage was to get the service connections in place. It was a long and arduous process to get to this stage and pretty expensive too. But bringing water etc. in was kind of essential. We also needed to move the electric meter, which was quite old so that the an external box could be fitted. It was previously mounted on the wall inside, with the cable coming in through one of the window frames!
Once the Chapel had been connected, our electrician came to fit a temporary board inside with the meter, a light and some sockets to enable us to use power inside during the build. At this point we got the first snow at the Chapel which was cold with no heating and big holes in the building! But it did look lovely and only lasted a day.


Creating an aperture for a door
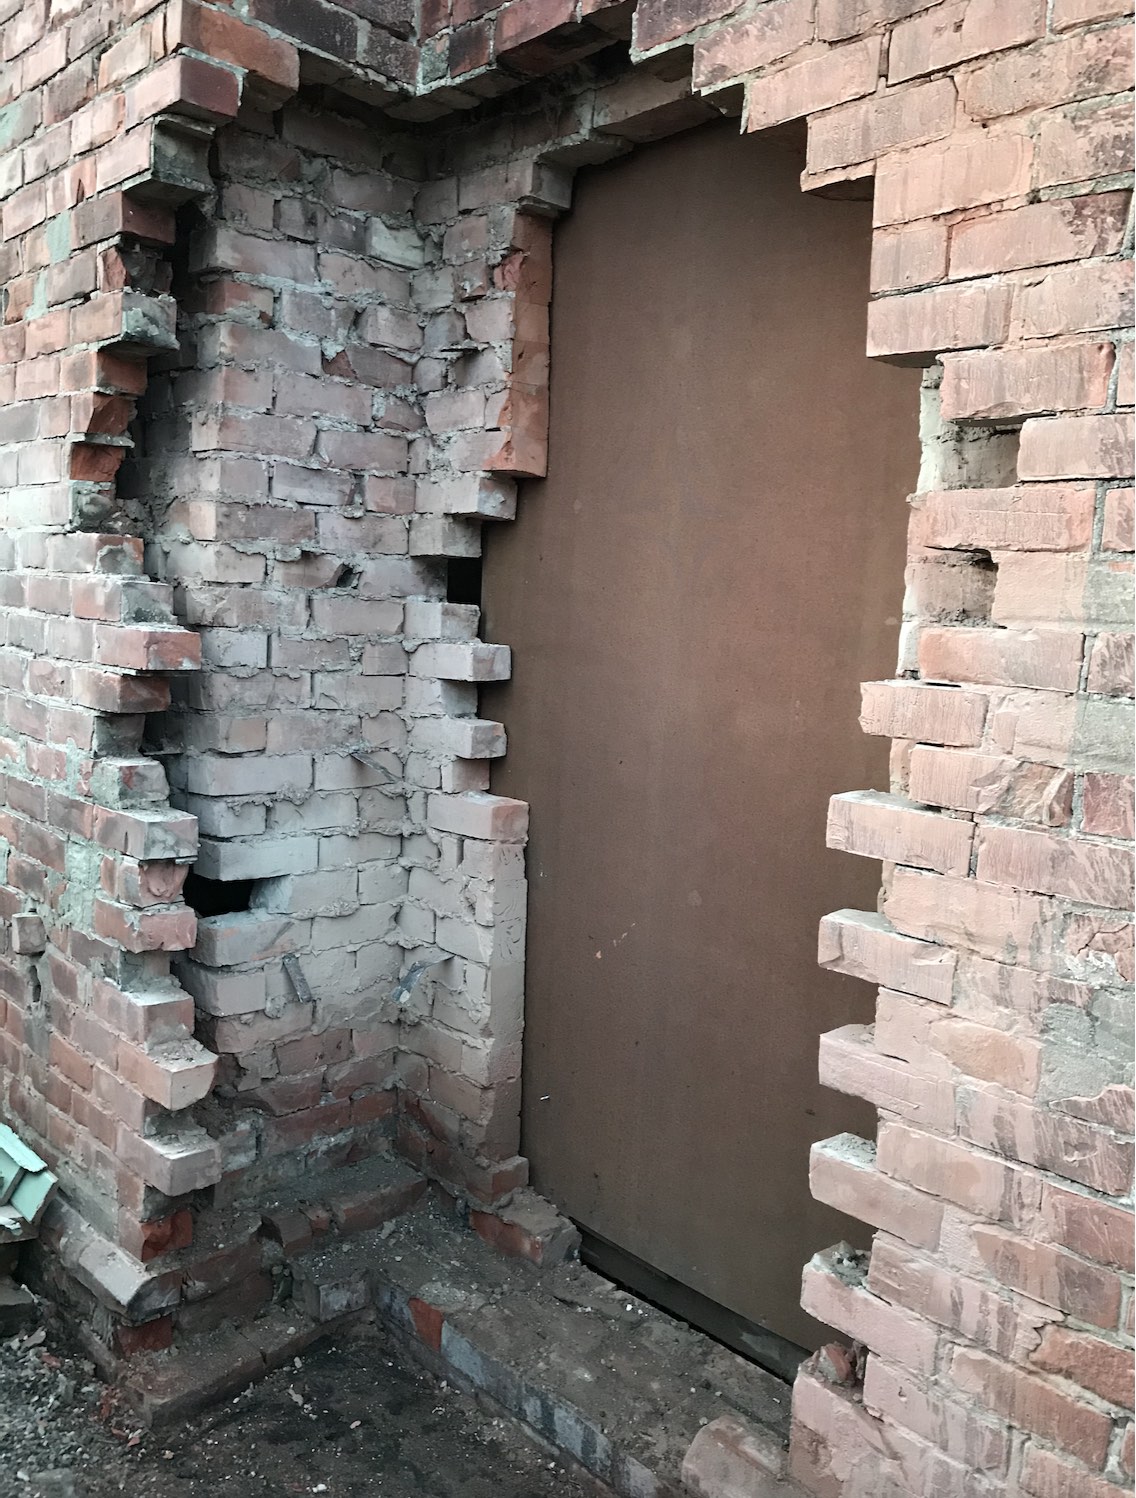
Once the majority of the repairs had been carried out to the internal walls, it was time to make holes! More specifically, the holes for an old Chapel door and for the kitchen window. As I explained in a previous post, we weren’t making any major changes to the building externally, aside from adding in a back door and a window along the south wall.
Removing the bricks to create an opening was a really exciting moment in the renovation project as we could physically see the space for the new door literally opening up before our own eyes. We’d become so familiar with seeing these planned alternations in my two dimensional drawings that when it was actually appearing in three dimensions, it felt very surreal indeed!


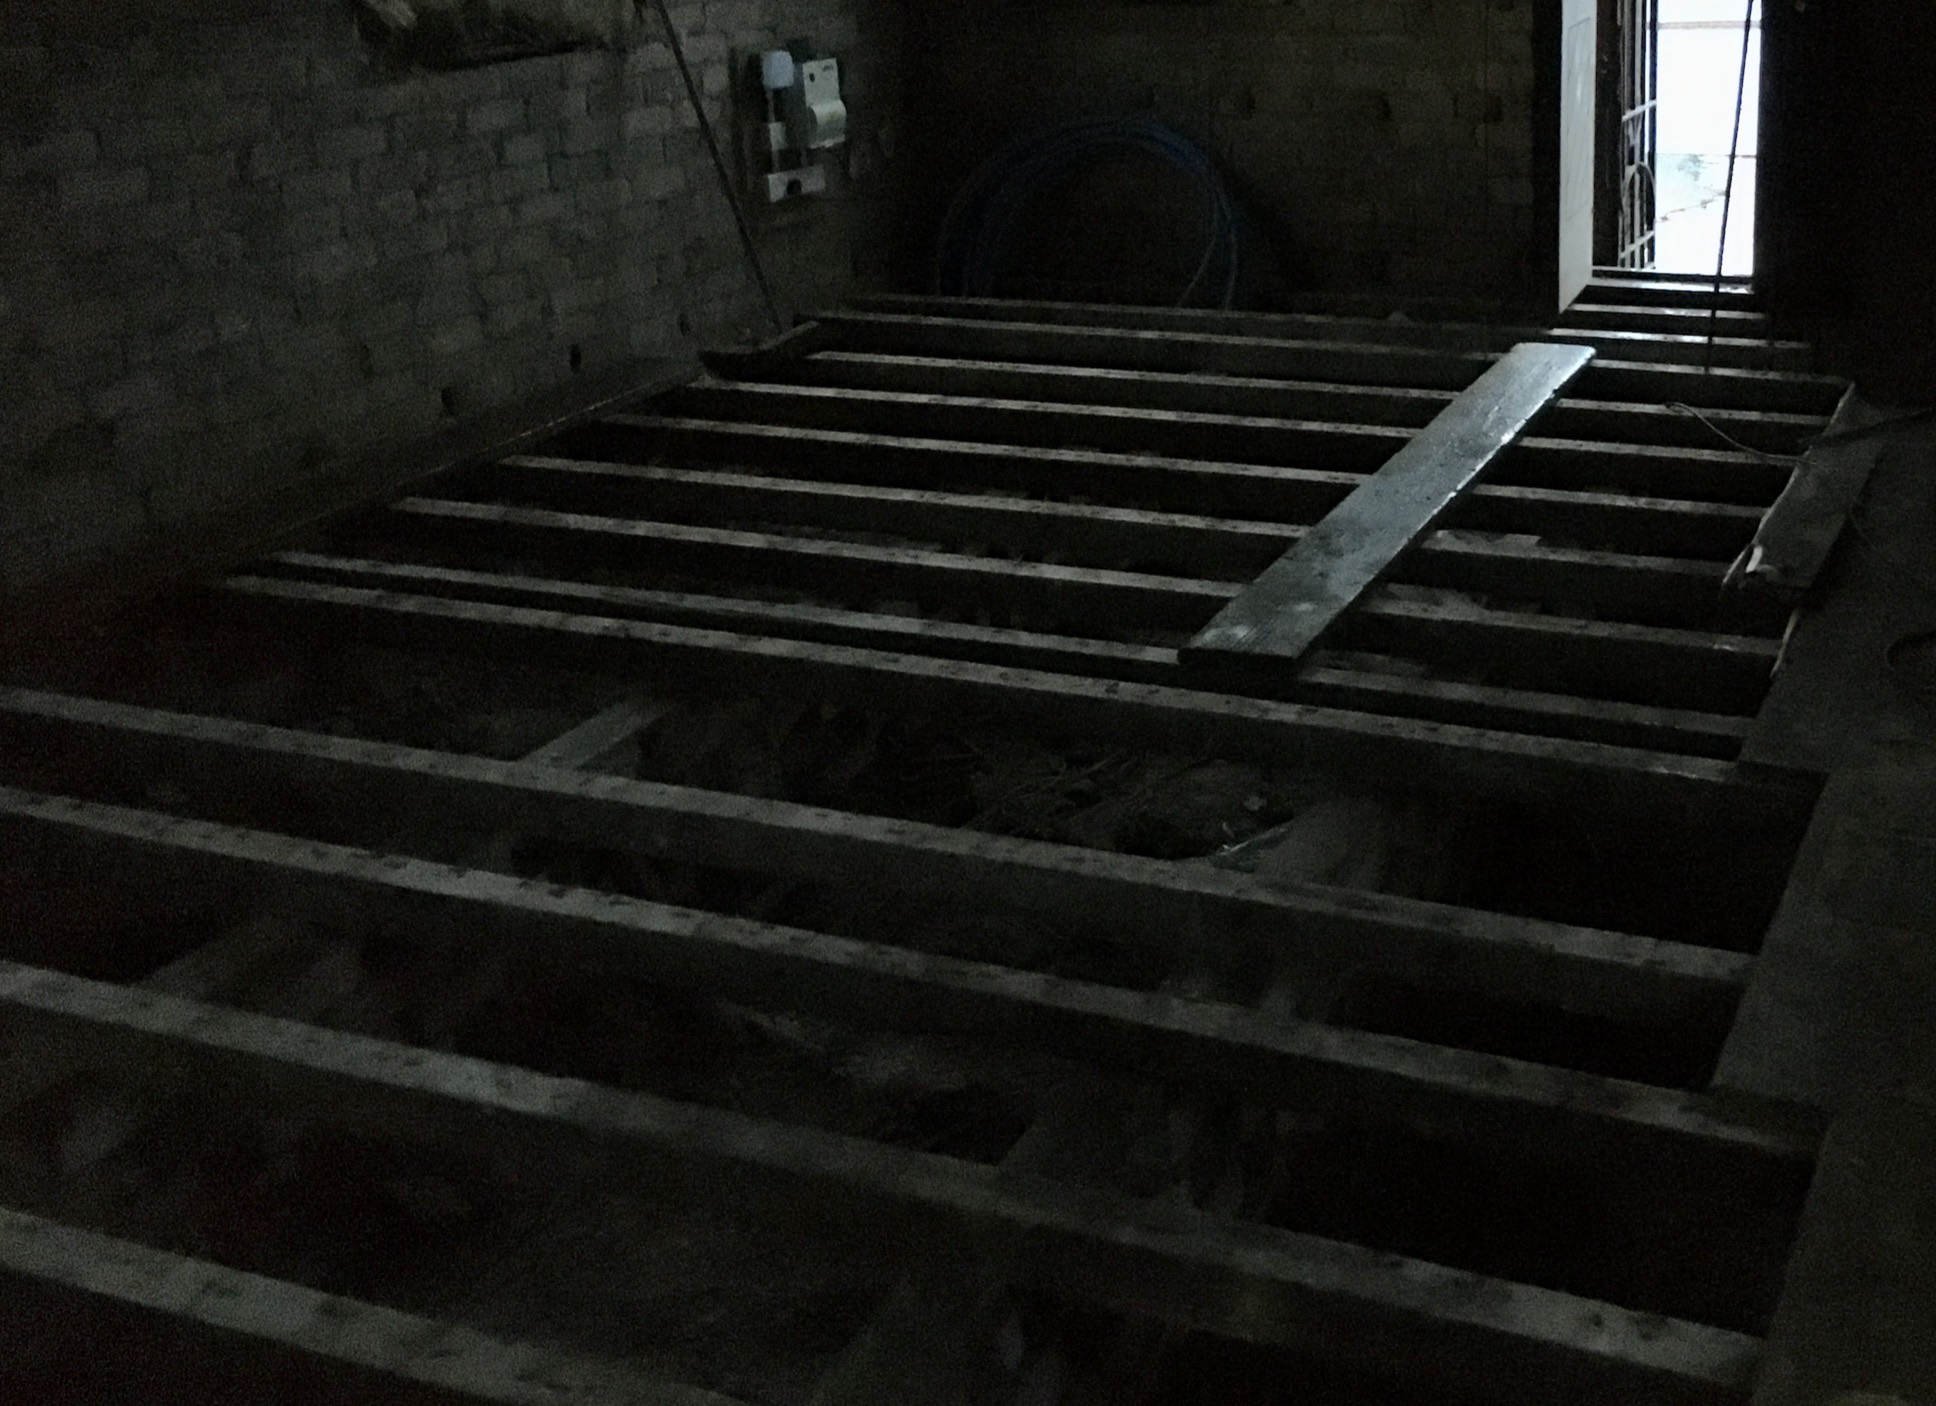
Lifting the floor…
At this point it was time to lift the old floor so that we could prepare the space for the groundworks to take place. The old floorboards were a struggle to lift as they’d be nailed down (extremely well!) to the the floor joists. But with some water and woodworm damage over the years, there were areas that just broke away as we tried to pull them up. We spent a weekend trying to punch through the nails so the we could lift the boards that way but it proved to be a bit of a headache. This was before even thinking about repairing the damaged areas too.
After a few days of exploring our options for flooring, we managed to source some reclaimed pitch pine boards that were the same width as the originals. The wood was also of a very similar age as it came out of a Victorian mill in Halifax! We really wanted to retain the same feeling and aesthetic of having an old wooden floor in the space as opposed to anything new. But more on that again…

Once the floorboards were up, the joists were lifted and the builders made a surprise discovery of some Victorian bricks! They’d been stored underneath the floor and were used as pylons to support the floorboards. They would certainly come in useful for the re-building process to replace some of the damaged or blown bricks from years of frost damage.
Here are some of the bricks, photographed late one evening, hence the blurry photos:


With the joists removed, we were down to compacted earth as the whole inside of the Chapel dropped by around 3ft/90cm. The renovation project felt something like a swimming pool with this change in level – it was a big step down from the front door for a while!


Brickworks and sills
The sandstone sills needed to be removed next – some of them were cracked from frost over the years externally and from the inside, quite a few were crumbling away in parts. Our builder knew an excellent stonemasons nearby that would copy the original design so that we could replace them all. One of the bricklayers cheekily remarked that the Chapel resembled a nearby ruined abbey at this point in the build… it really was starting to feel sort of like a brick box!
Some close ups of the holes from where the sills were removed:


Here are the beginnings of the external brickwork repairs and how the area around the new back door was being built:


It was one of the coldest parts of the year when all this was going on and I loved noticing different parts of the building covered in swathes of hessian as the mortar dried. Seeing the draped material added a softness to the otherwise hard, angular brickwork and was one of those small details that really caught my attention.
The Chapel was starting to be repaired and brickwork re-built where needed with our newfound stash of Victorian bricks, and the whole building was going to be re-pointed too. The arches that required repair were skilfully rebuilt using the template below left. Acrow props jutting through walls and holding up parts of the building were a common sight. Despite the fact that the Chapel was looking a little battered at this part of the process, there was simultaneously lots of exciting progress too.


Below is a view from the front door looking in. As a point of interest, the channels dug out in the floor by the original builders were there to house the brick pylons that held the floor up. You can also see the original Victorian railings propped up on the right hand side.

Conclusion
I hope you enjoyed seeing some of the construction works for today’s Renovation Diaries post — I think these photographs really do illustrate how it got worse before it started to get better! The brickworks of course were a fundamental element to repair to ensure the building was structurally sound for the future. The repairing and repointing was also beginning to transform the outside of the Chapel after years of getting weatherbeaten. After living up North for nearly two years now, I can certainly agree with the sentiment that ‘it’s cold up North!‘.
I’ll be back with the next renovation project update in a few weeks in between my usual houseplant posts. For easy navigation, I’ve made a ‘Renovation’ tab on the homepage to catalogue this series. Alongside sharing the key points of the renovation on my main HOUSE PLANT HOUSE instagram, I’ve got a dedicated secondary page — HOUSE PLANT HOUSE renovates, which I will link here, where I’m sharing more of the project.
This process is actually quite intrinsically linked to HOUSE PLANT HOUSE because alongside being a space for my plants and I to grow, it’s also going to be a place from which I can run my small business. This was something I’ve had to put on hold for a while, with re-locating and all, but it’s a goal I’ve been working towards behind the scenes for the last few years. Essentially, the Renovation Diaries will document the creation of a physical iteration of HOUSE PLANT HOUSE, which I’m really looking forward to sharing.
