
For this renovation post, the inside gets transformed with battening and stud work for the new internal walls. This gives a real life view of how the space will actually feel as it becomes a home. Outside, the scaffolding appears in preparation for the big task of removing the roof…
Battening the walls
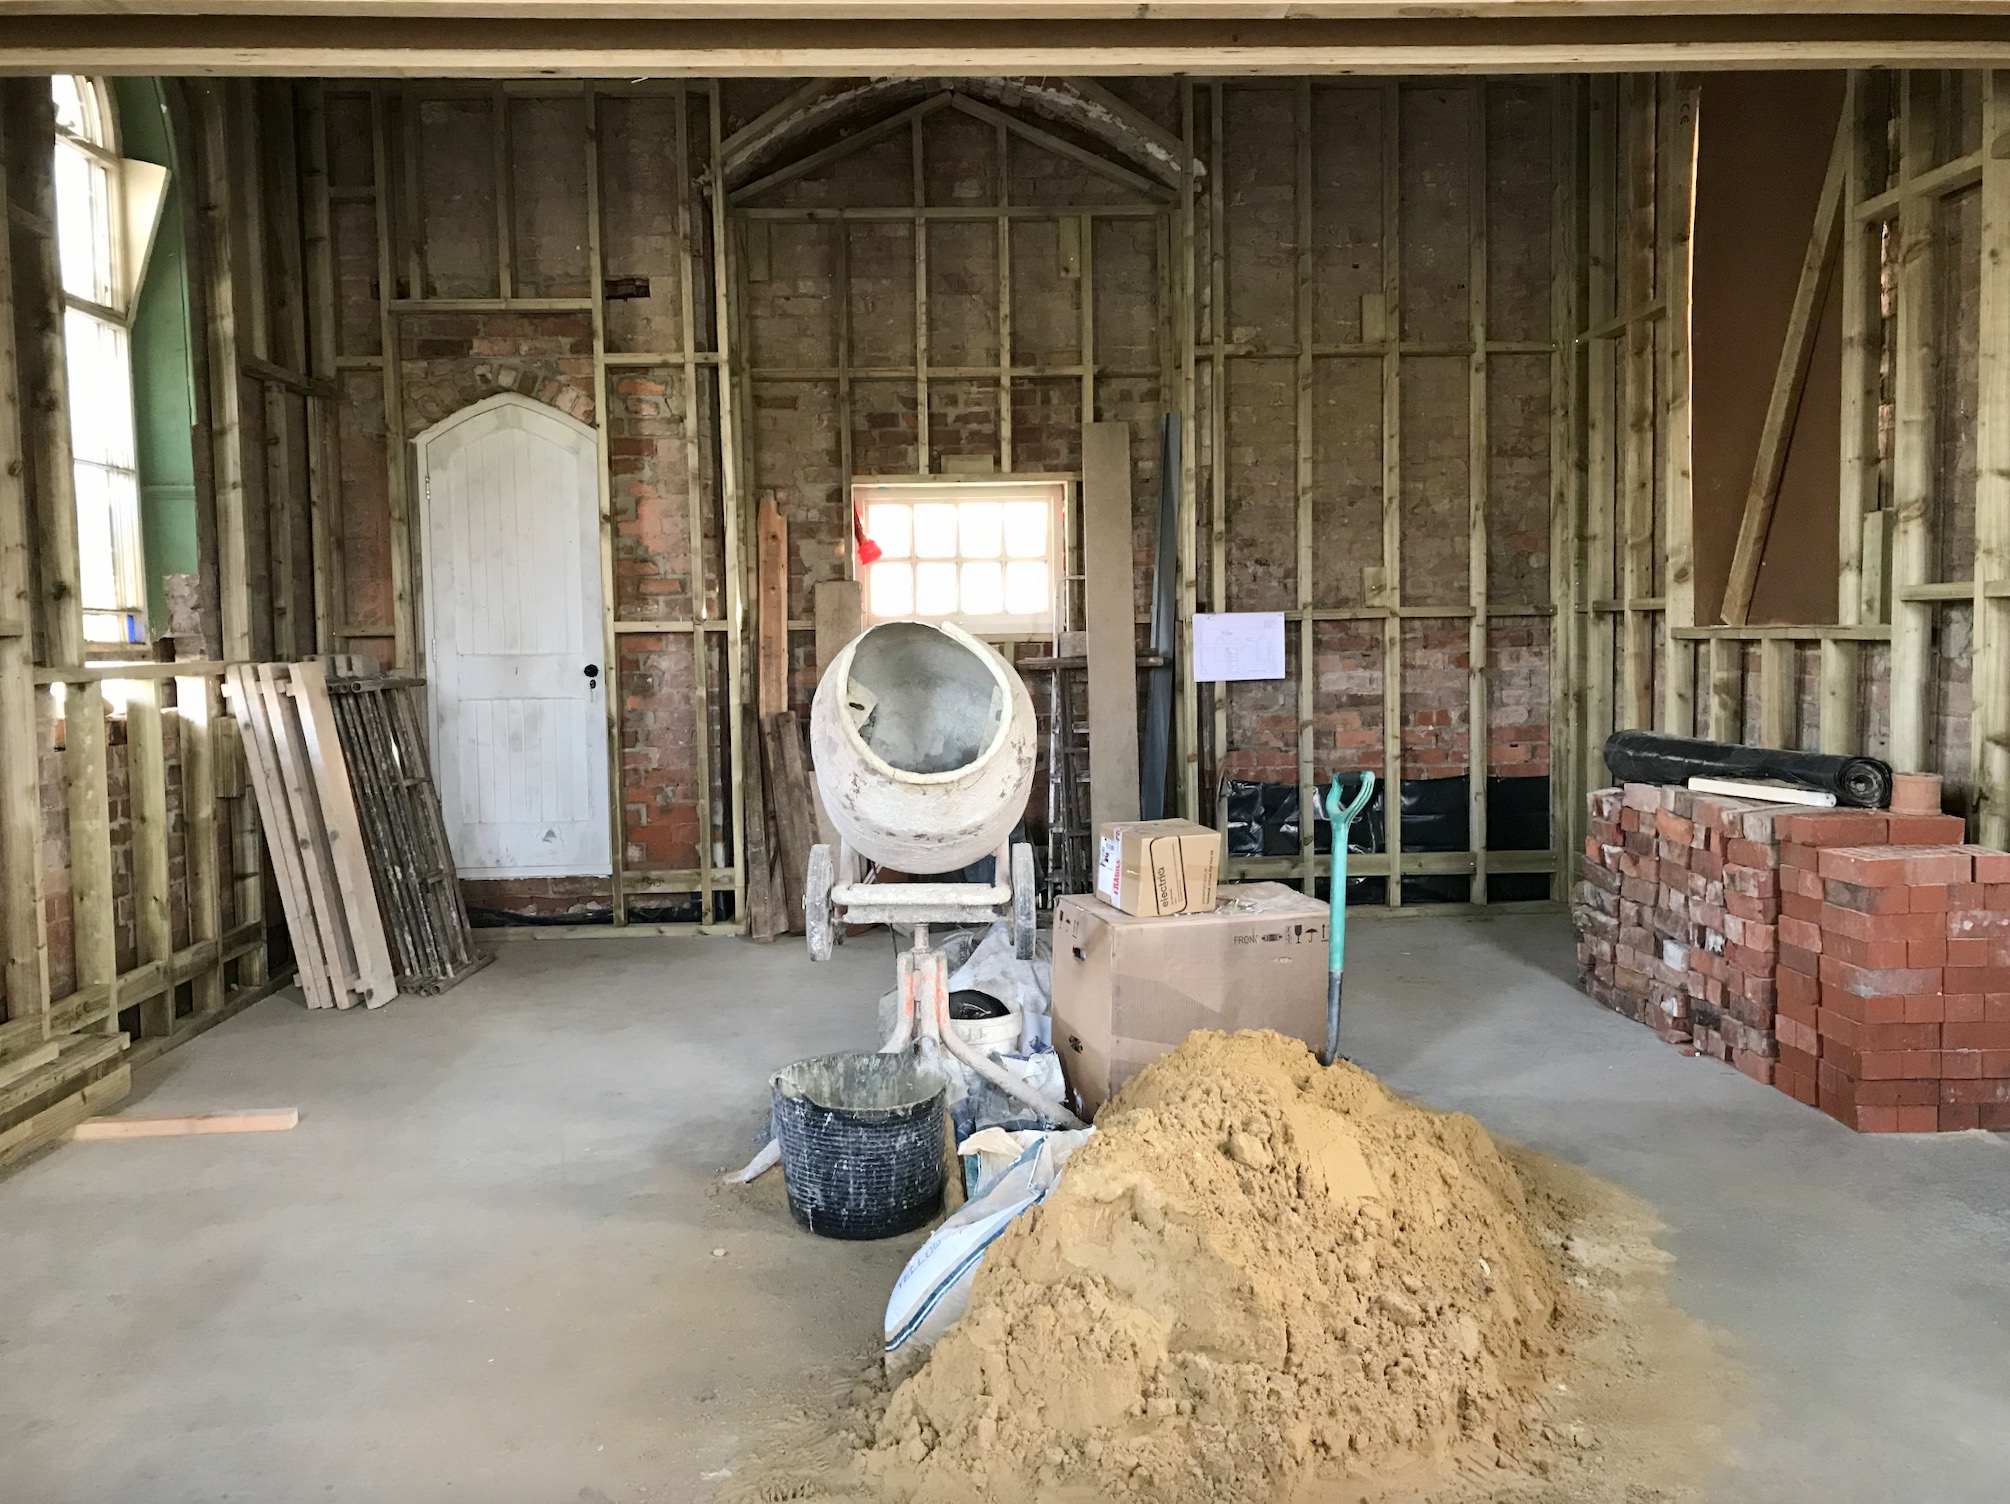
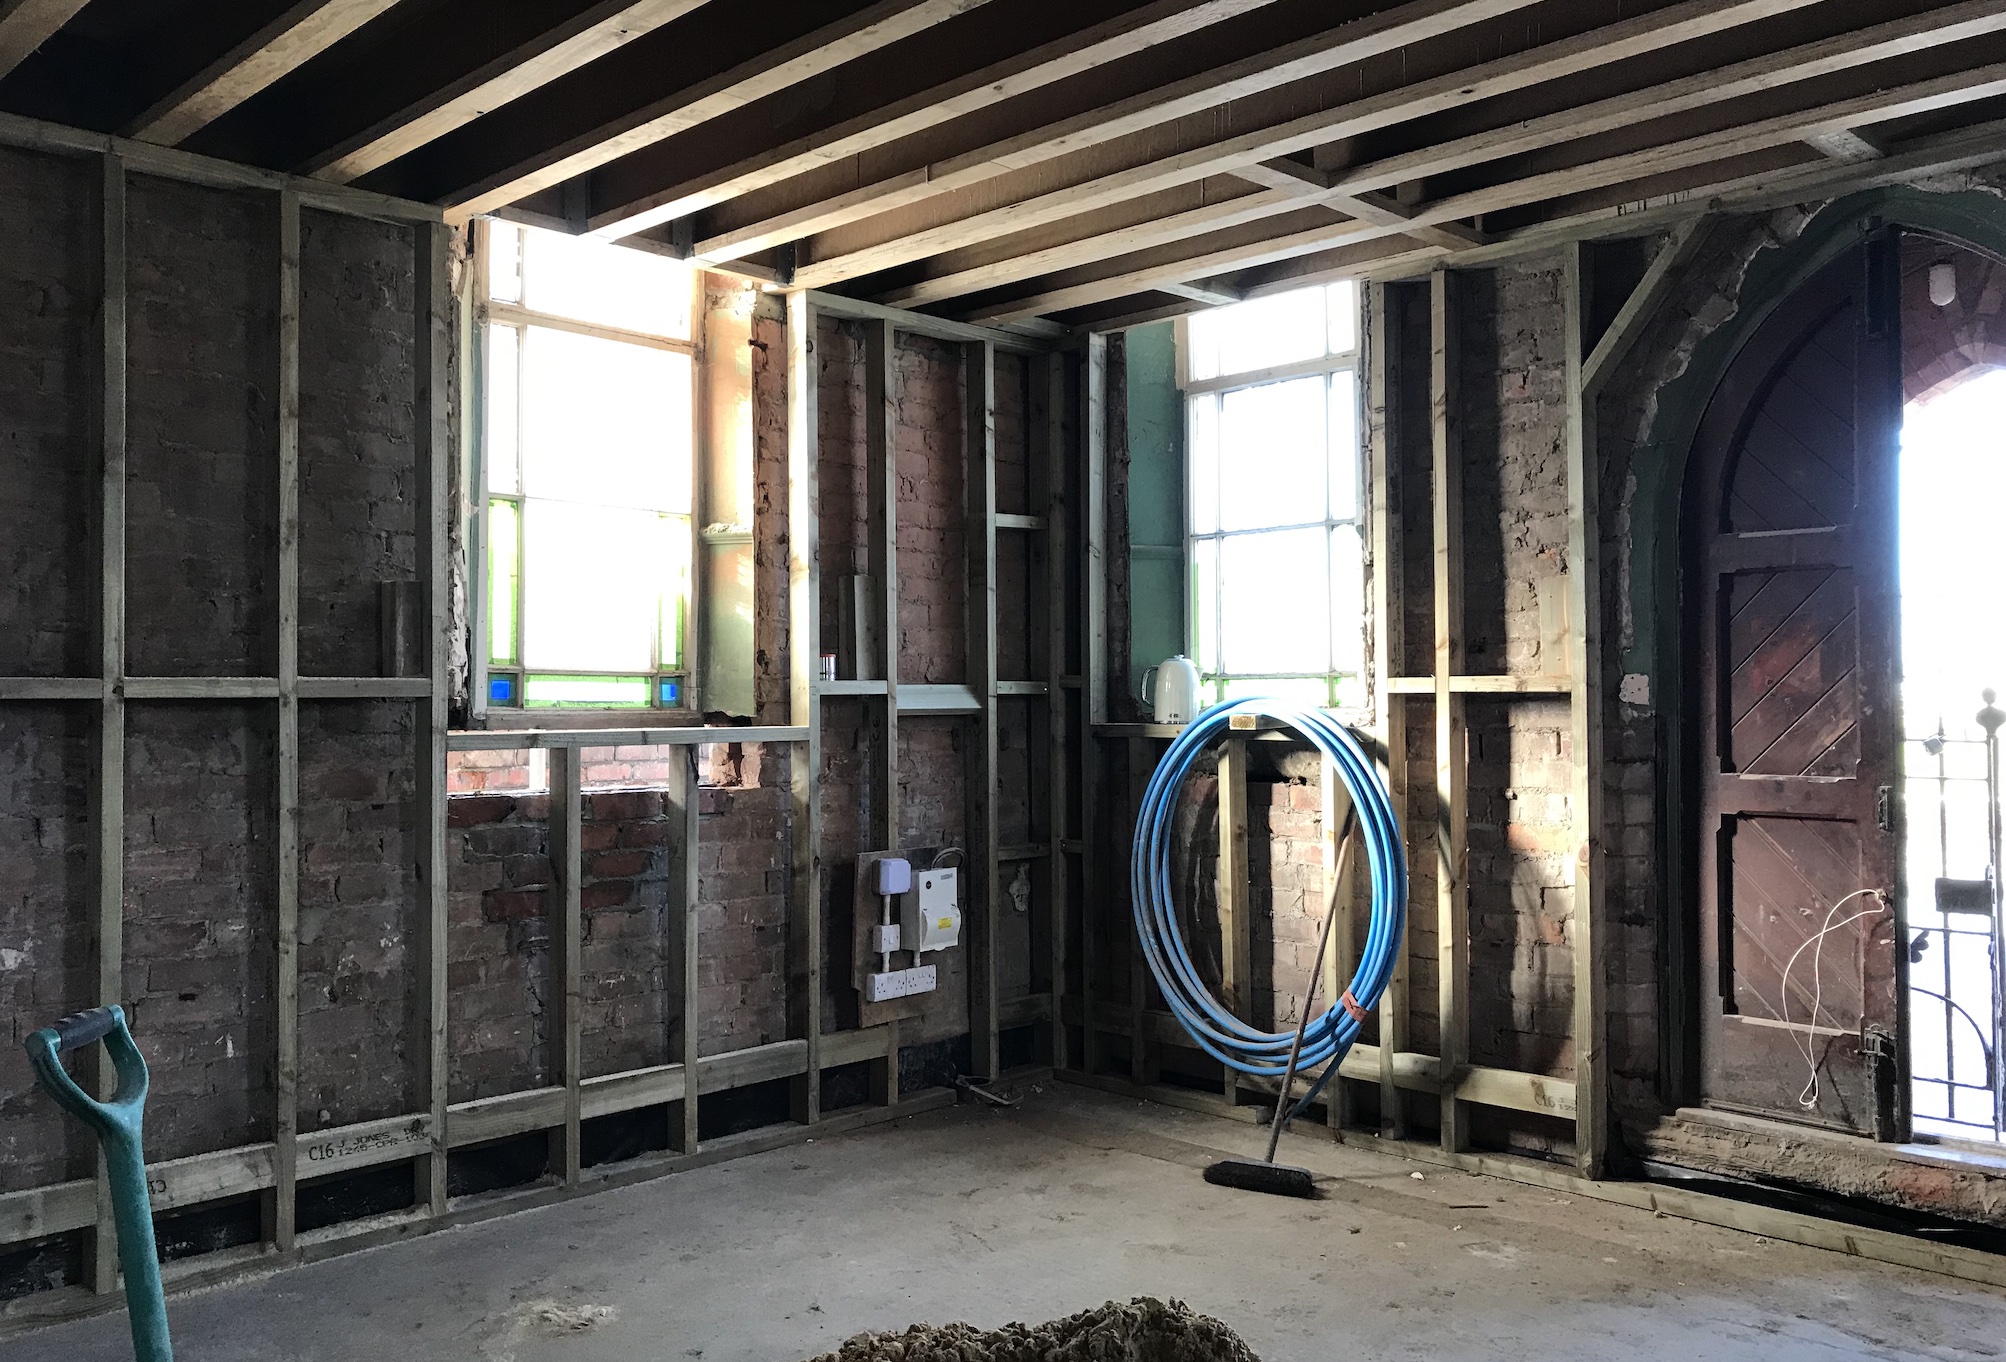
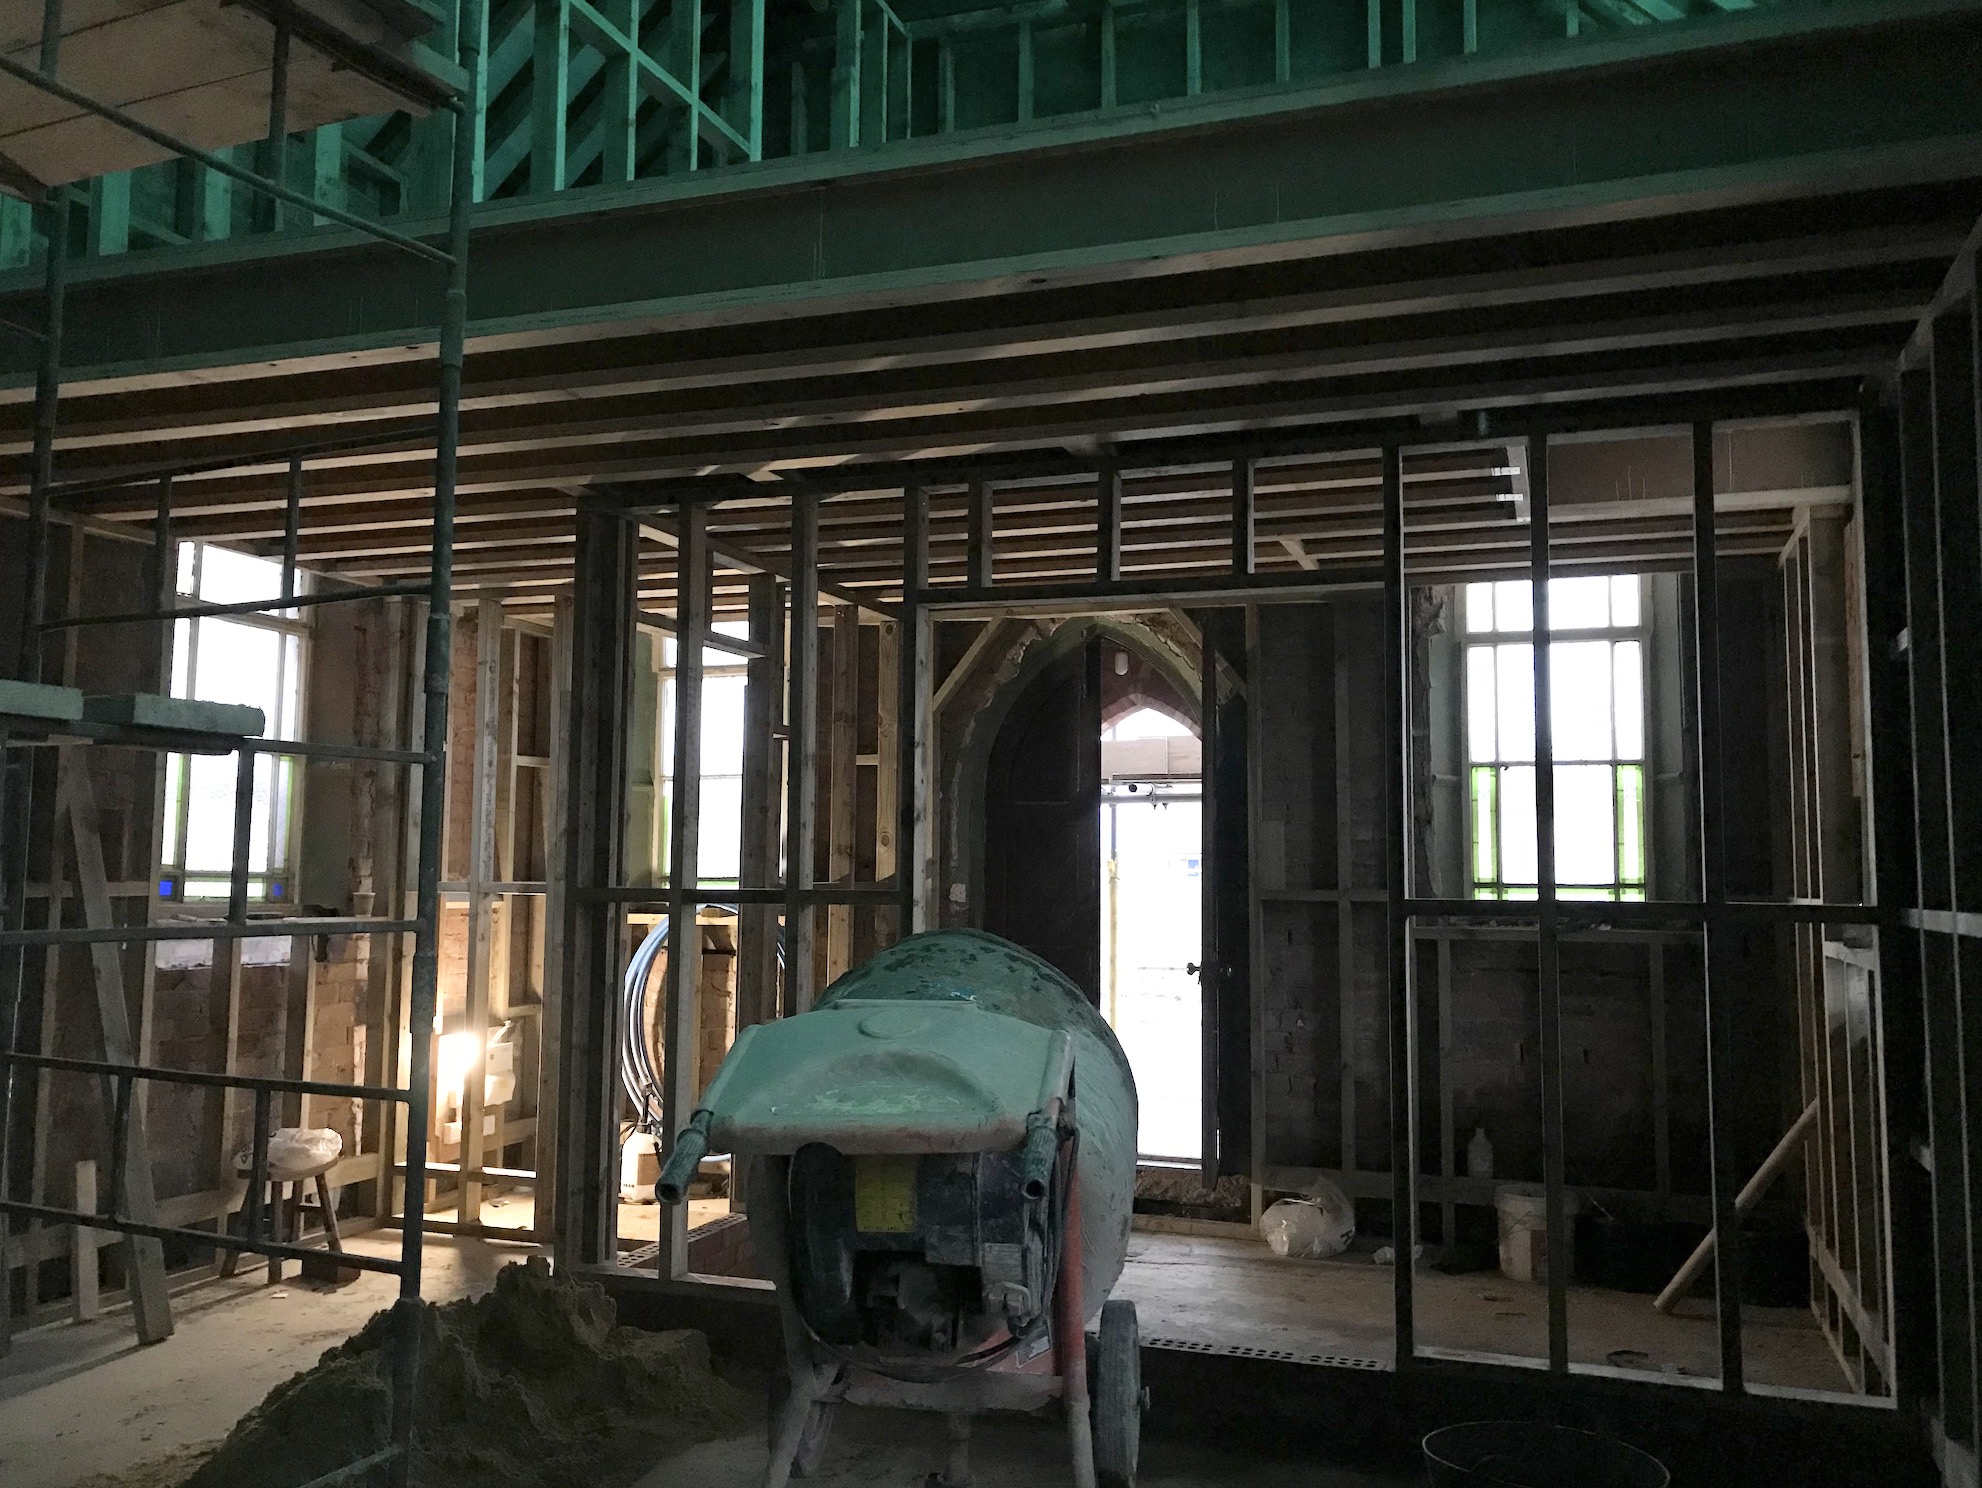
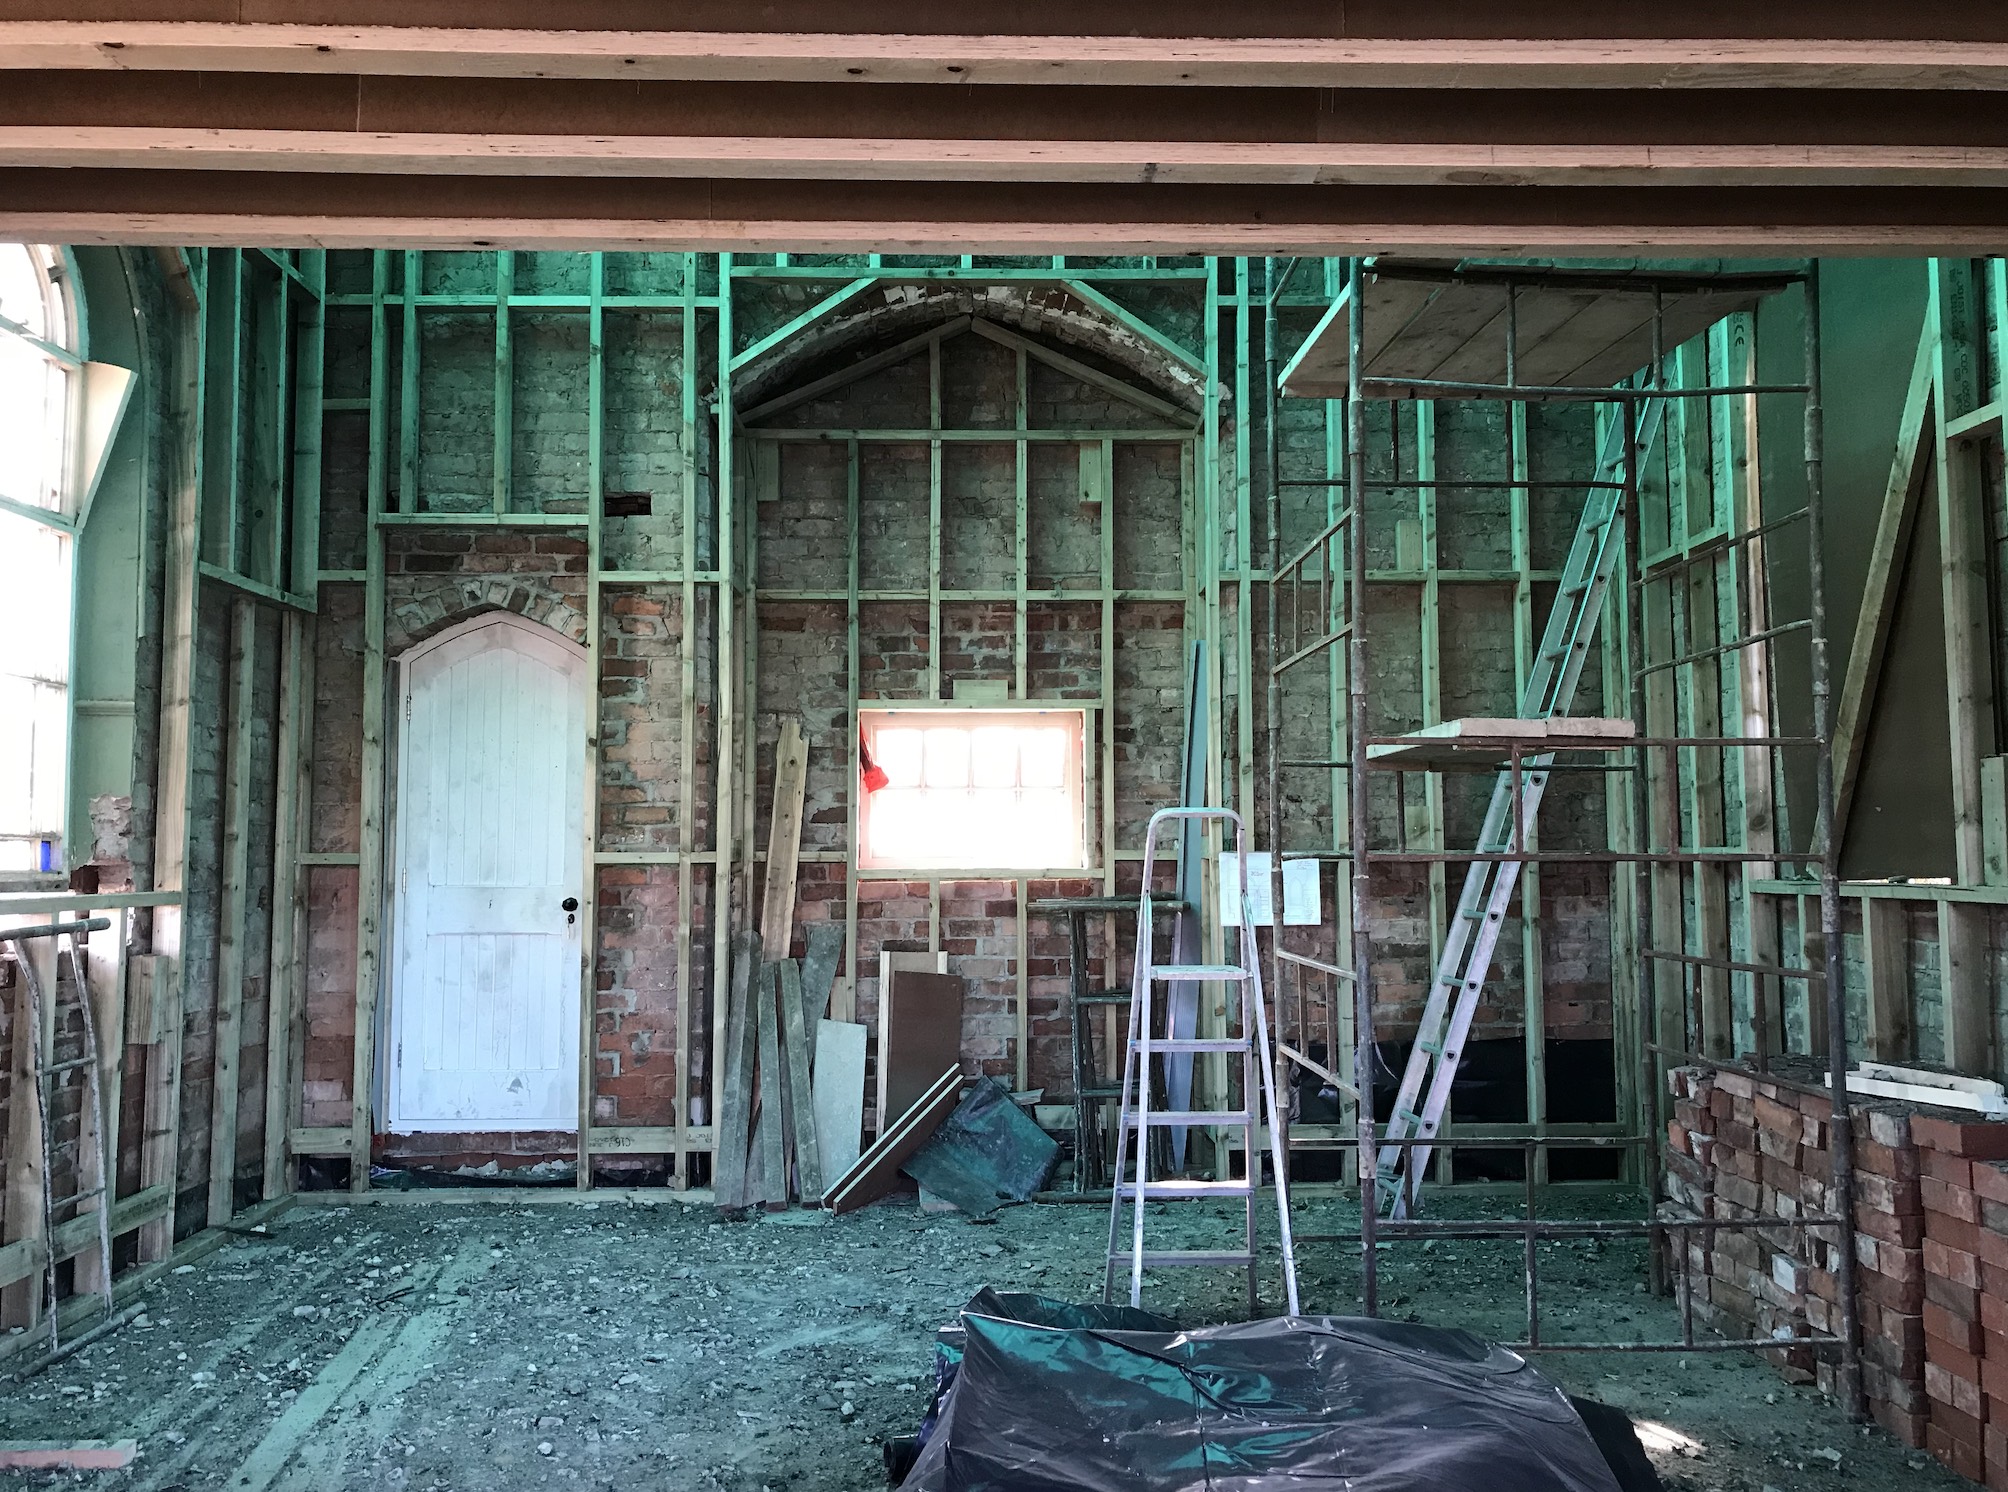
After a huge timber delivery, we had the materials on site for the battening to begin. Luckily we got a big order in on building supplies just before the price of timber went up quite considerably. This part of the process was really exciting as we could see how the inside was taking shape prior to the stud work for the internal walls. The battening would house the electrics and plumbing pipework and thick 100mm insulation to keep the building toasty.
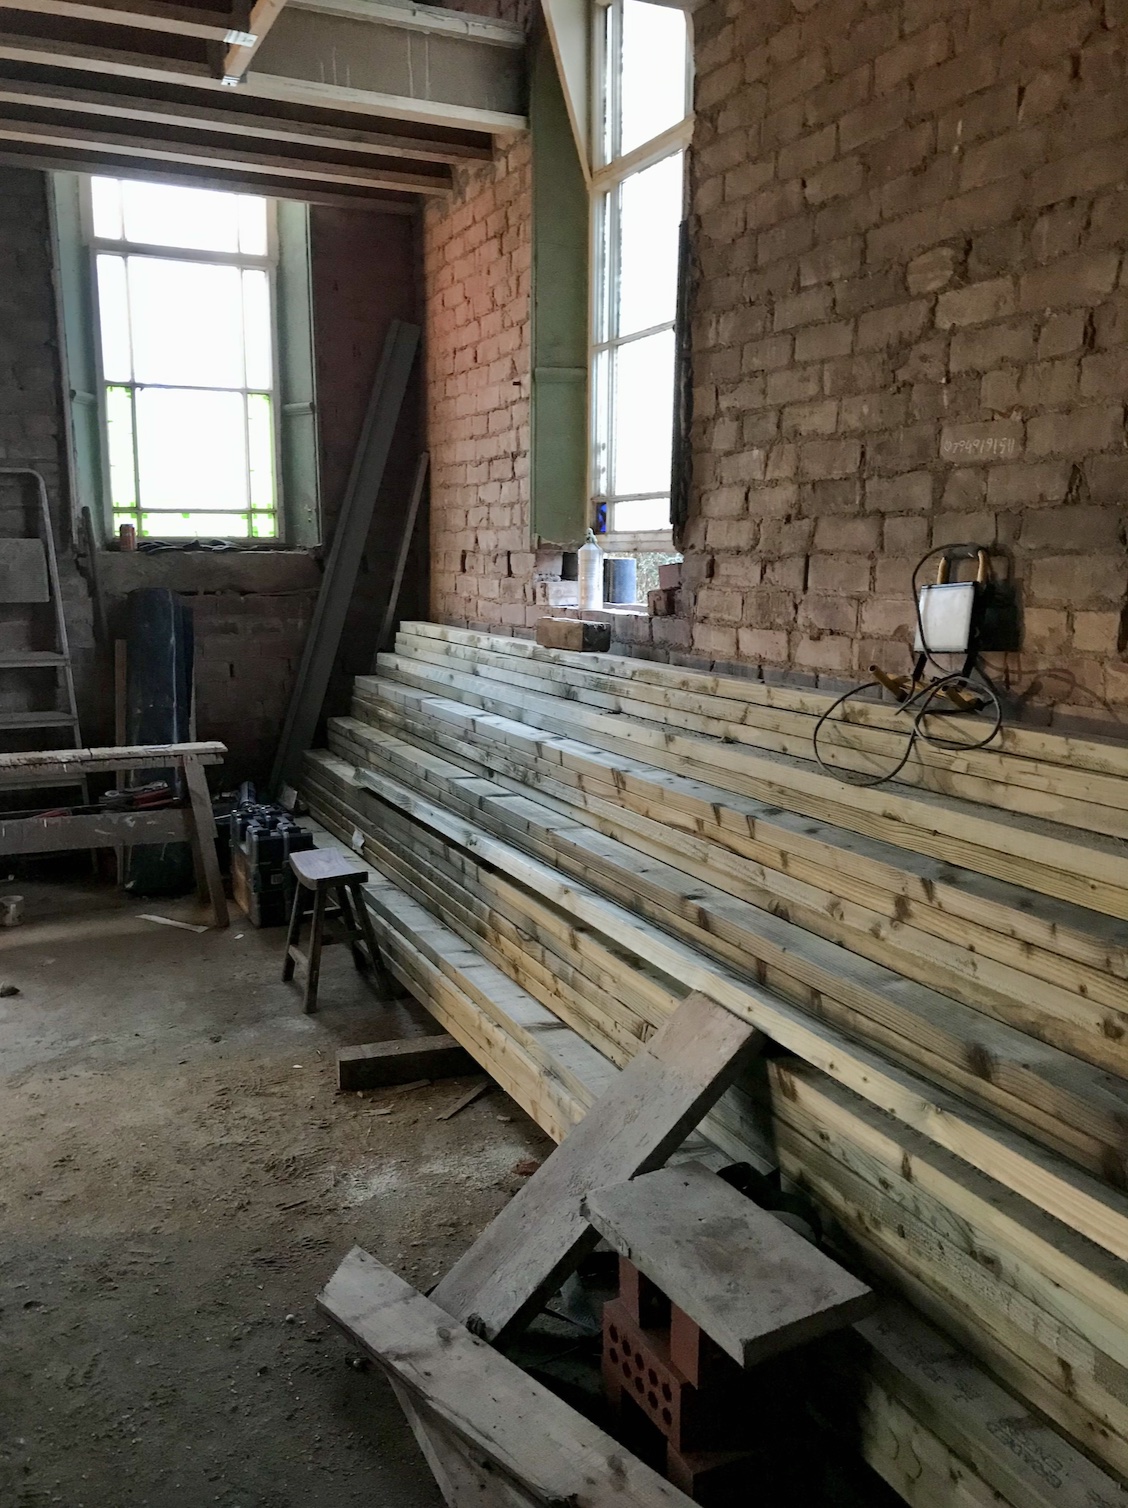
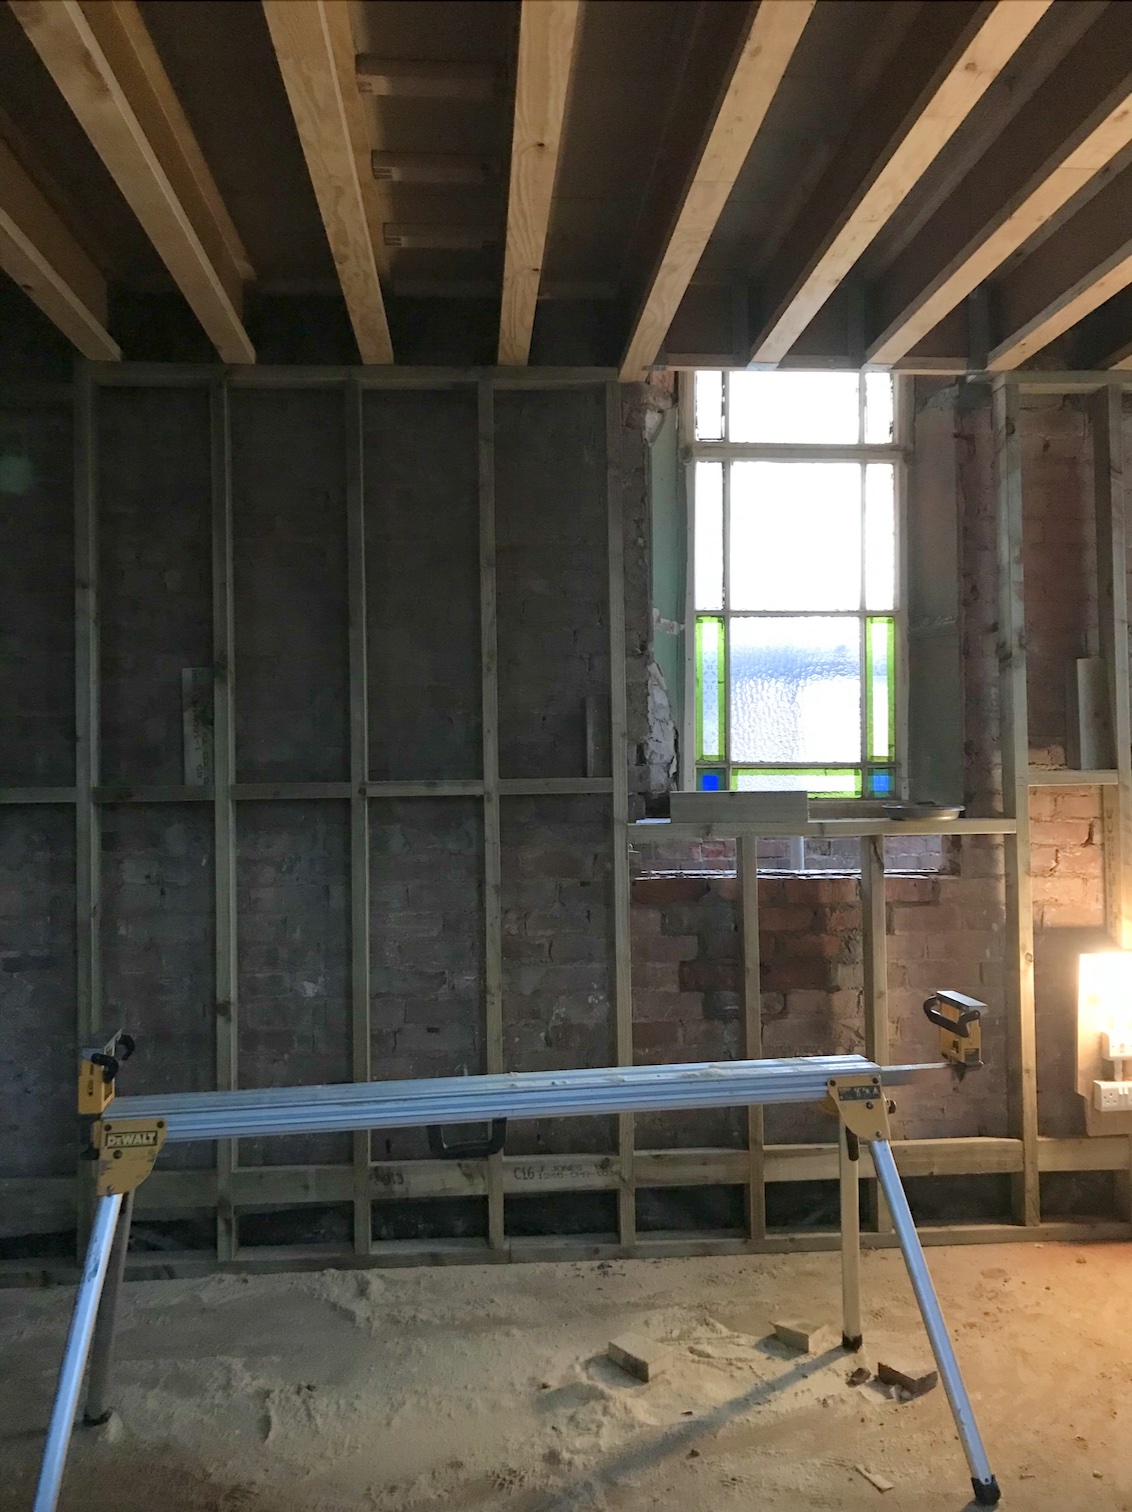
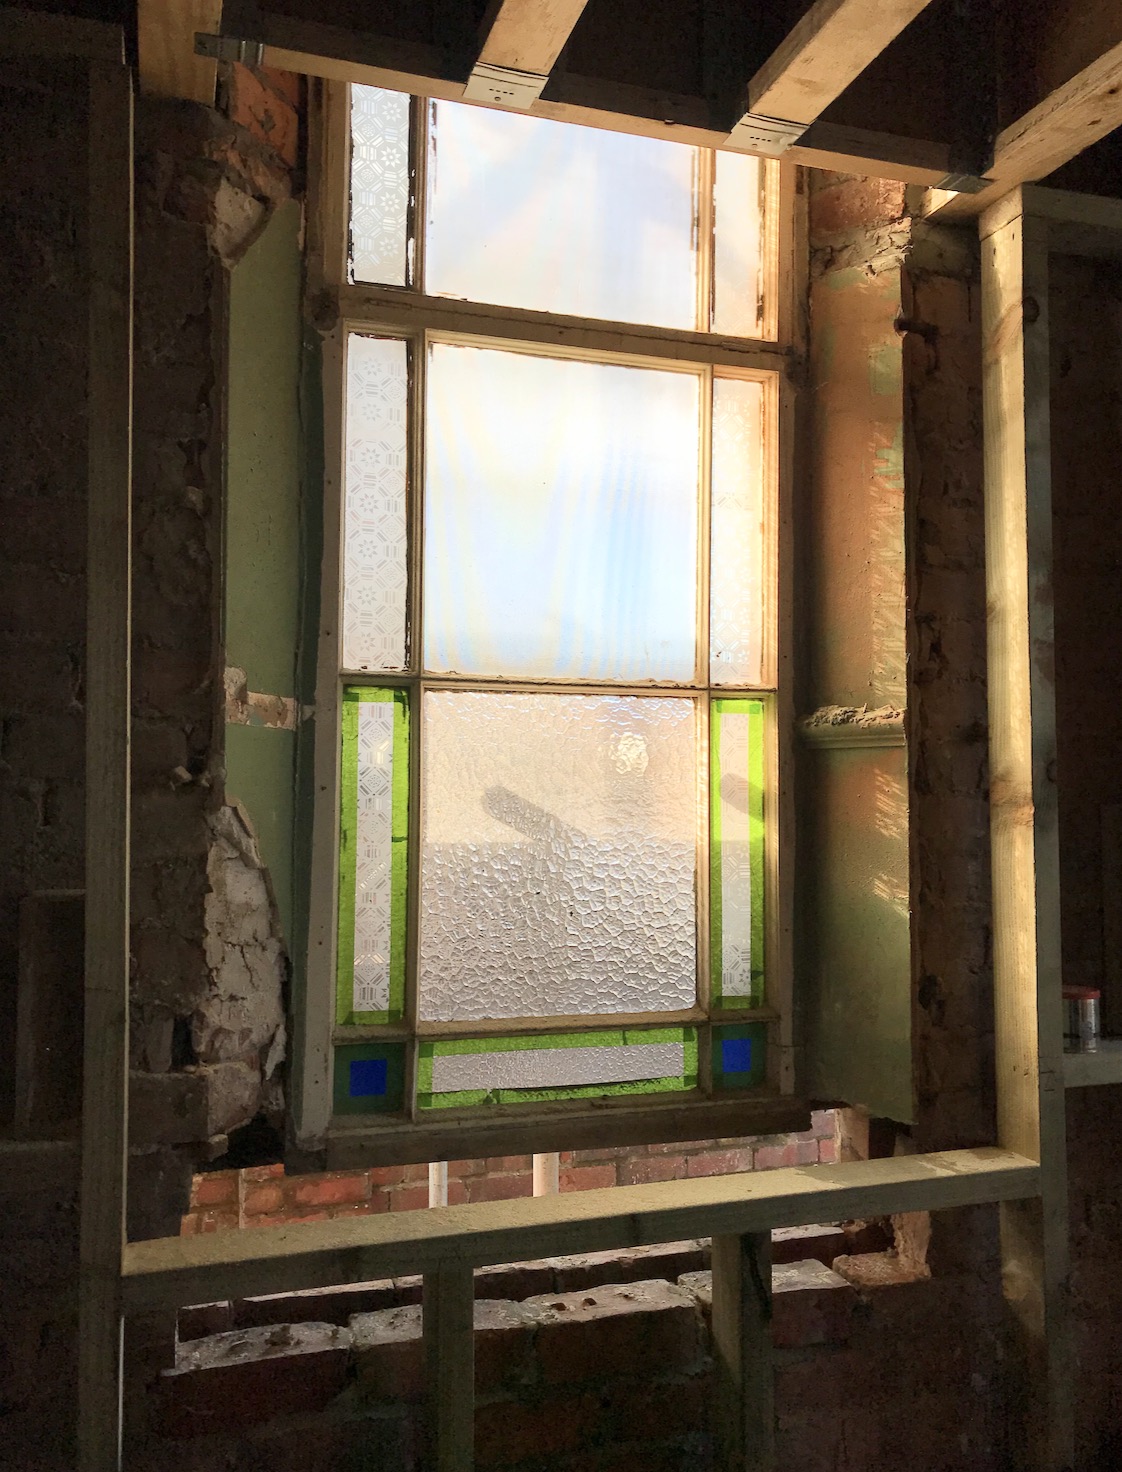
Aside from the thermal benefits, visually, the thick insulation would also mean that we’d gain a lot more depth around the window openings. Seeing the battening allowed us to envision things like how lovely the new windowsills will look. Little details I know, but all things that impact how the overall design comes together I think. Plus, I love a deep windowsill.
Battening progress:
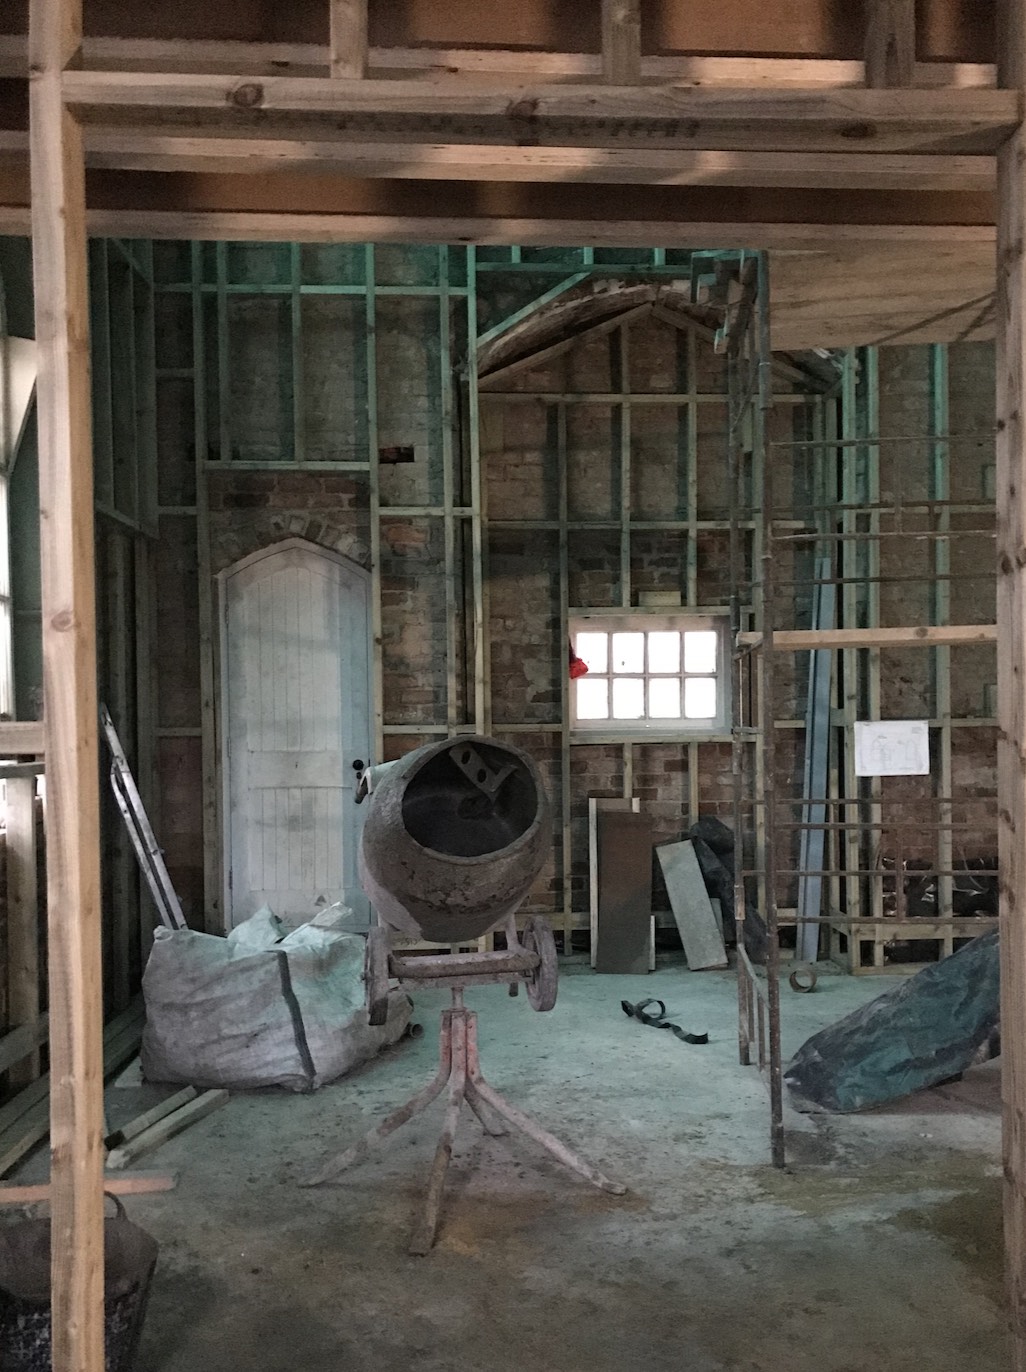
Internal structure + studwork
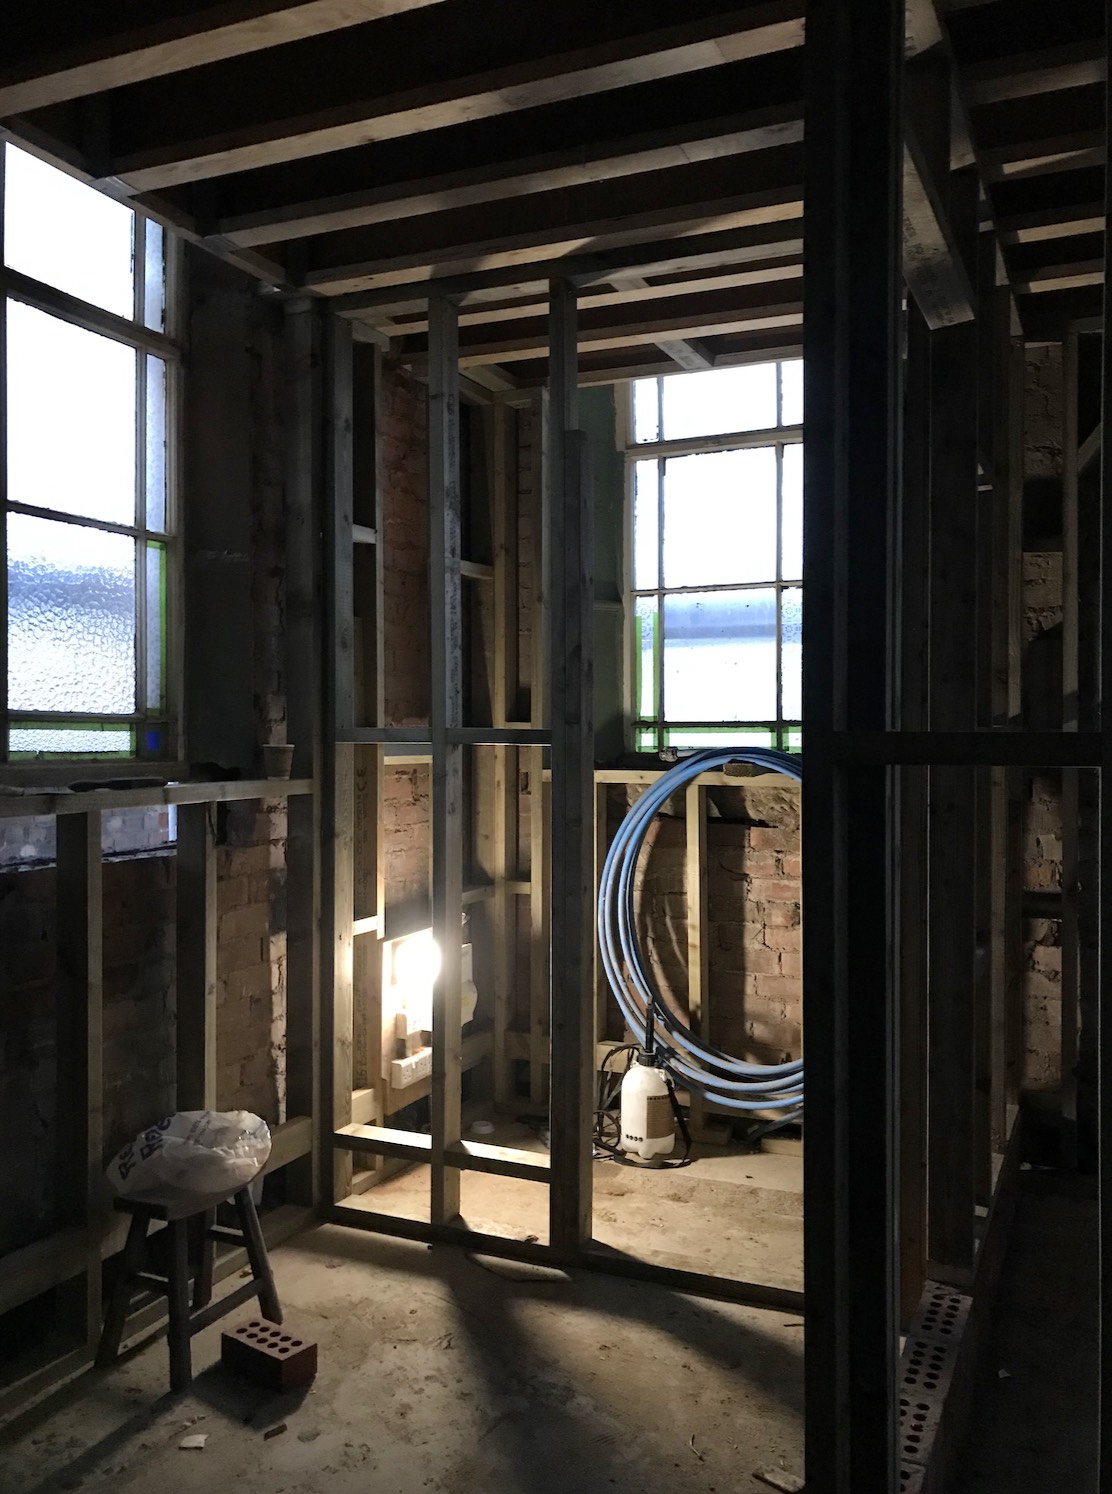
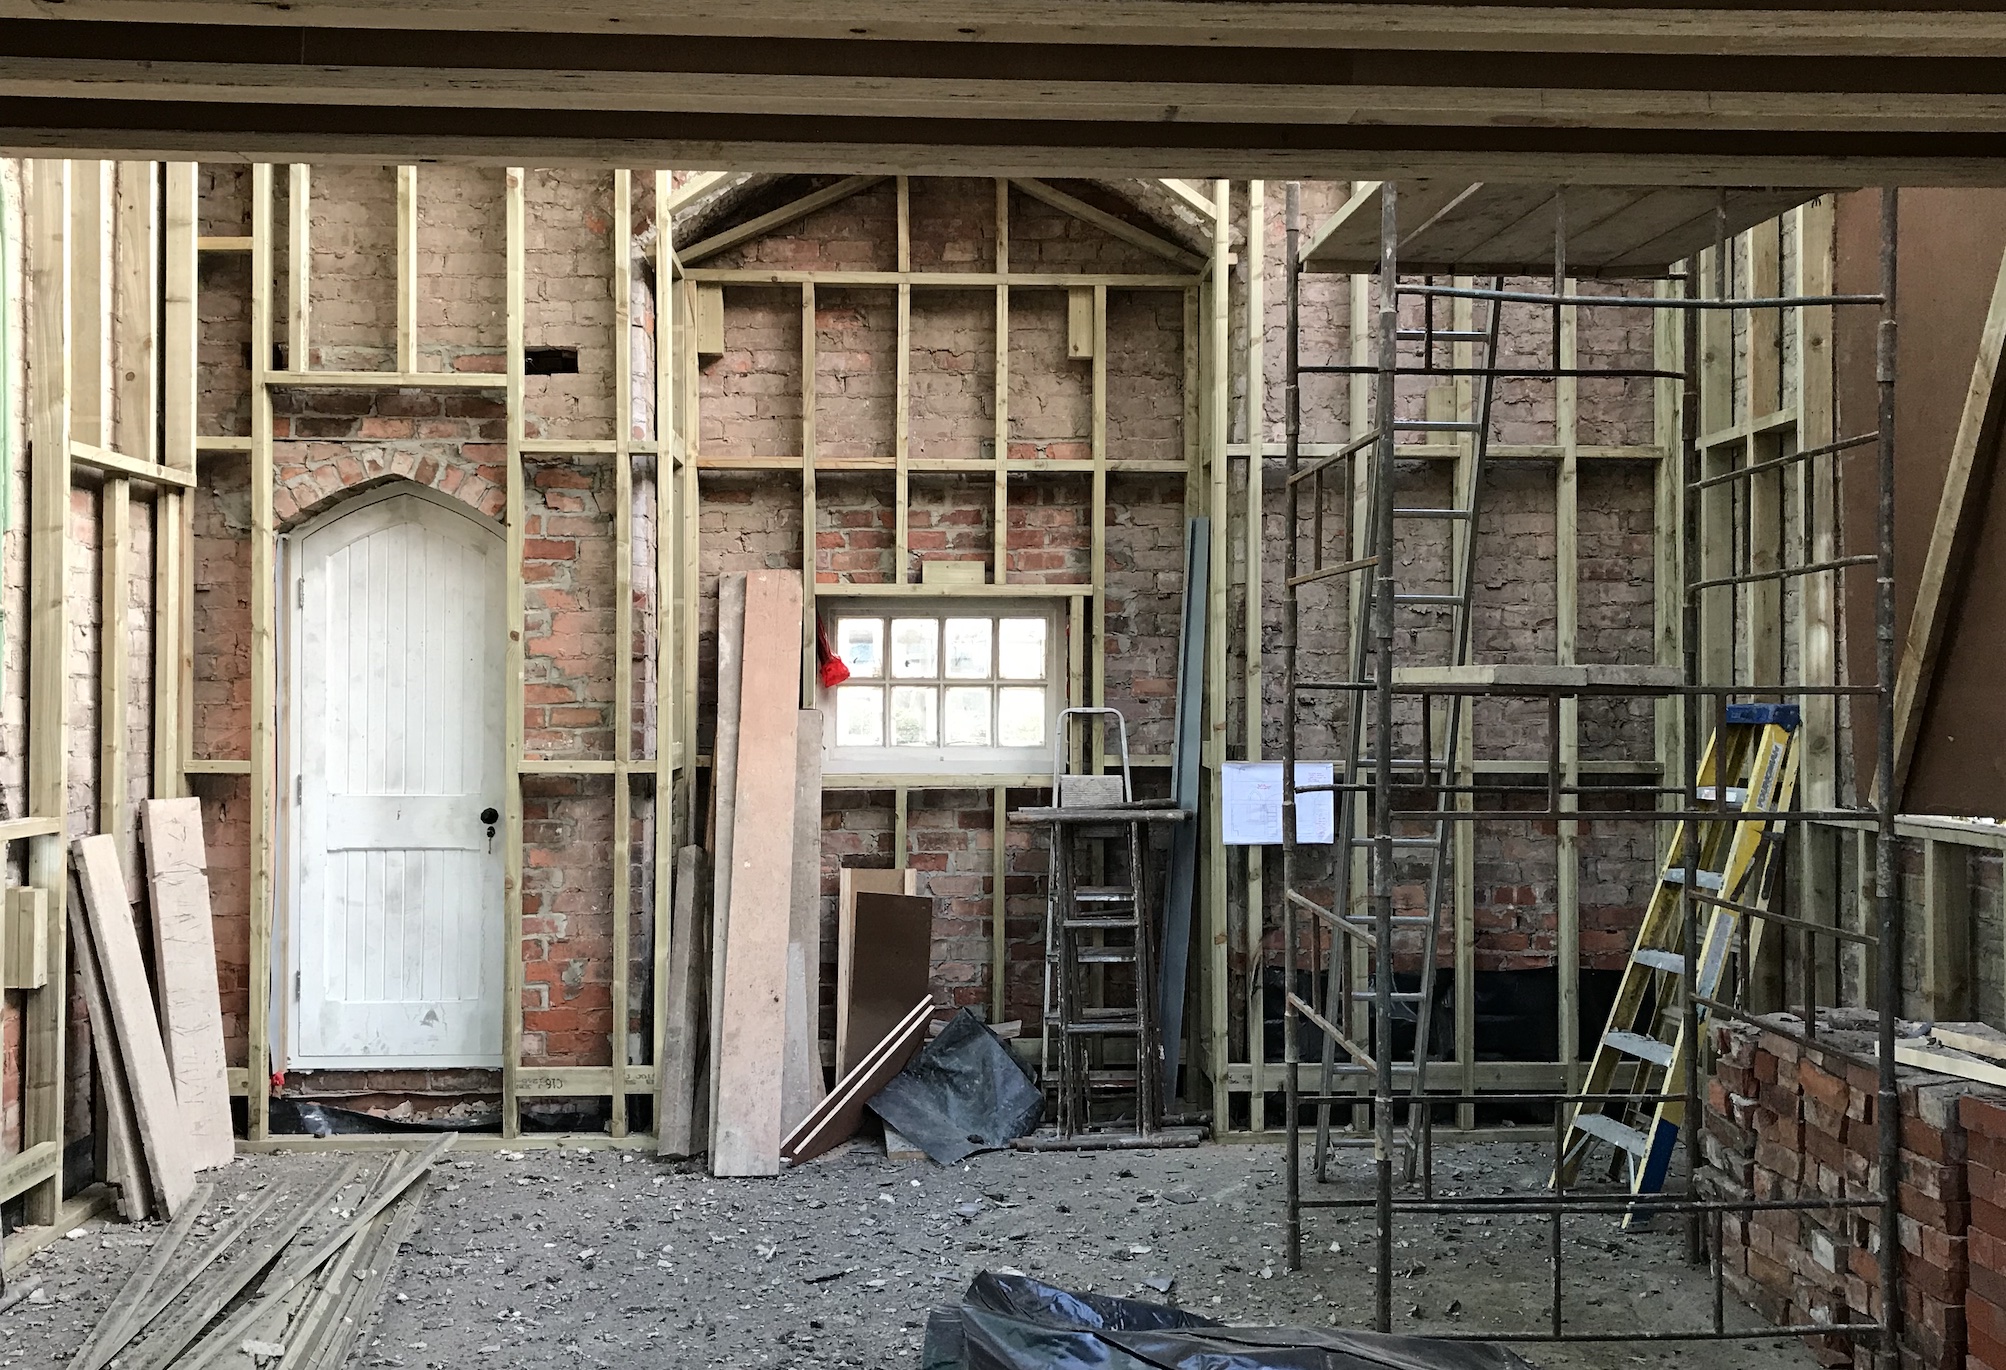
Up on the first floor, the internal structure comes to life with the stud work for the bathroom and some built in storage. In the photo below right, you can see the bathroom to the left of the mezzanine floor. The rest of the upstairs is open to maximise the feeling of space and borrowed light from the double height area.
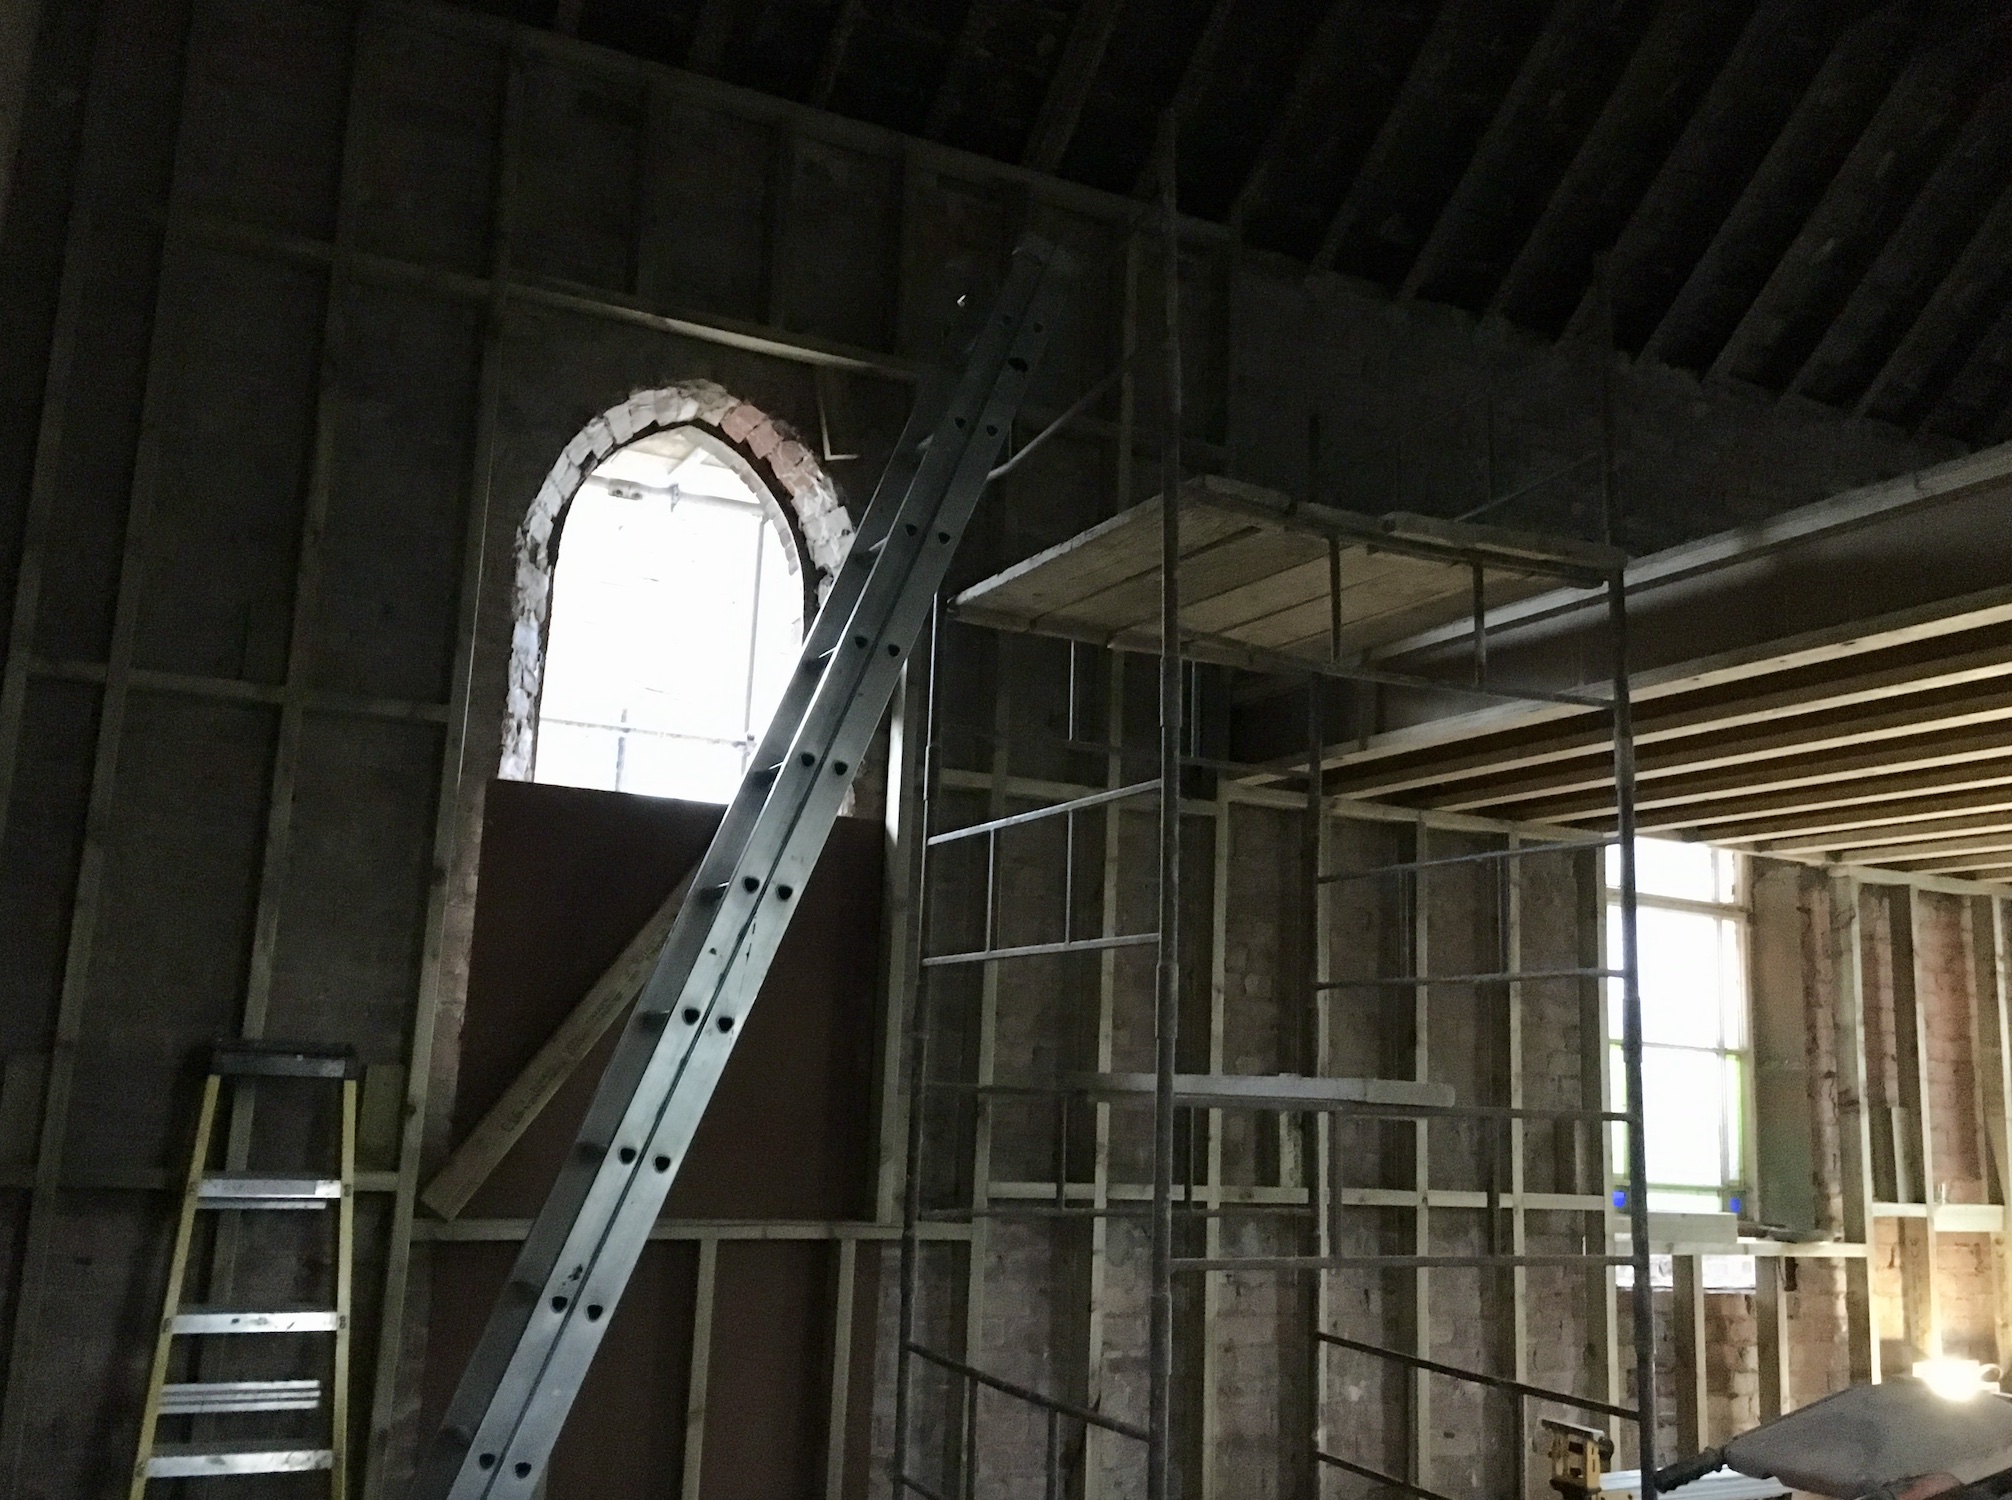
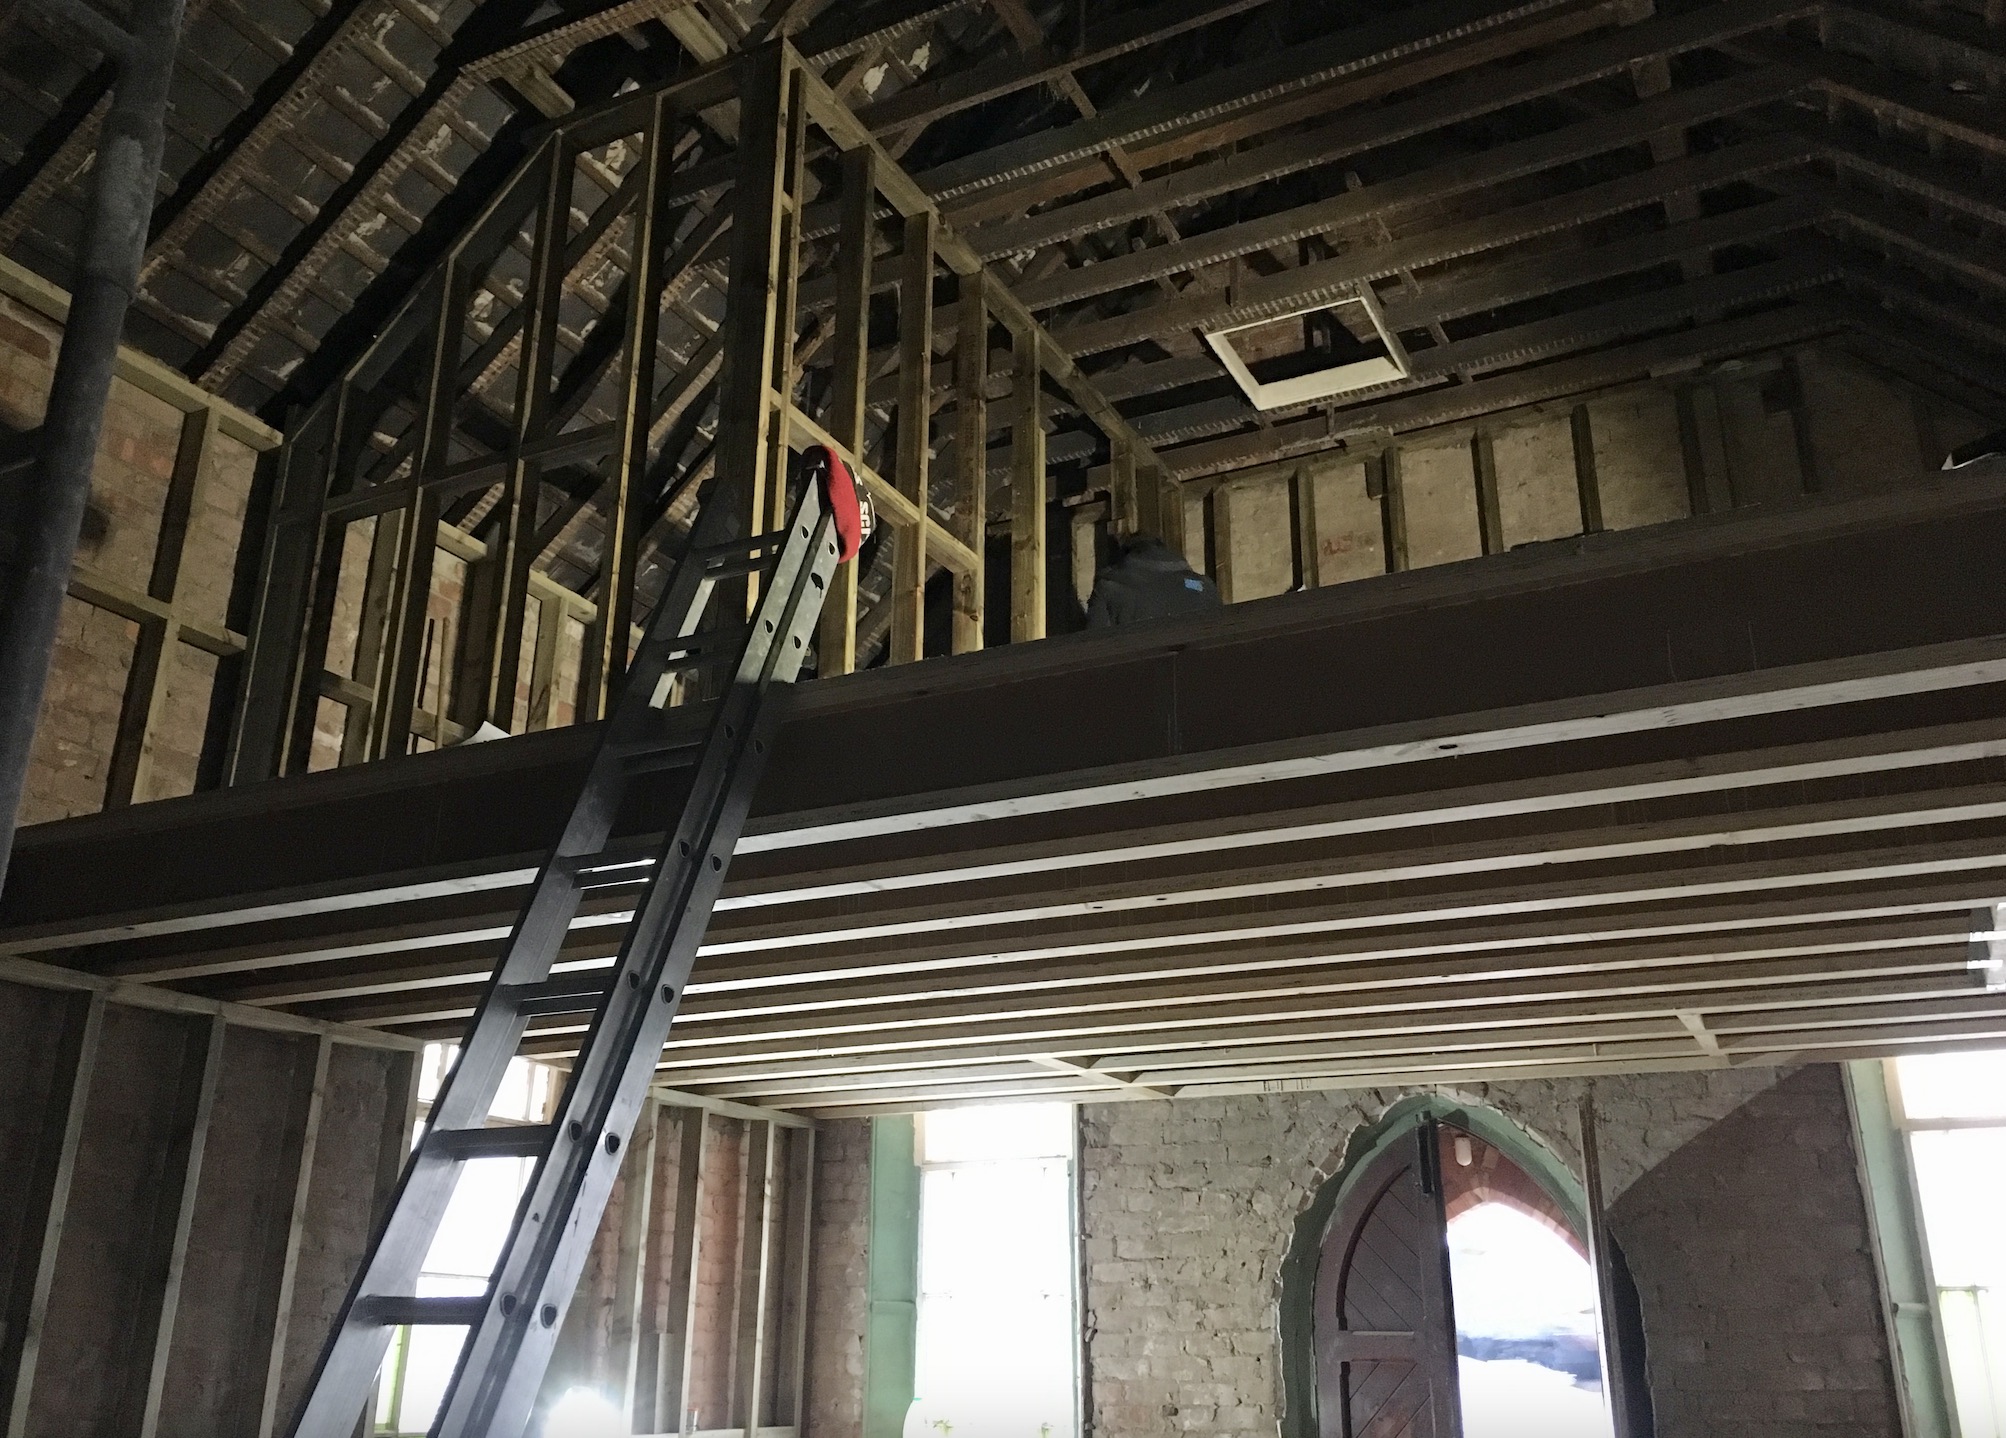
One of the idiosyncrasies of Chapel conversions relates to how the windows are negotiated. As you can see below, in the bathroom and on the mezzanine the windows appear up at floor level. This makes for an interesting architectural detail, but the aspect of light can be a concern. As our building is classed as a non-designated heritage site, we weren’t permitted to install any roof windows.

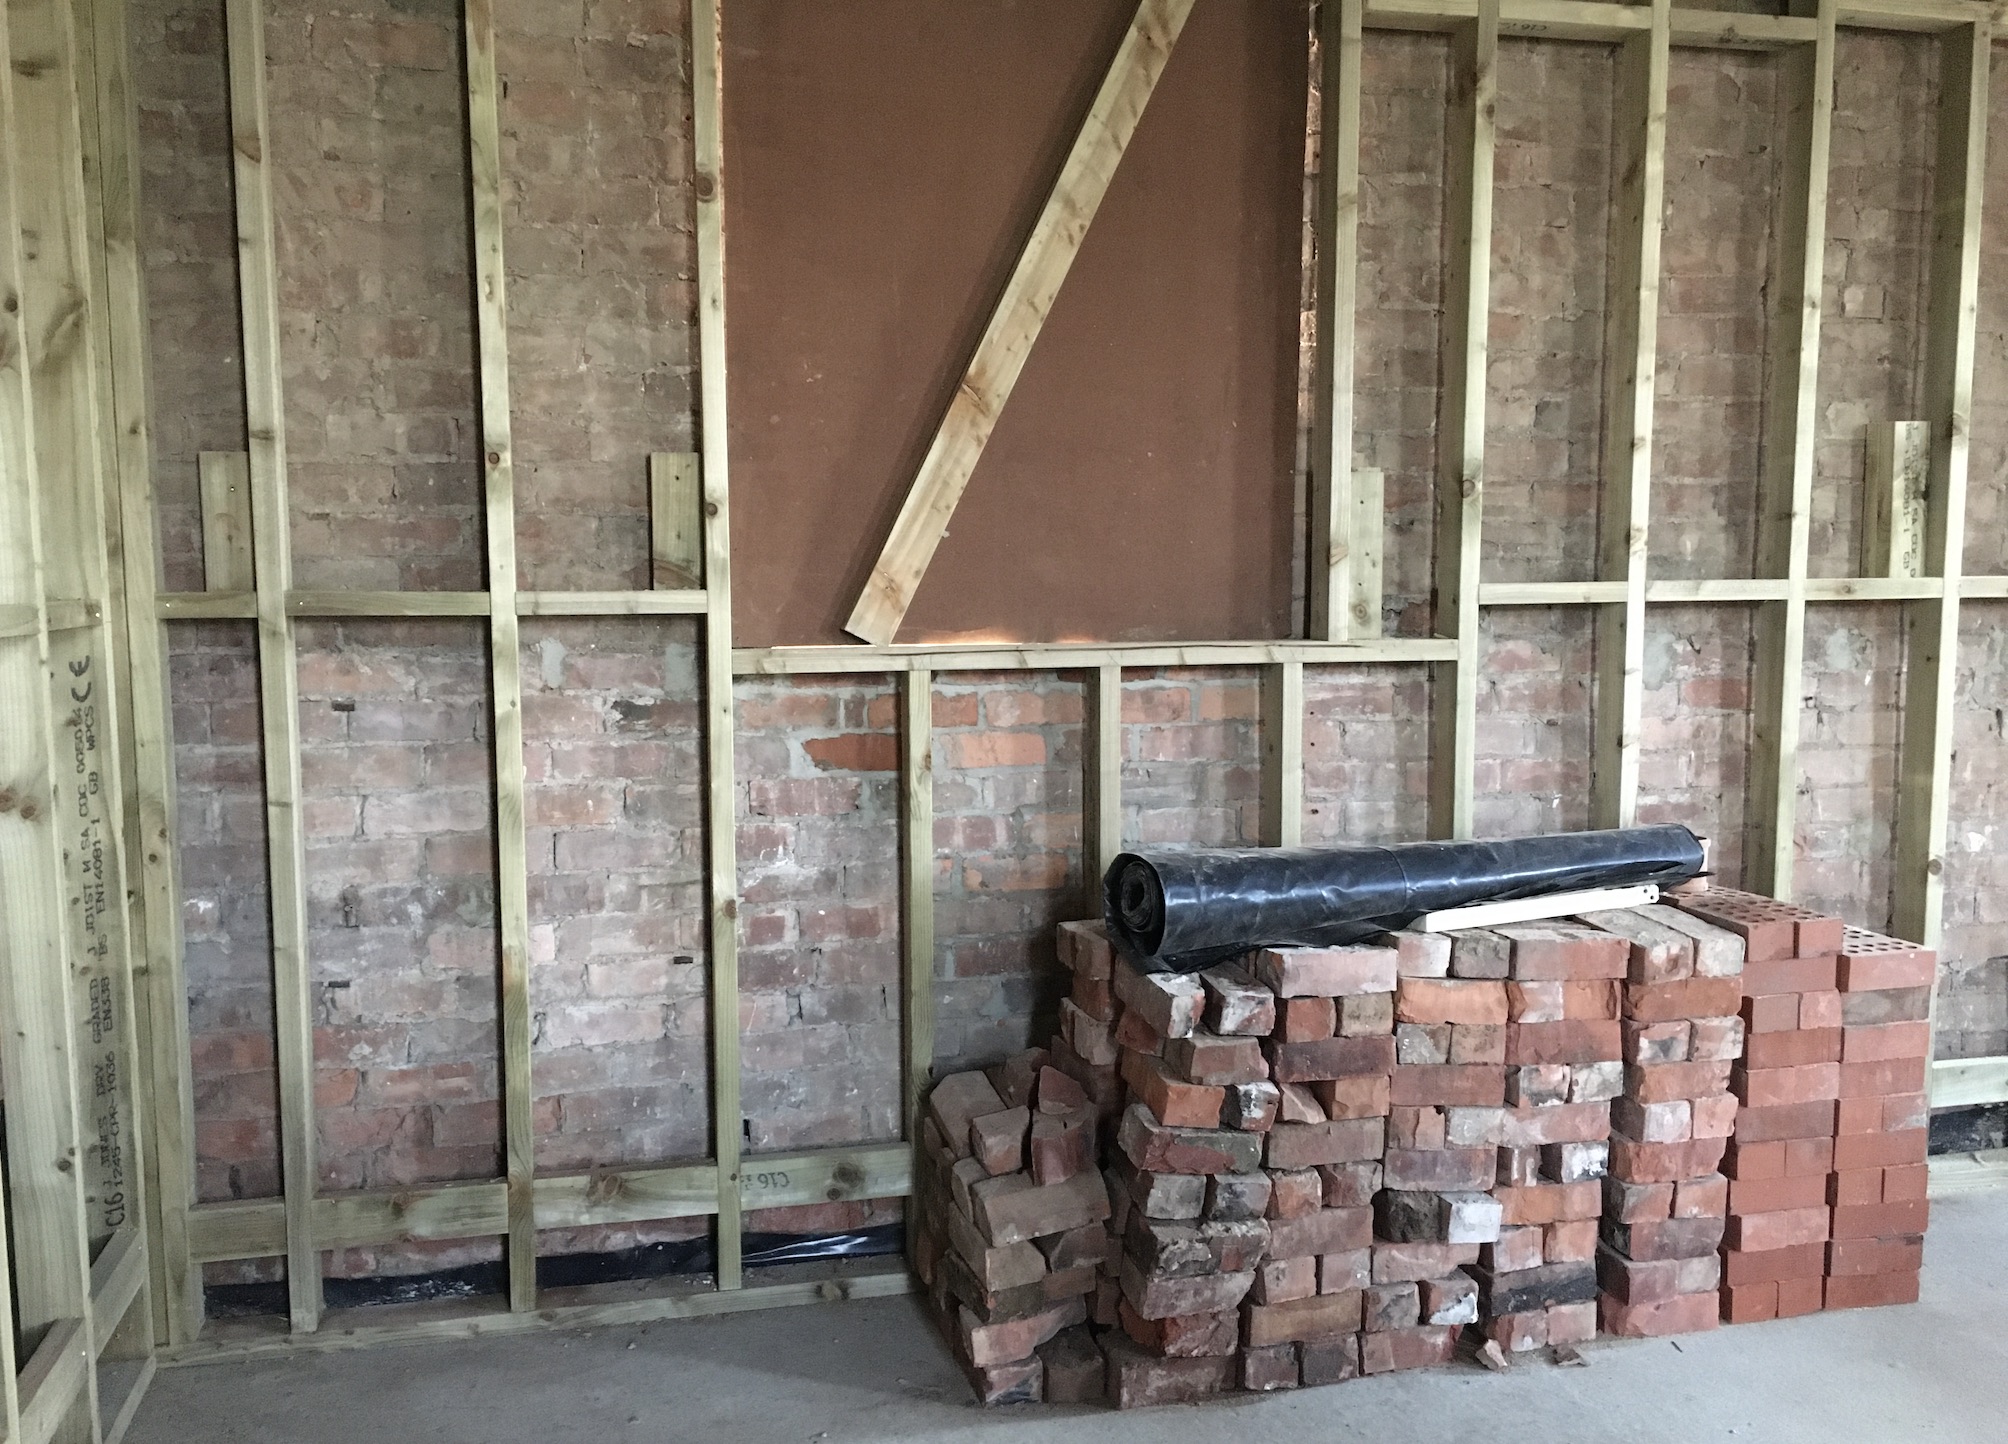
Downstairs on the ground floor was the start of some extremely exciting progress – here you can see the beginnings of the fire break for my studio space!
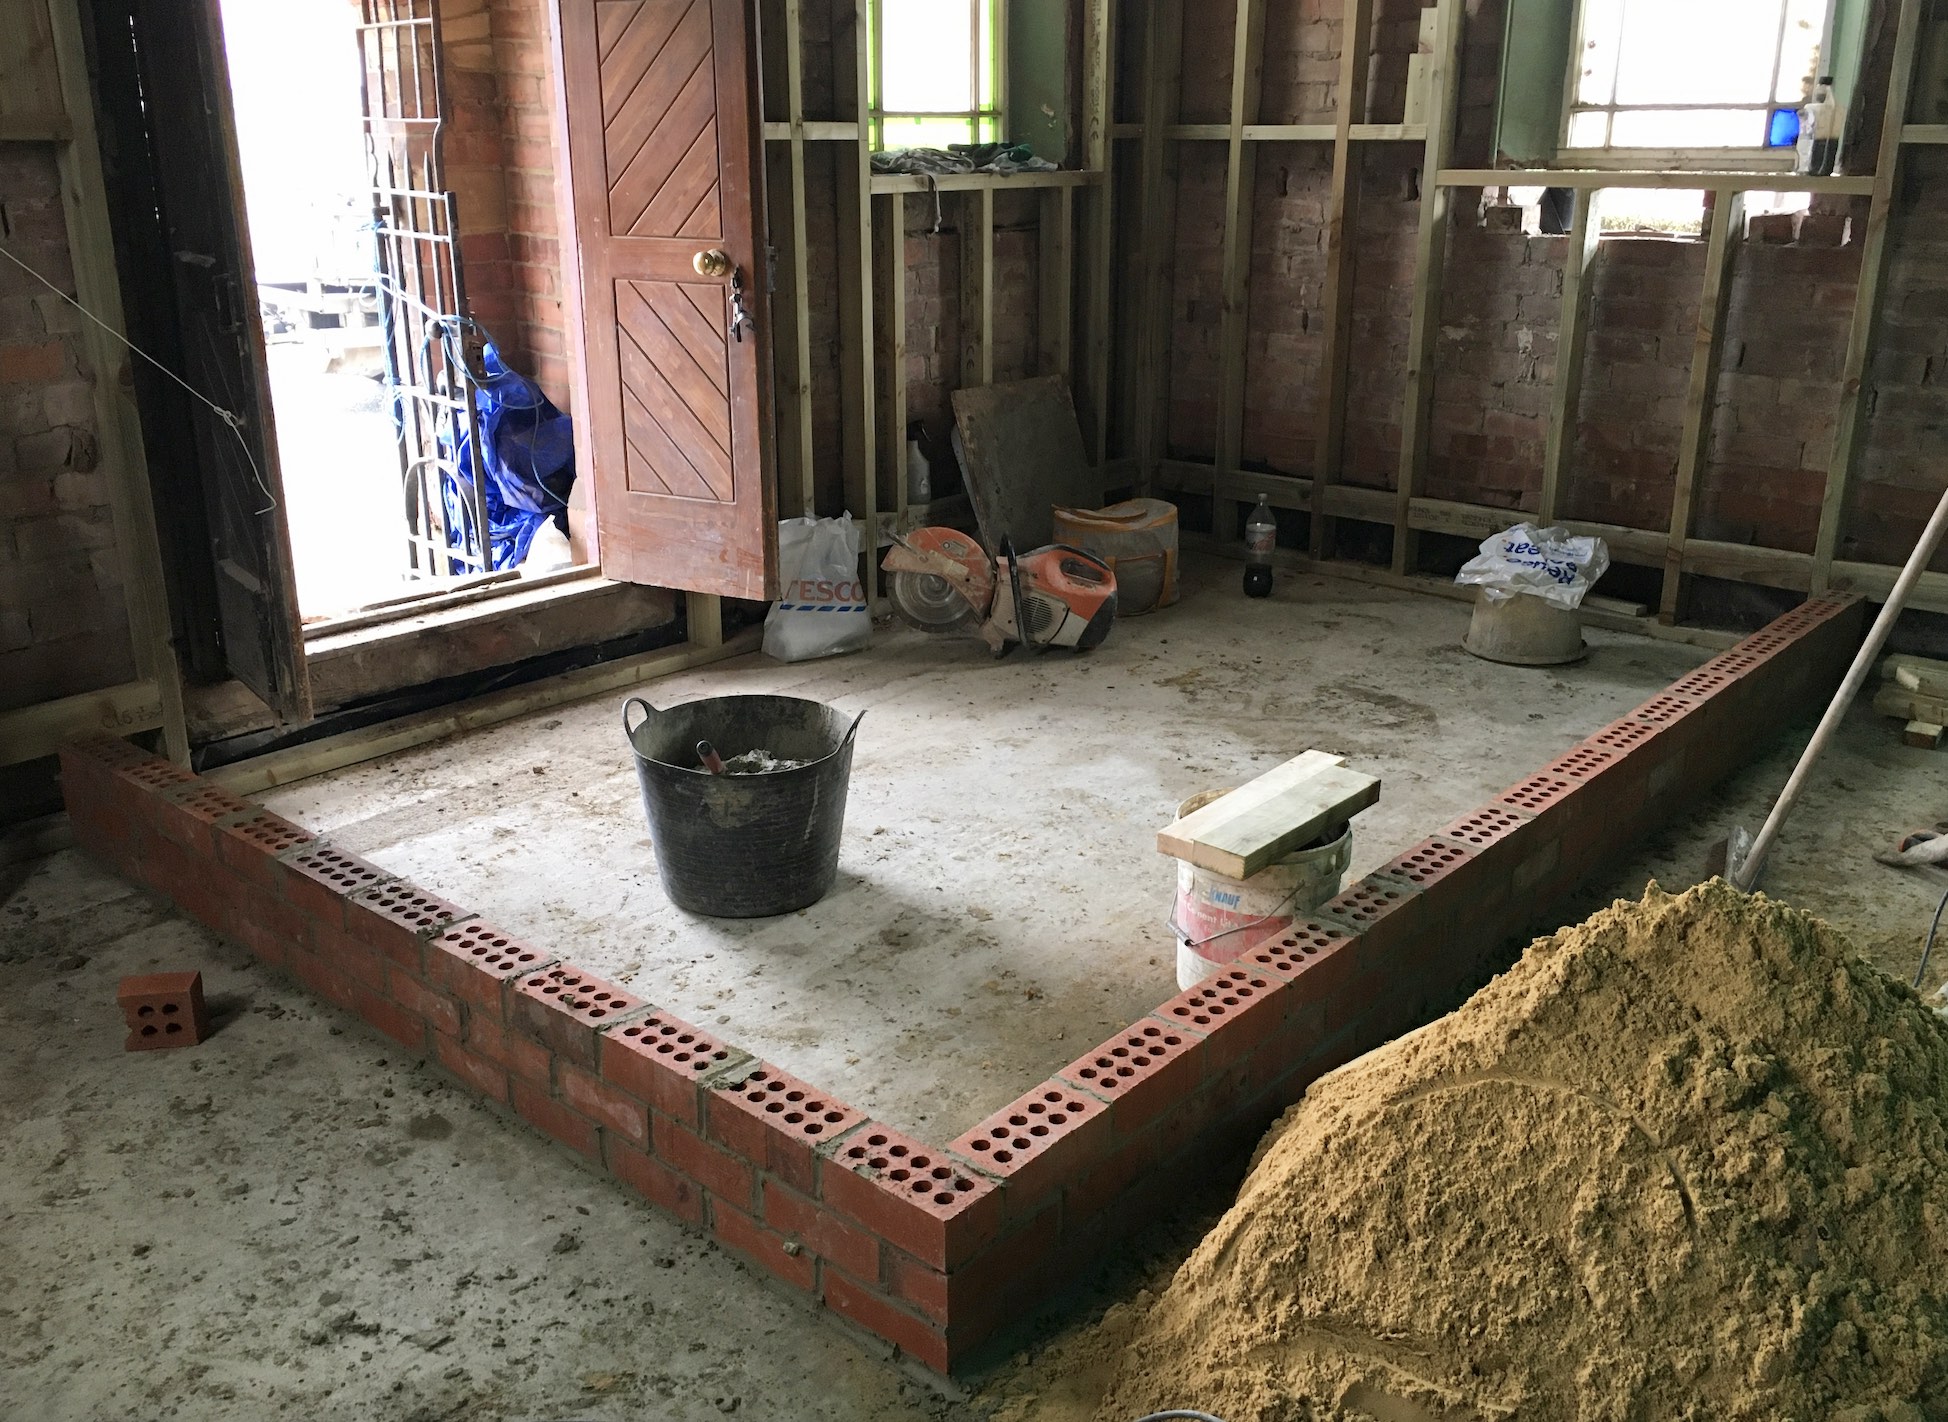
Things are really looking like actual distinct spaces now! Below right is the studio and to the left is a cloakroom that will also house the boiler and the underfloor heating manifold.
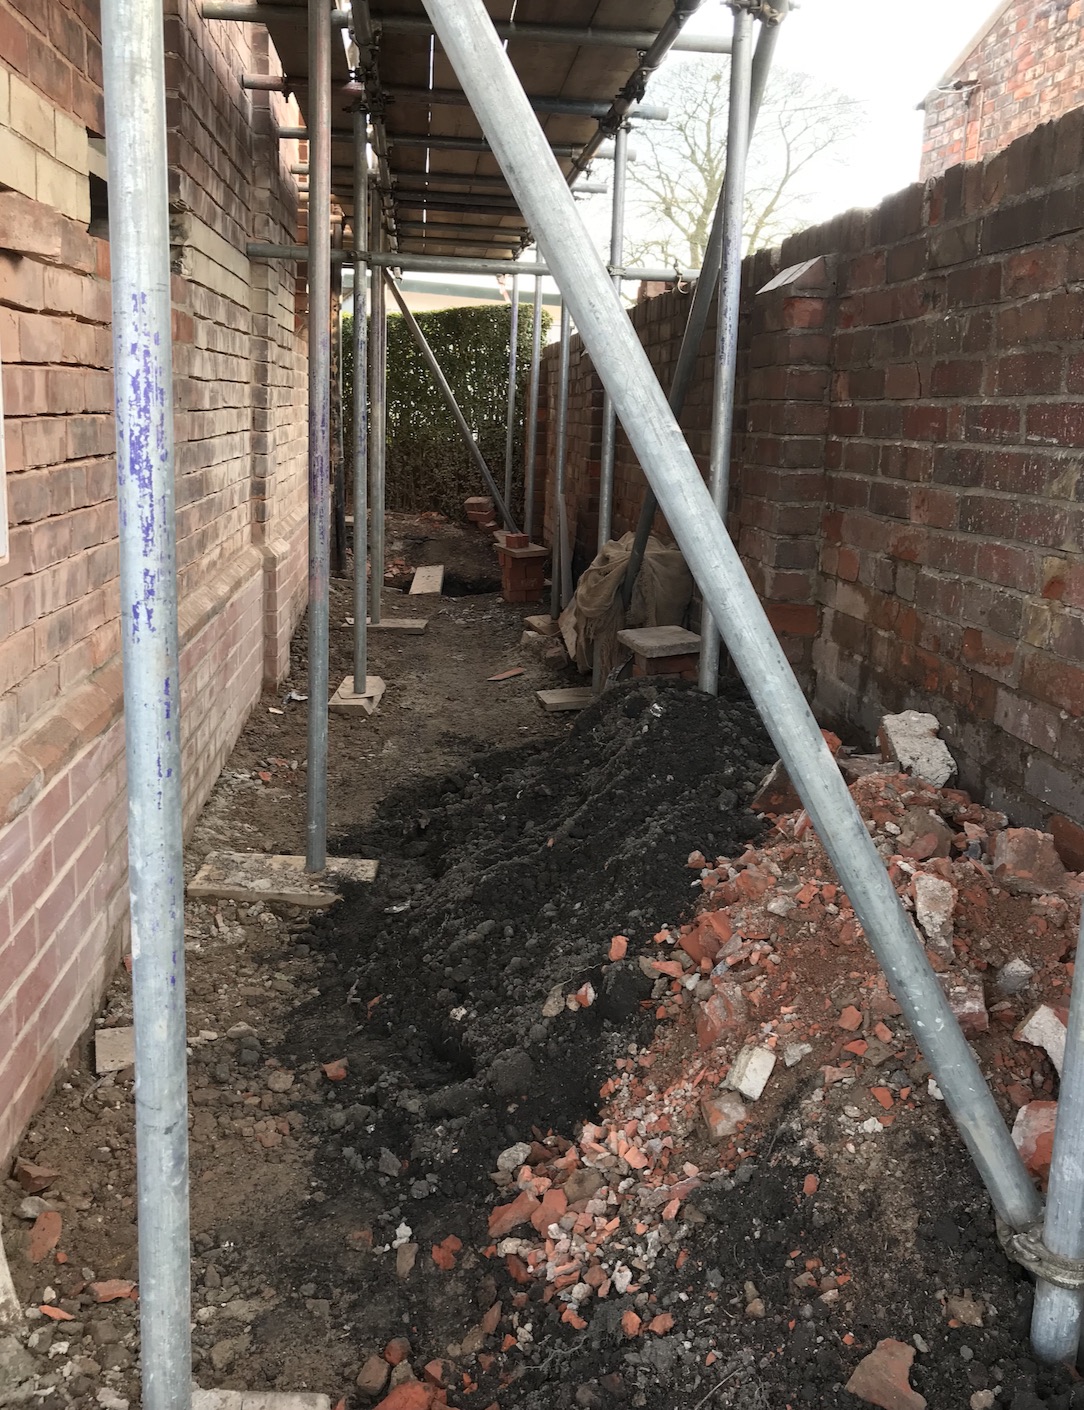
Scaffolding goes up!
Outside on one rainy Saturday, the scaffolding arrives at the Chapel! This marks a point in the build that I’ve been quite nervous about. More on that later in the post… but if all goes well, in a few weeks I’m going to be painting up here!

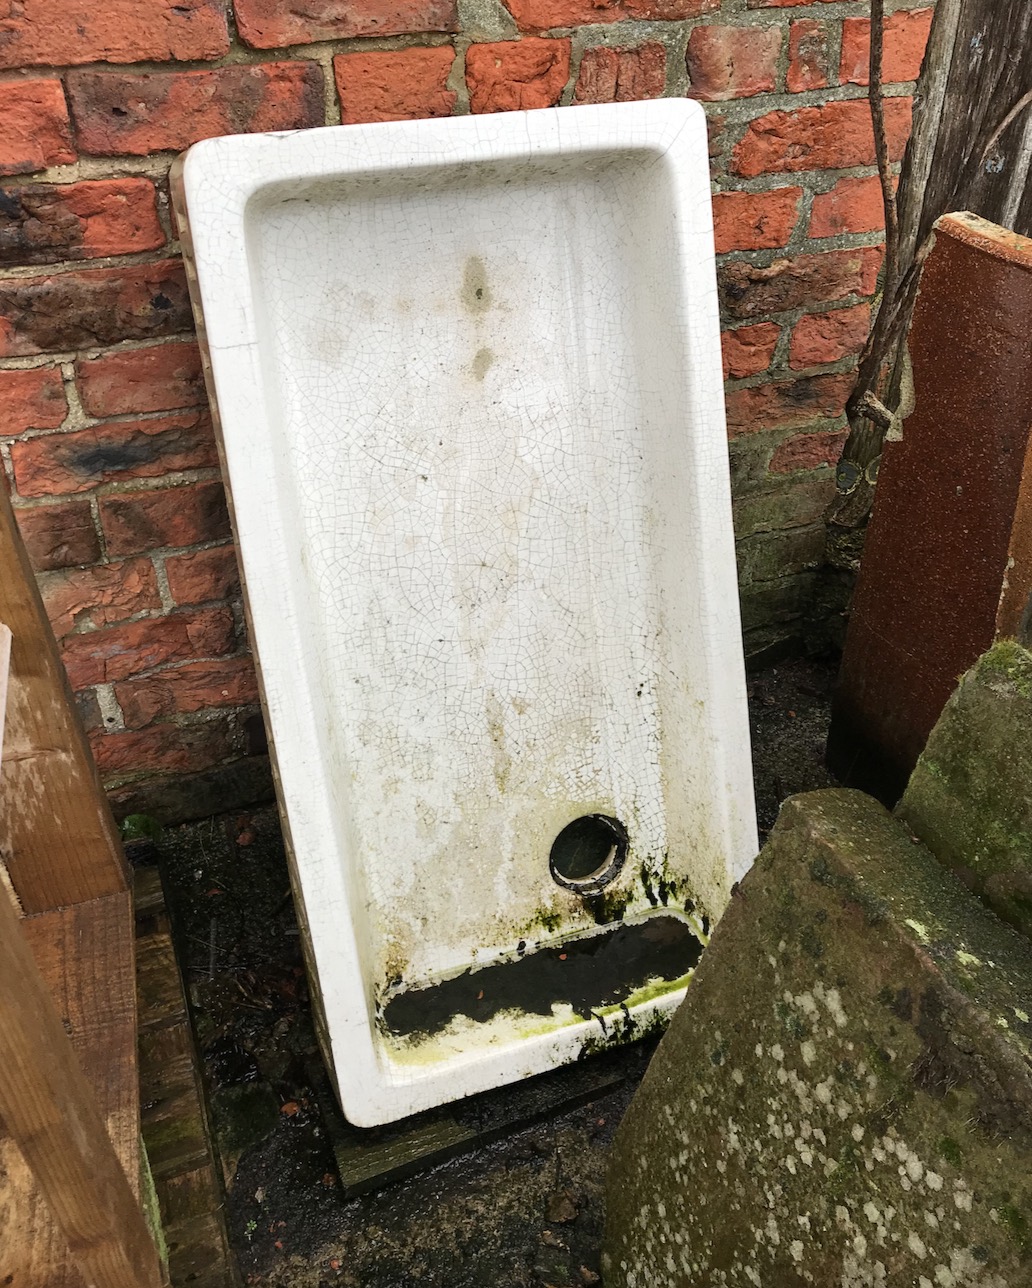
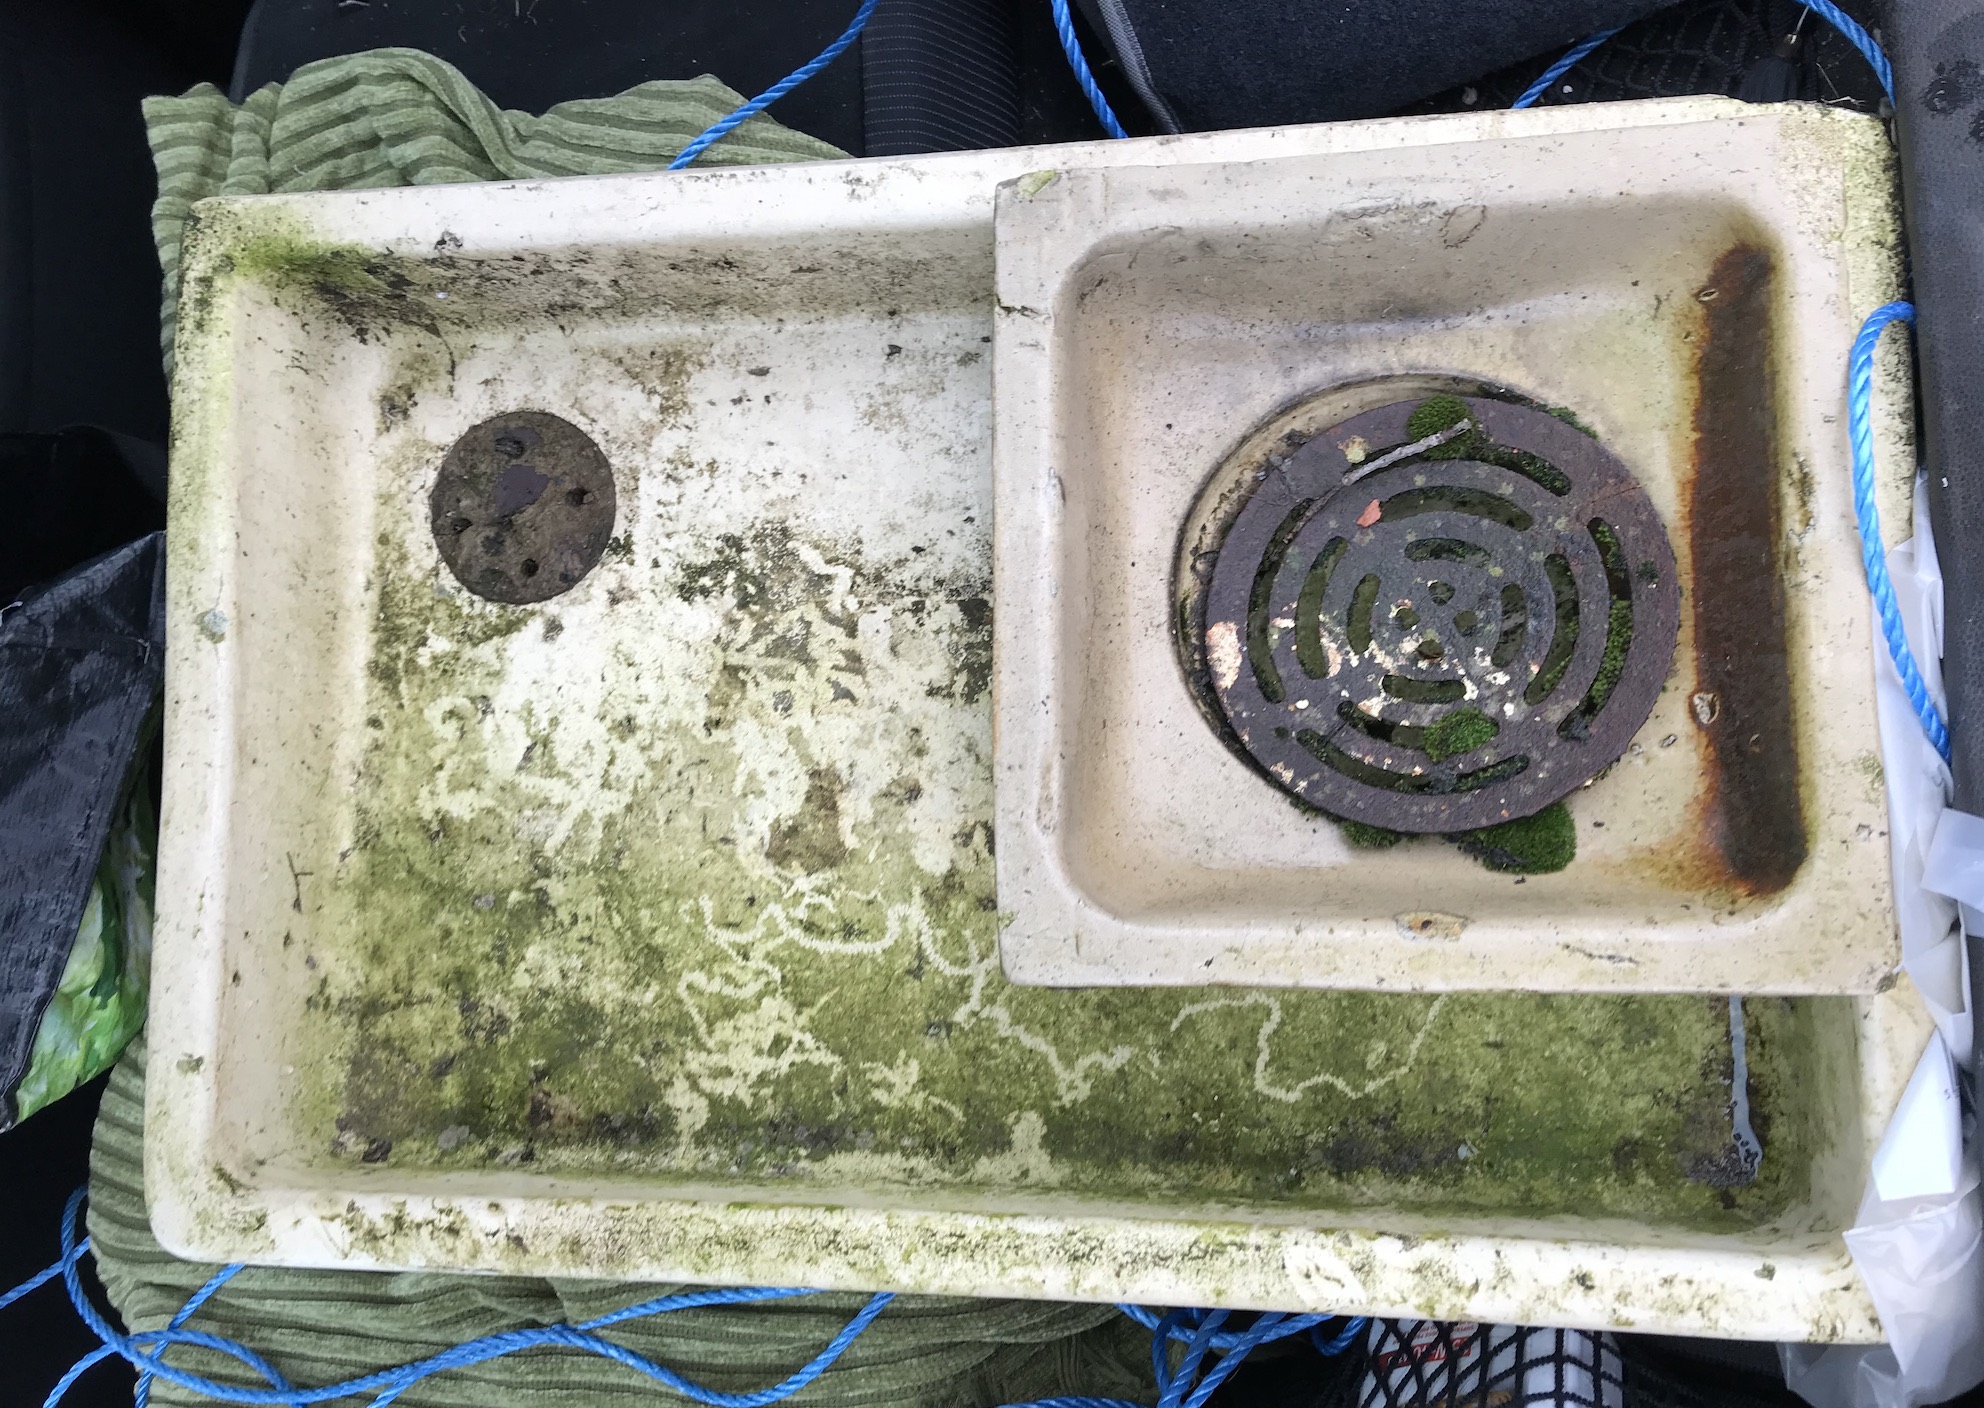
Reclamation finds
Taking a swerve from the construction side of things for a moment, I did some more reclamation hunting. I found two beautiful sinks that I immediately knew would be perfect for the renovation. I’d been looking online for a while, but the shape of these was exactly what I had in mind. Granted, they currently look a little mucky! But watch this space…

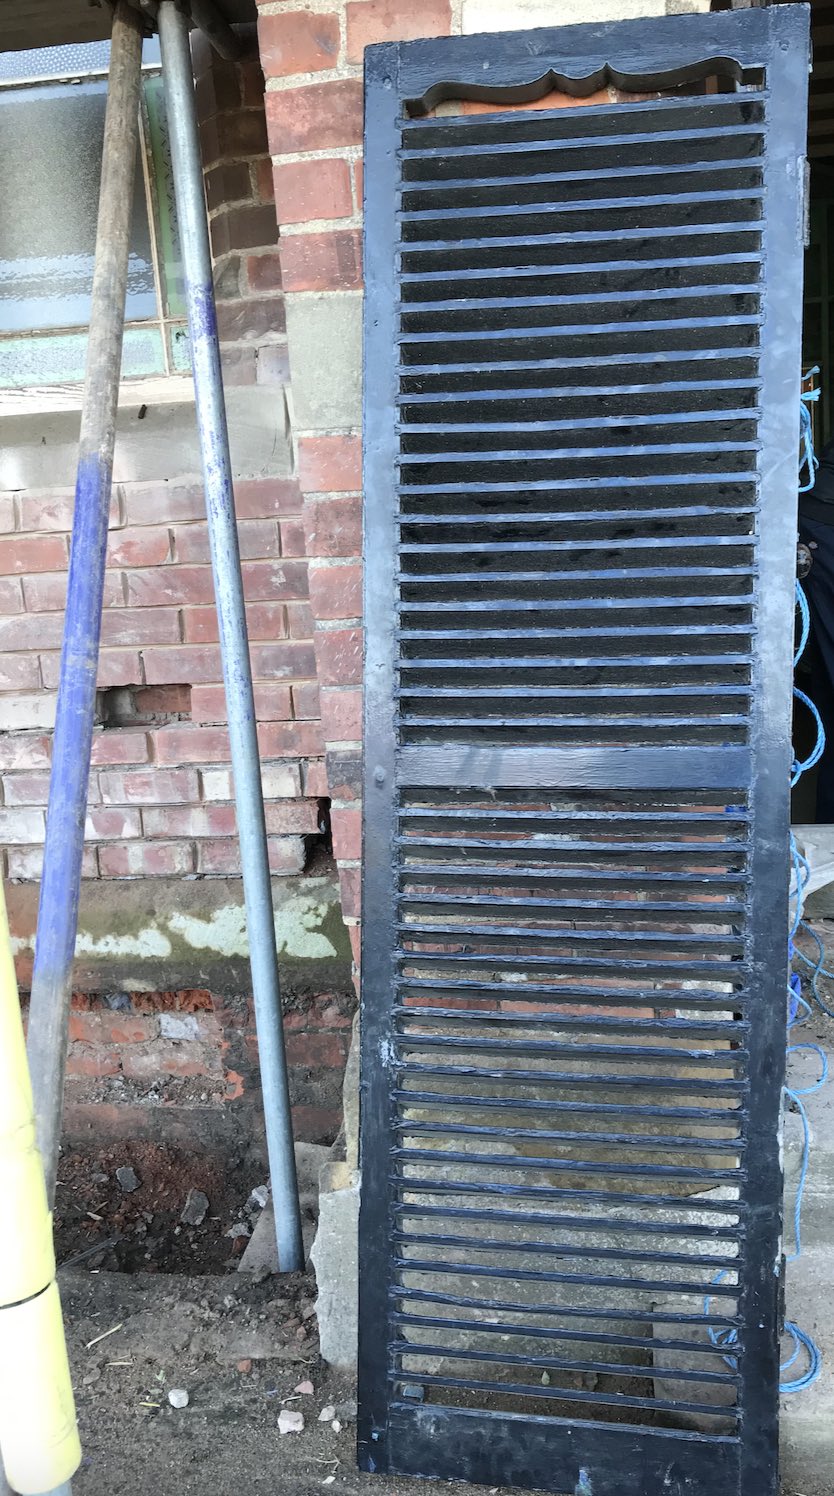
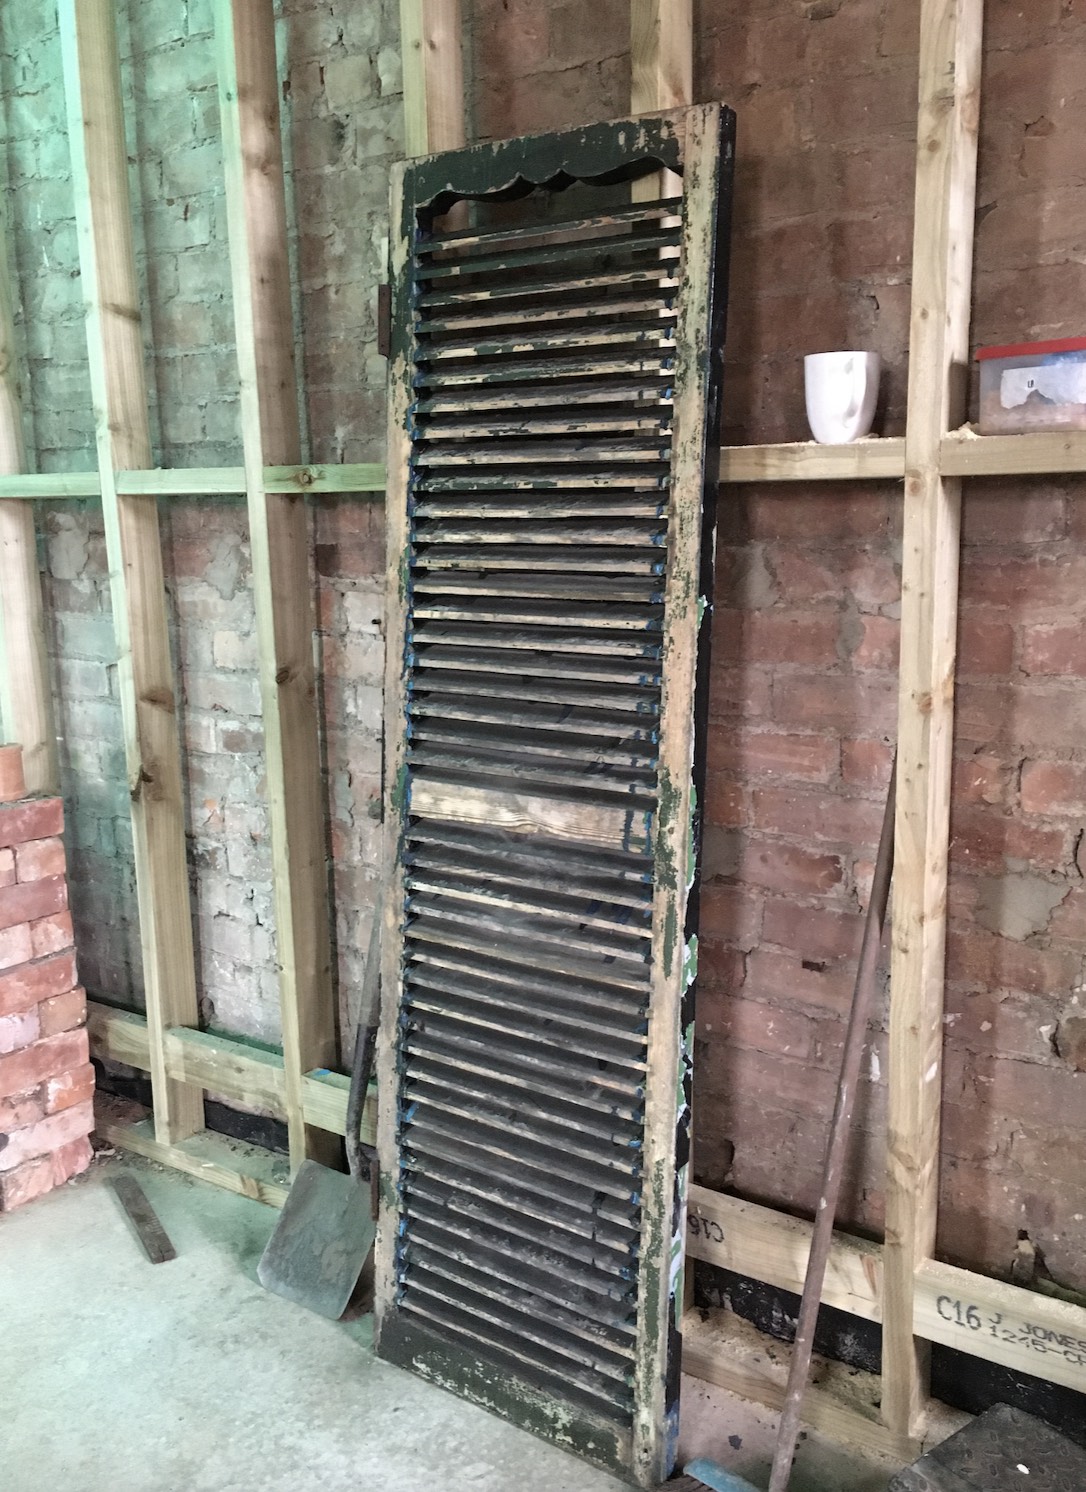
The next thing I found was a bit of an impulse purchase I will admit! It’s an old shutter from a Victorian bank just outside of Leeds. Initially I was thinking it could work as a pantry door, or a door for some built in storage. But I’d already found a better pantry door and I wasn’t entirely convinced the dimensions would work with the storage. So it’s going to remain in my salvage stash for a while longer. Perhaps I might end up using it in the studio, we’ll see!

Removing the roof!
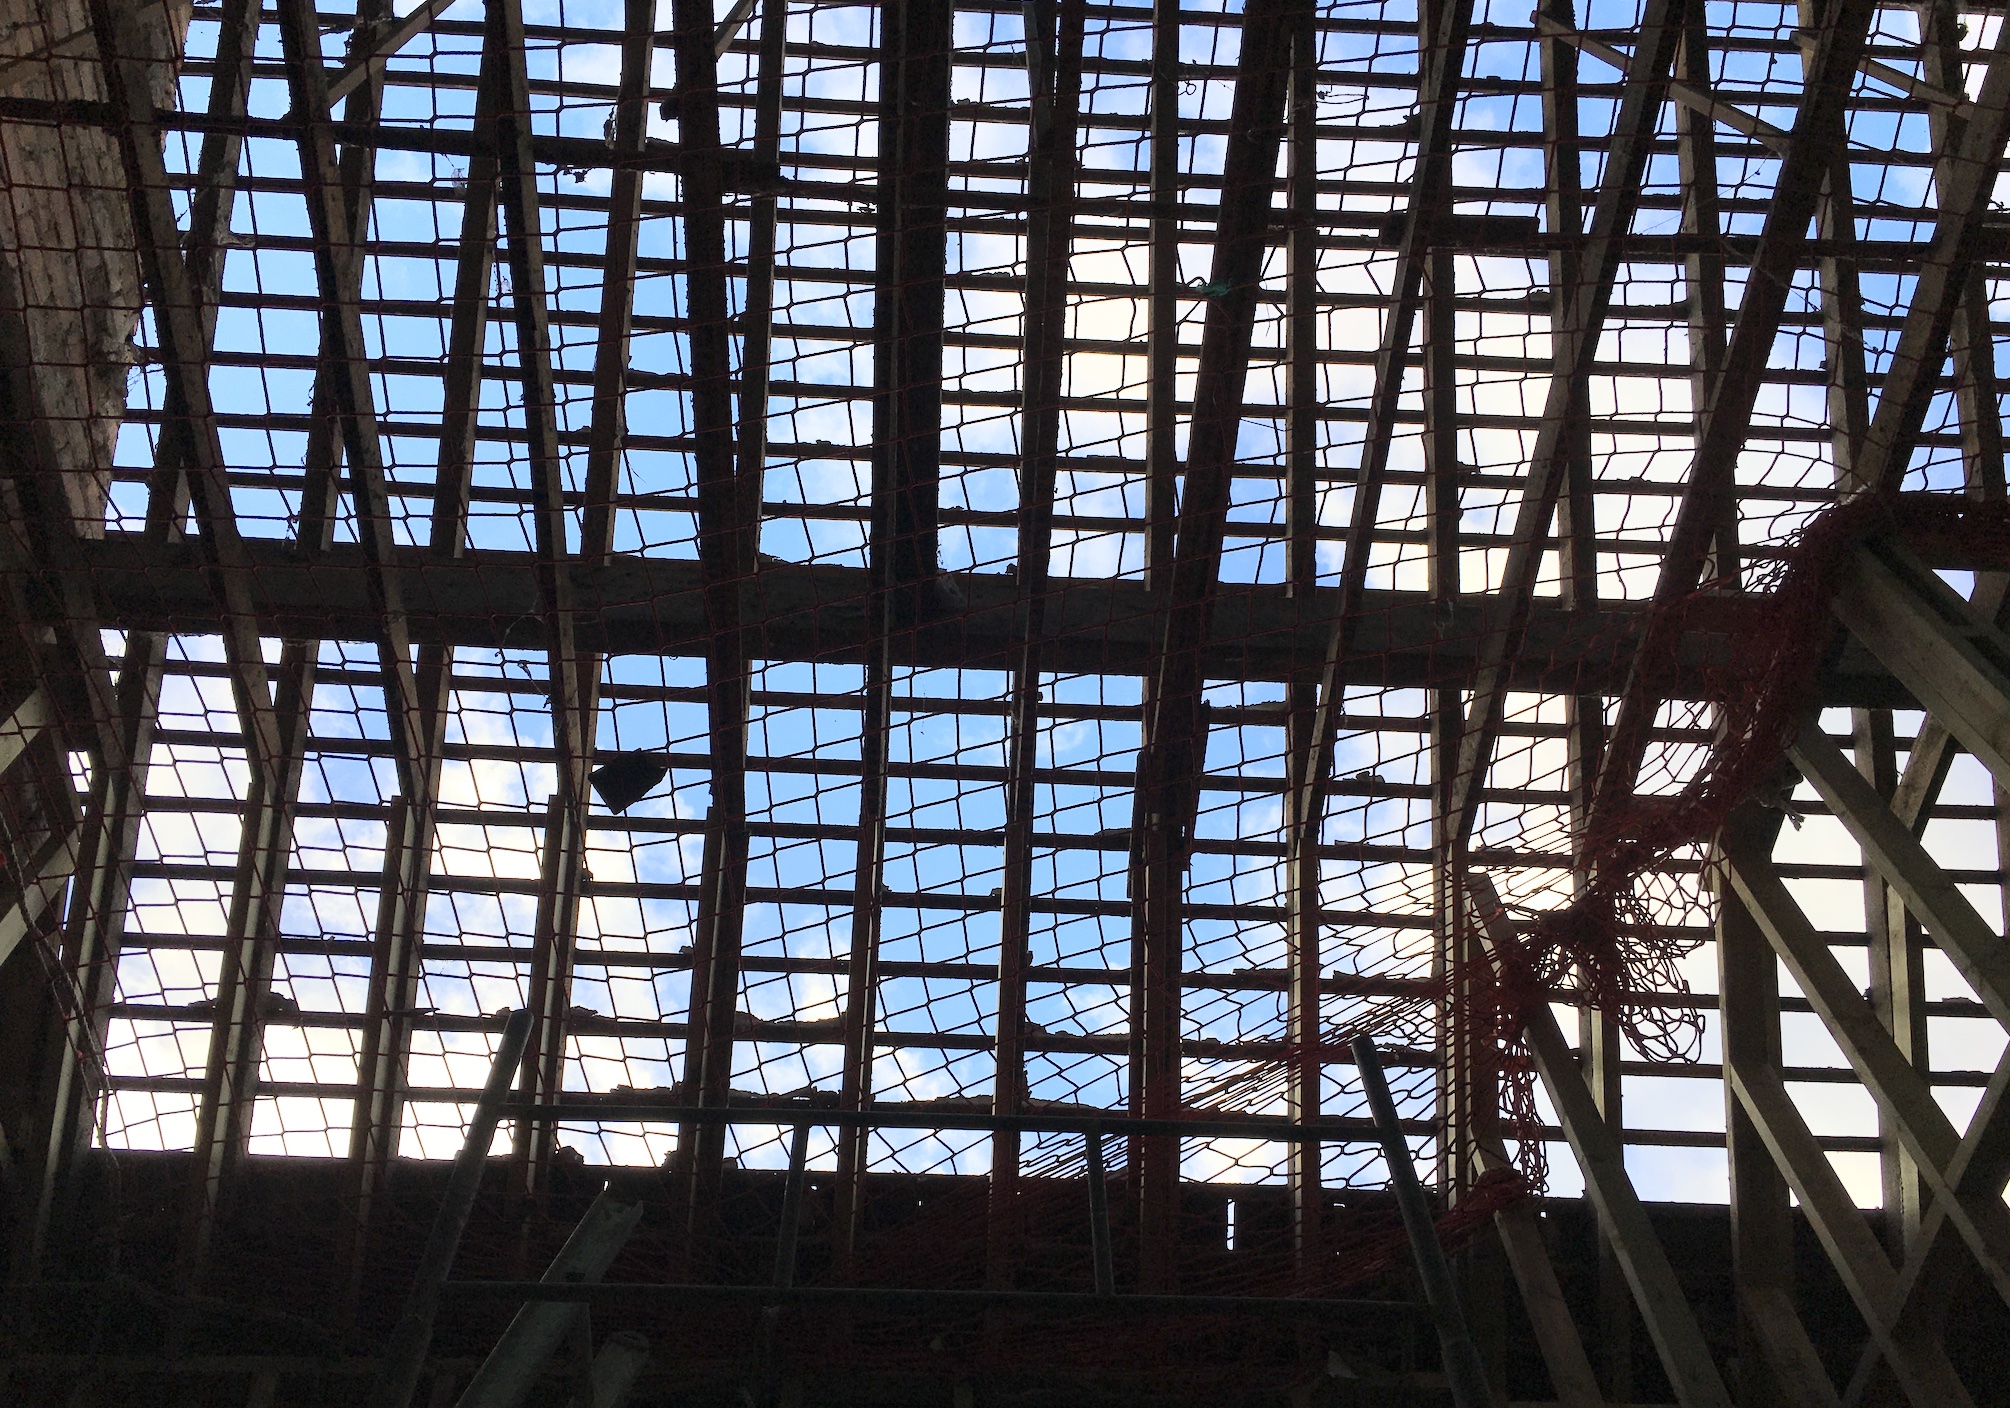
With the scaffolding in place and a run of dry weather ahead, we awaited the arrival of the roofers. This was the part I was honestly quite apprehensive about – we were having the roof stripped and recovered. Over the last few months, I’d somehow got used to seeing big holes in the Chapel walls. But removing the slates etc. seemed like a new extreme building element to fathom!
Look… no roof slates! There are quite a few photos here because it was so surreal to see the Chapel in this condition. The way the light illuminated the current state of things inside was quite spectacular! The floor was caked in debris from the roof stripping and we were doing a lot of sweeping at this point. It felt like a pretty futile task, but did make the place look marginally more tidy. At this point, we were given the lovely task by our builder of treating all of the roof wood to protect it from woodworm over the weekend… Not the most easy or enjoyable job, but an important one nonetheless.
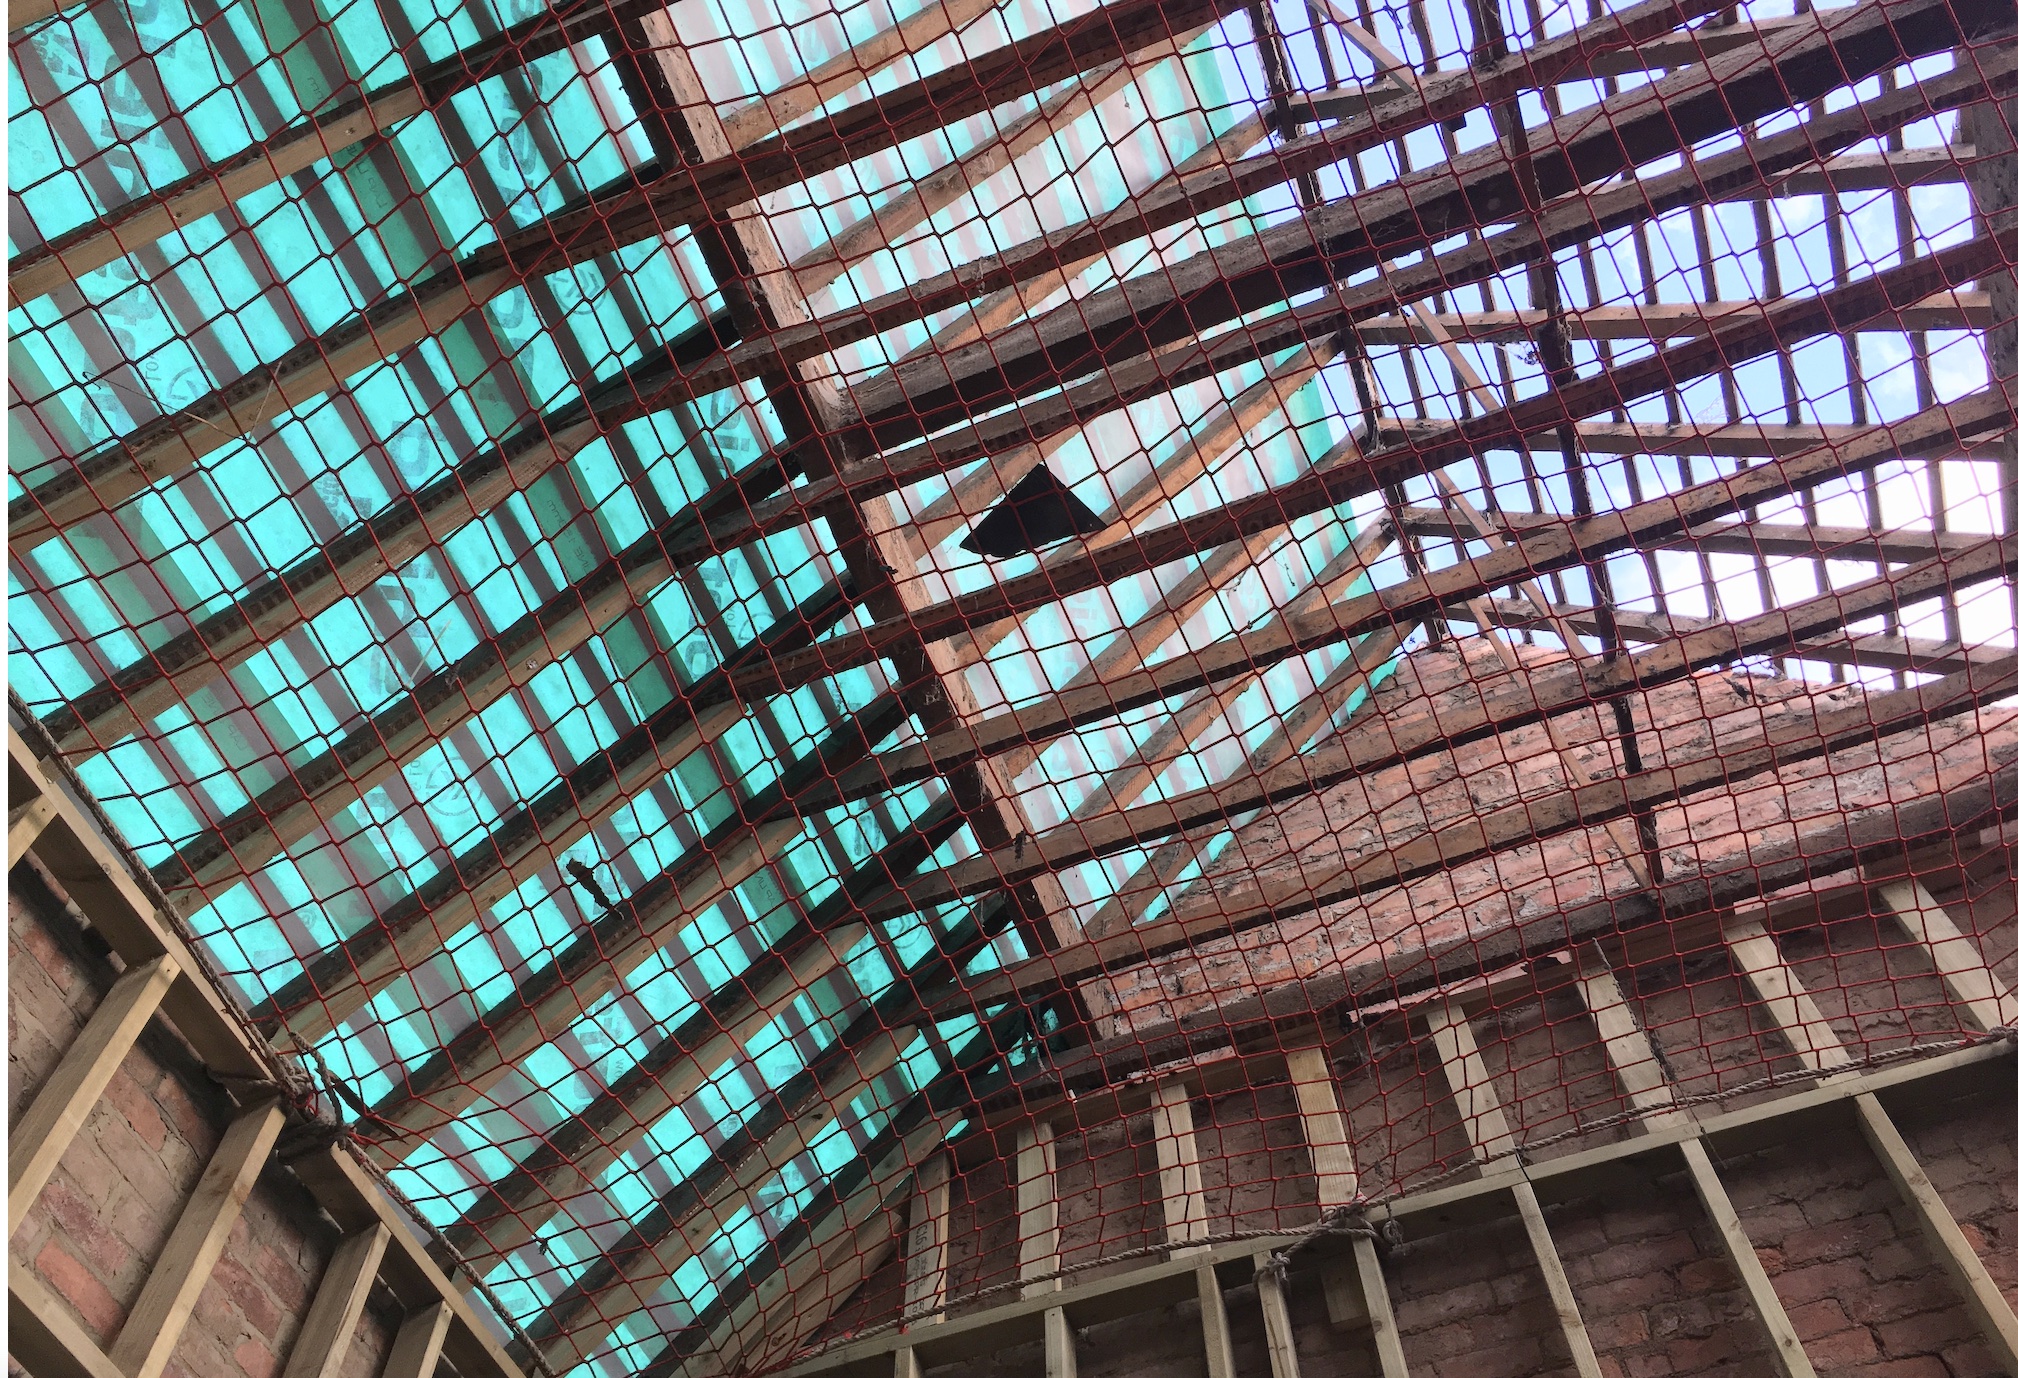


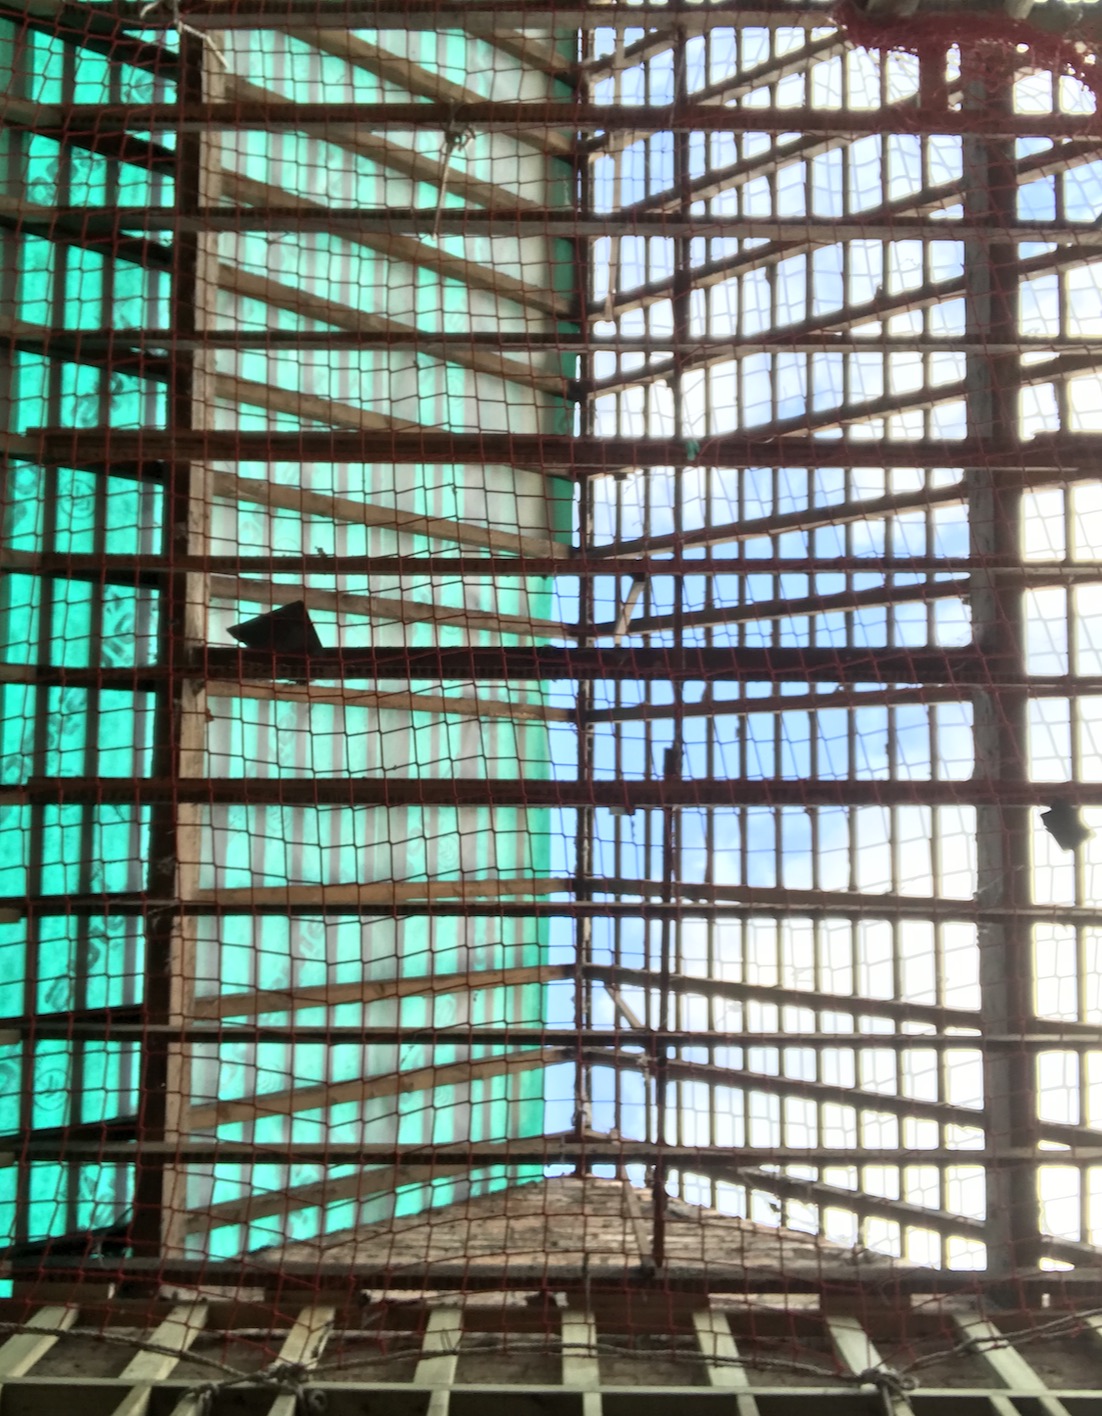
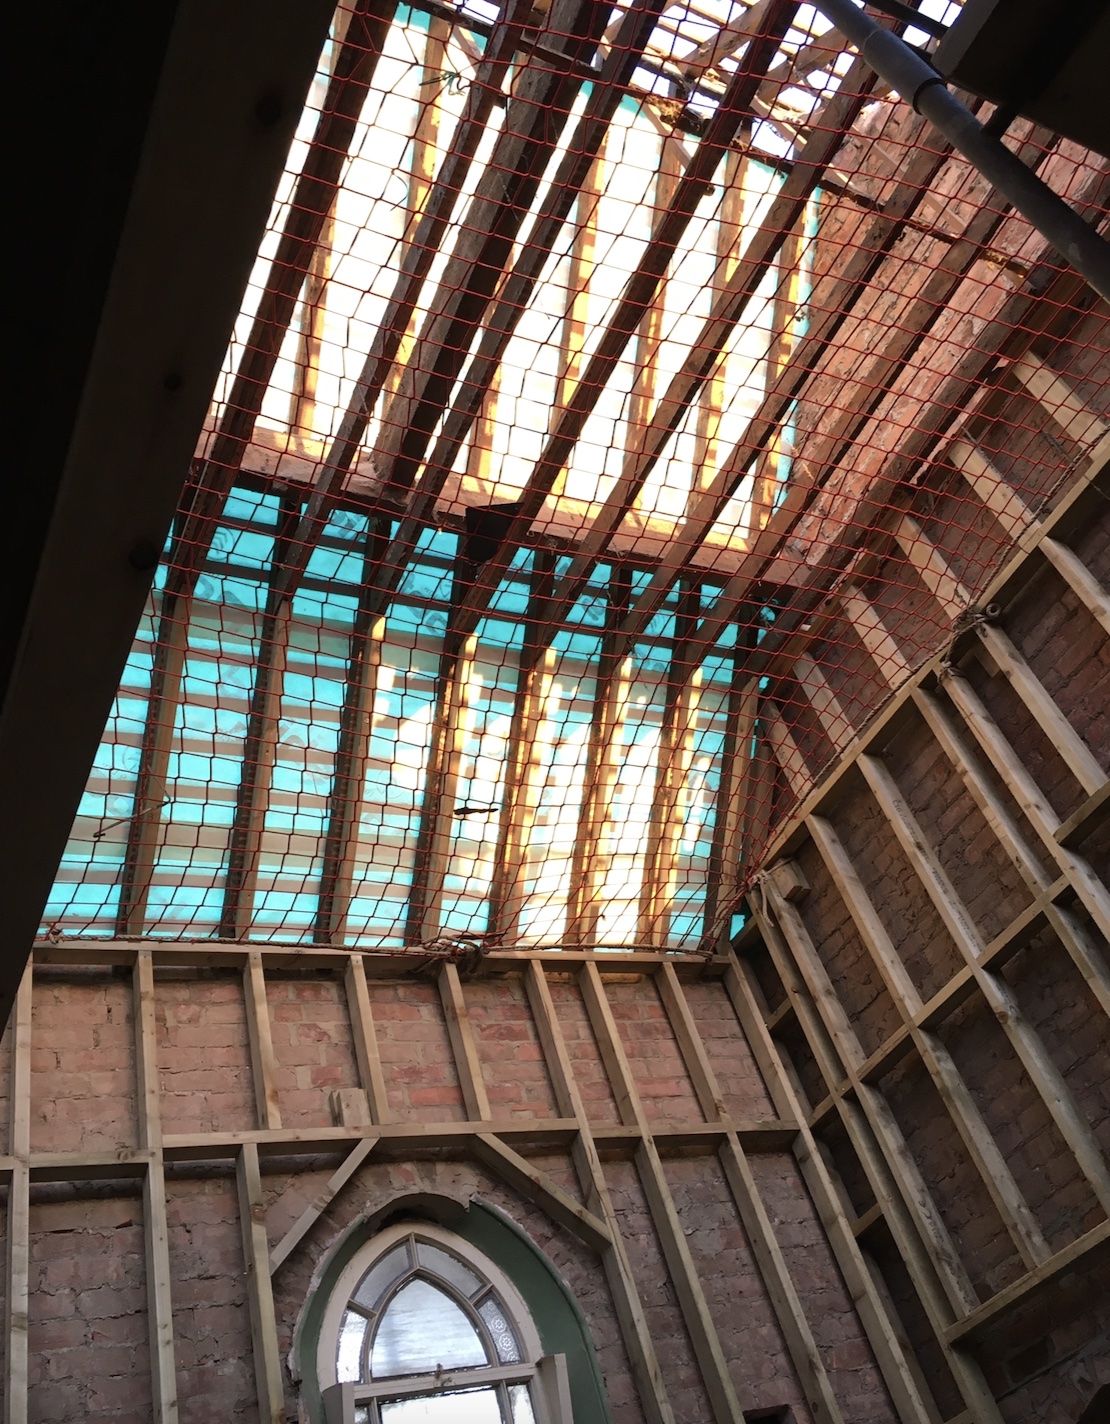
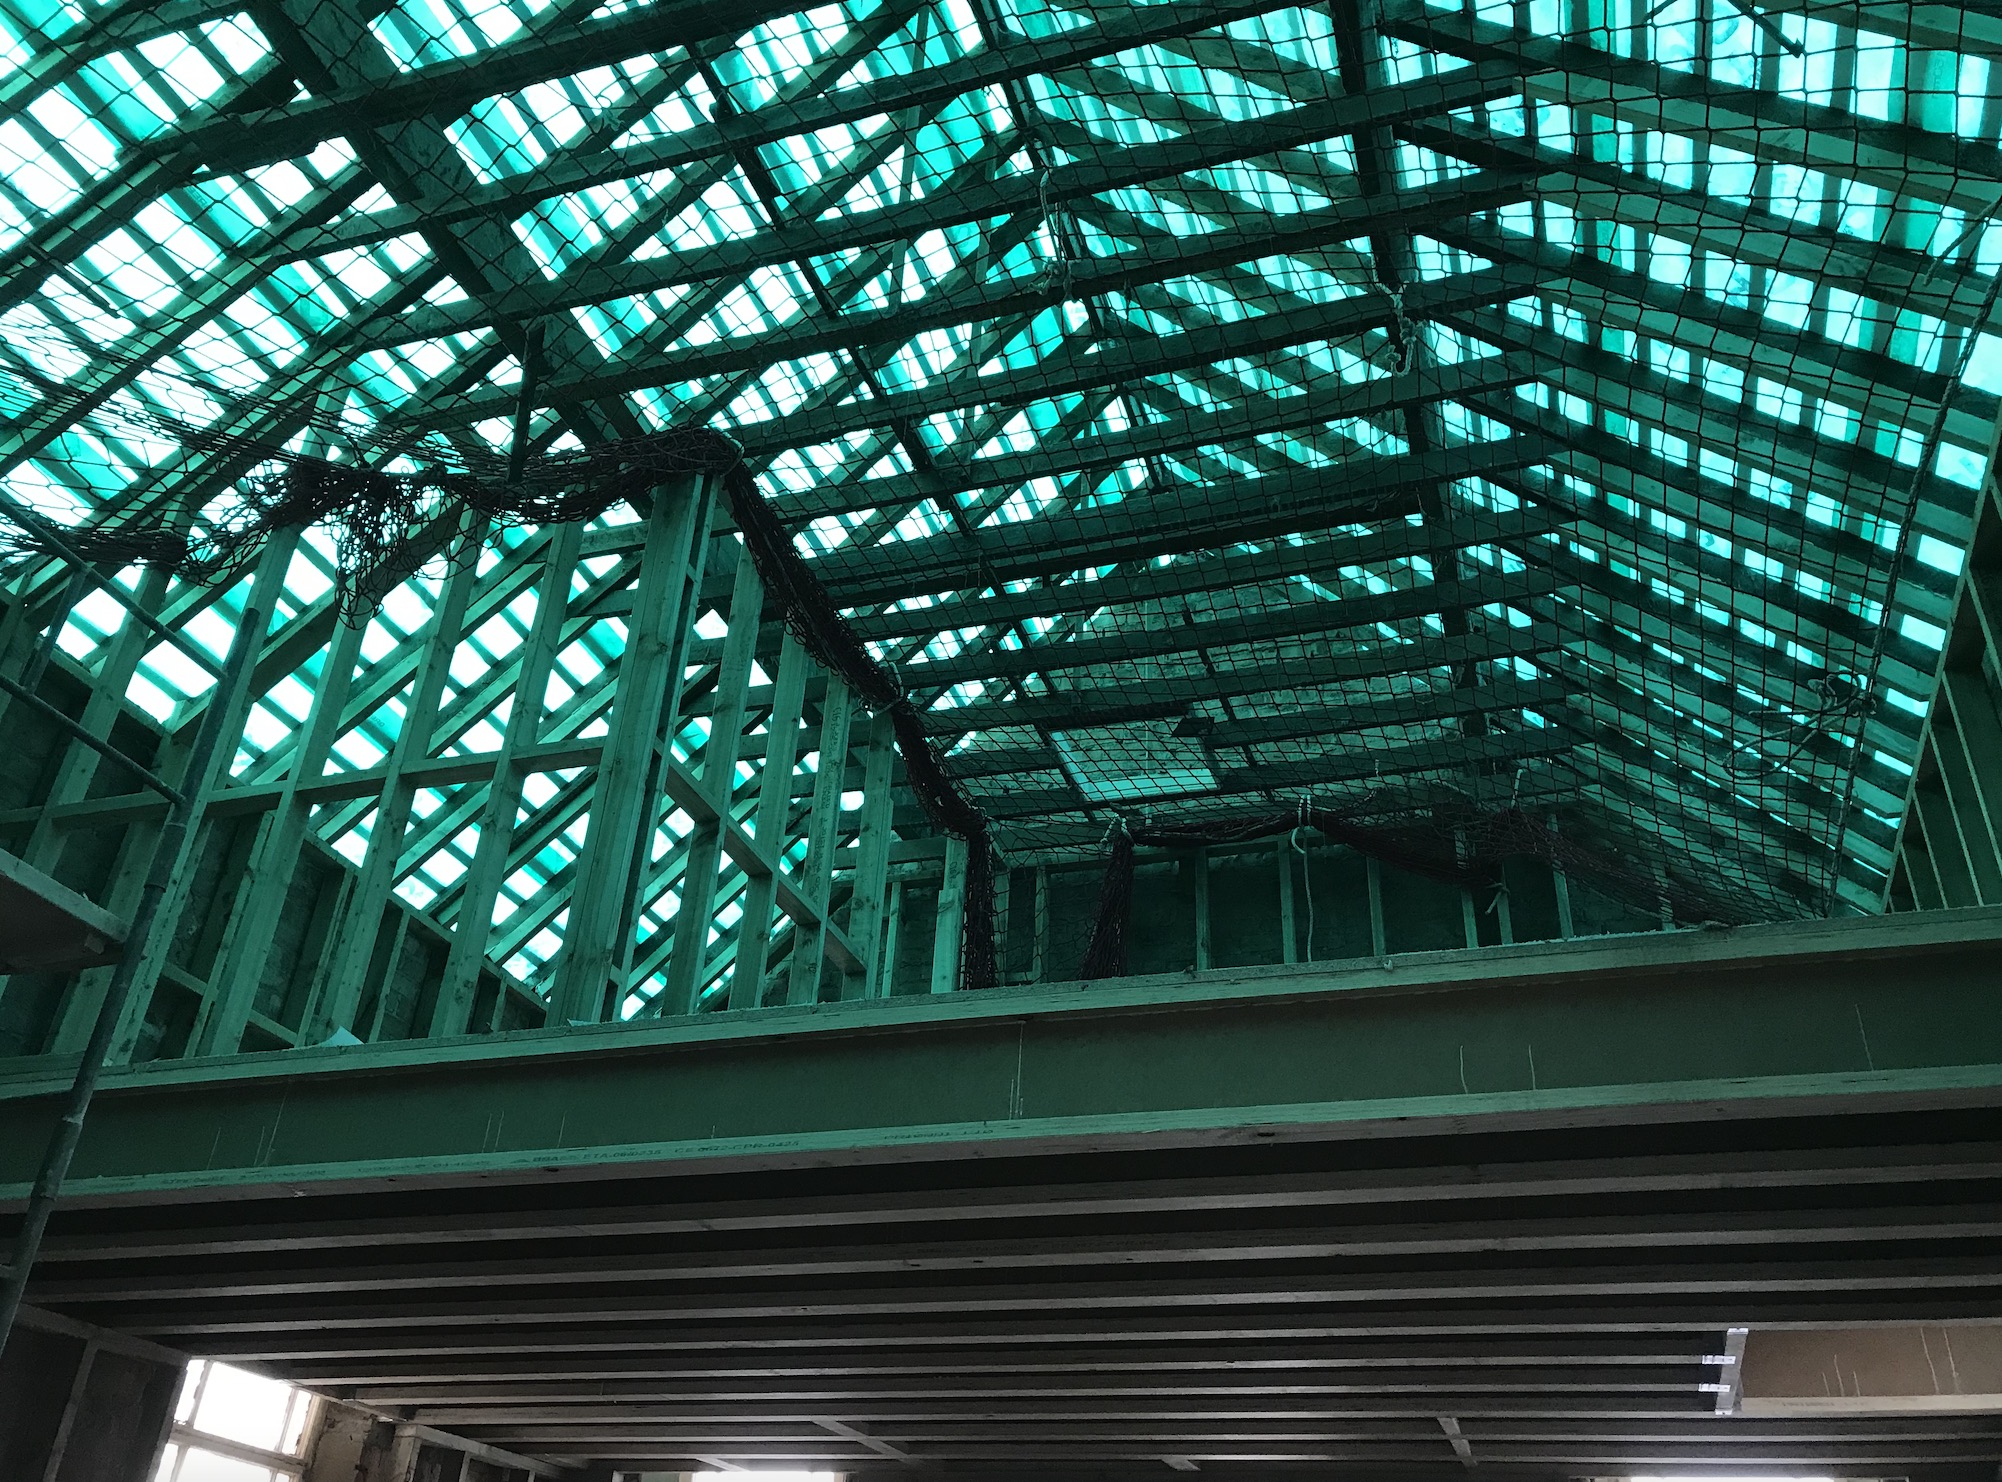
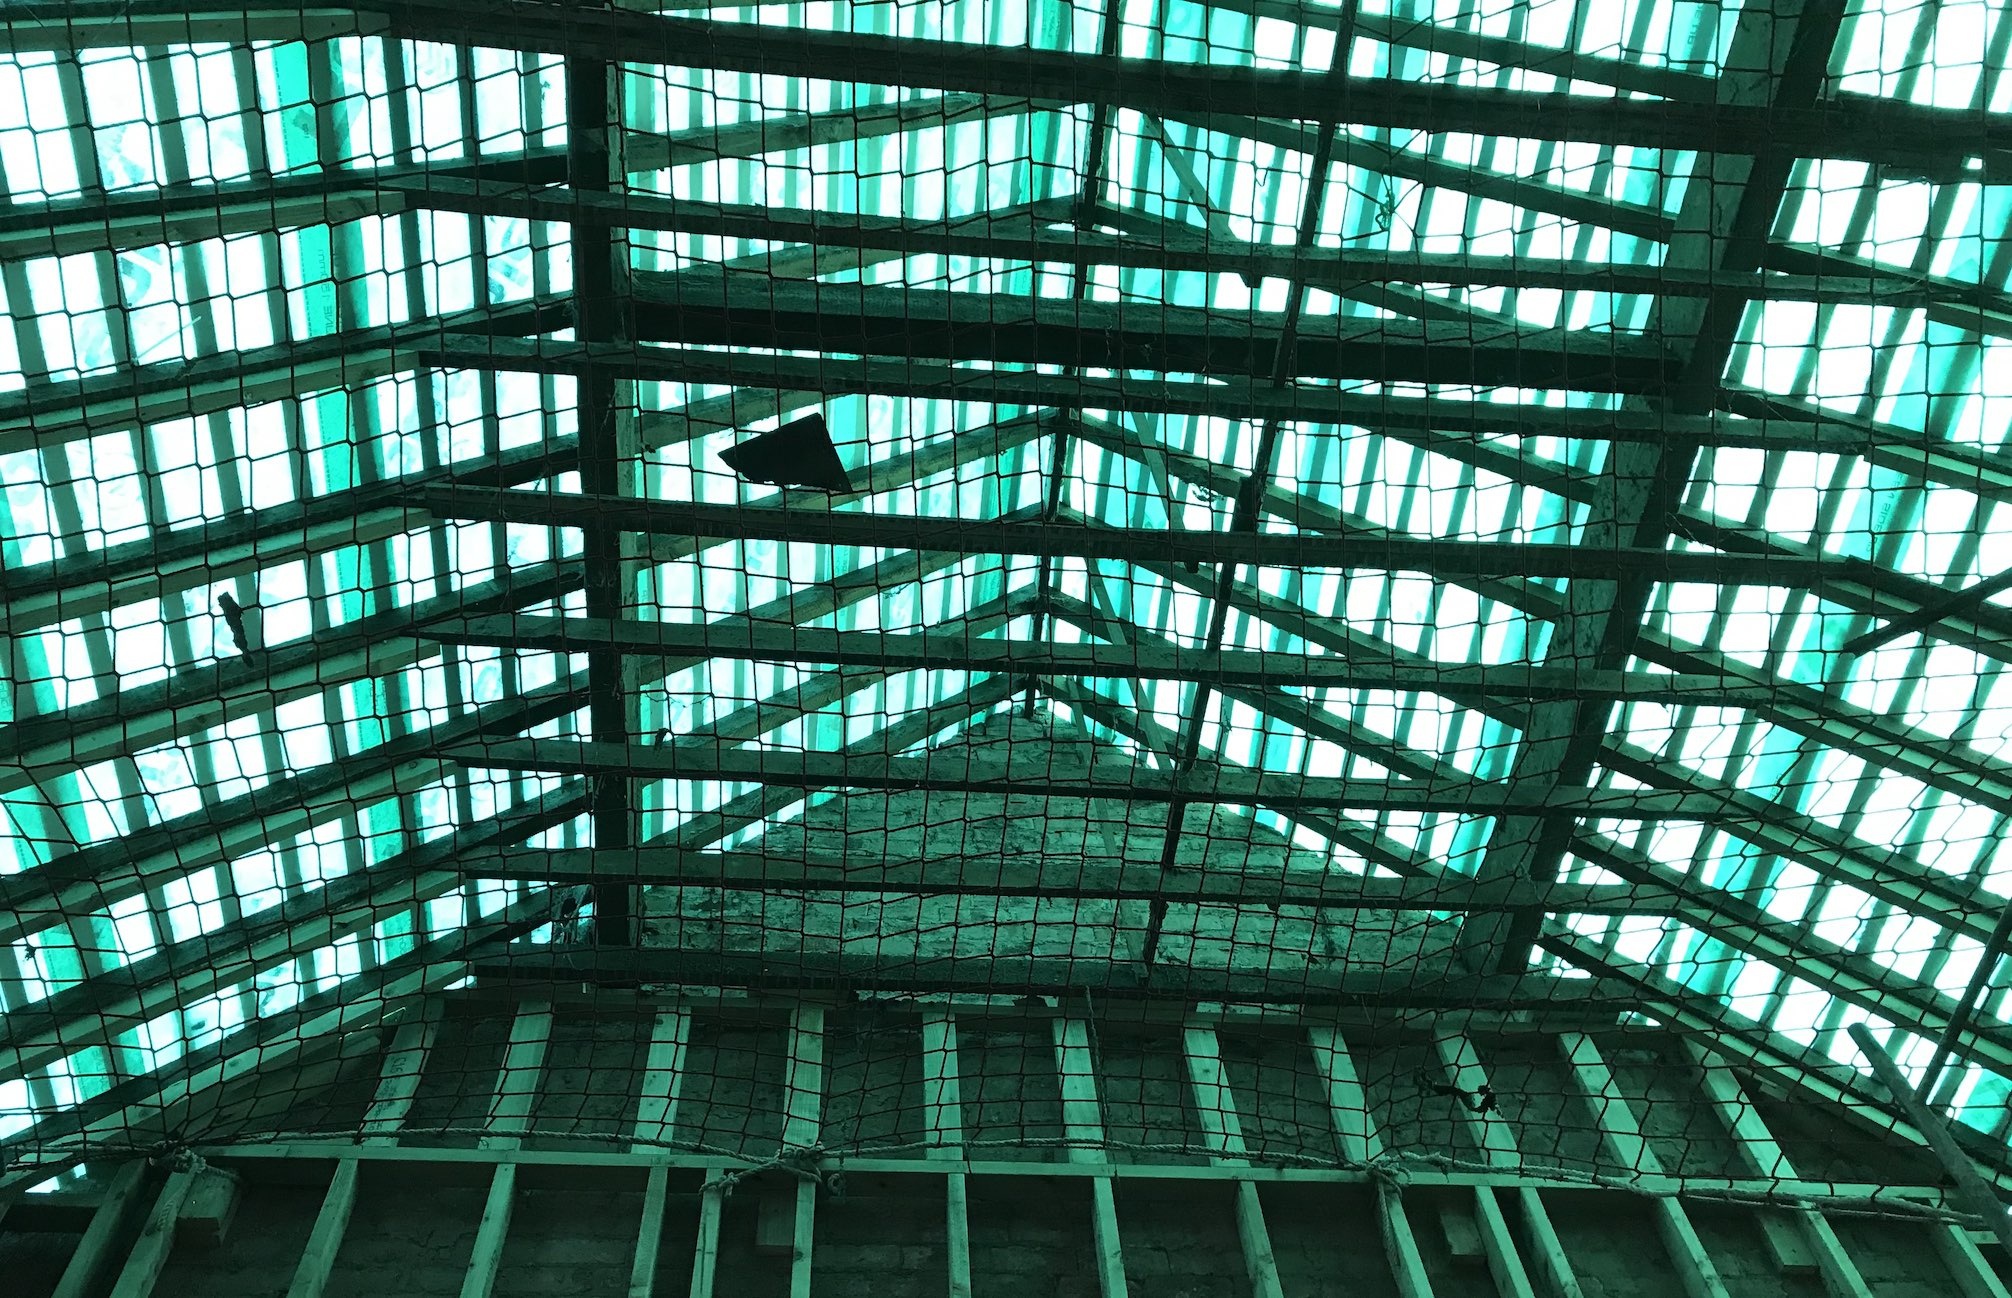
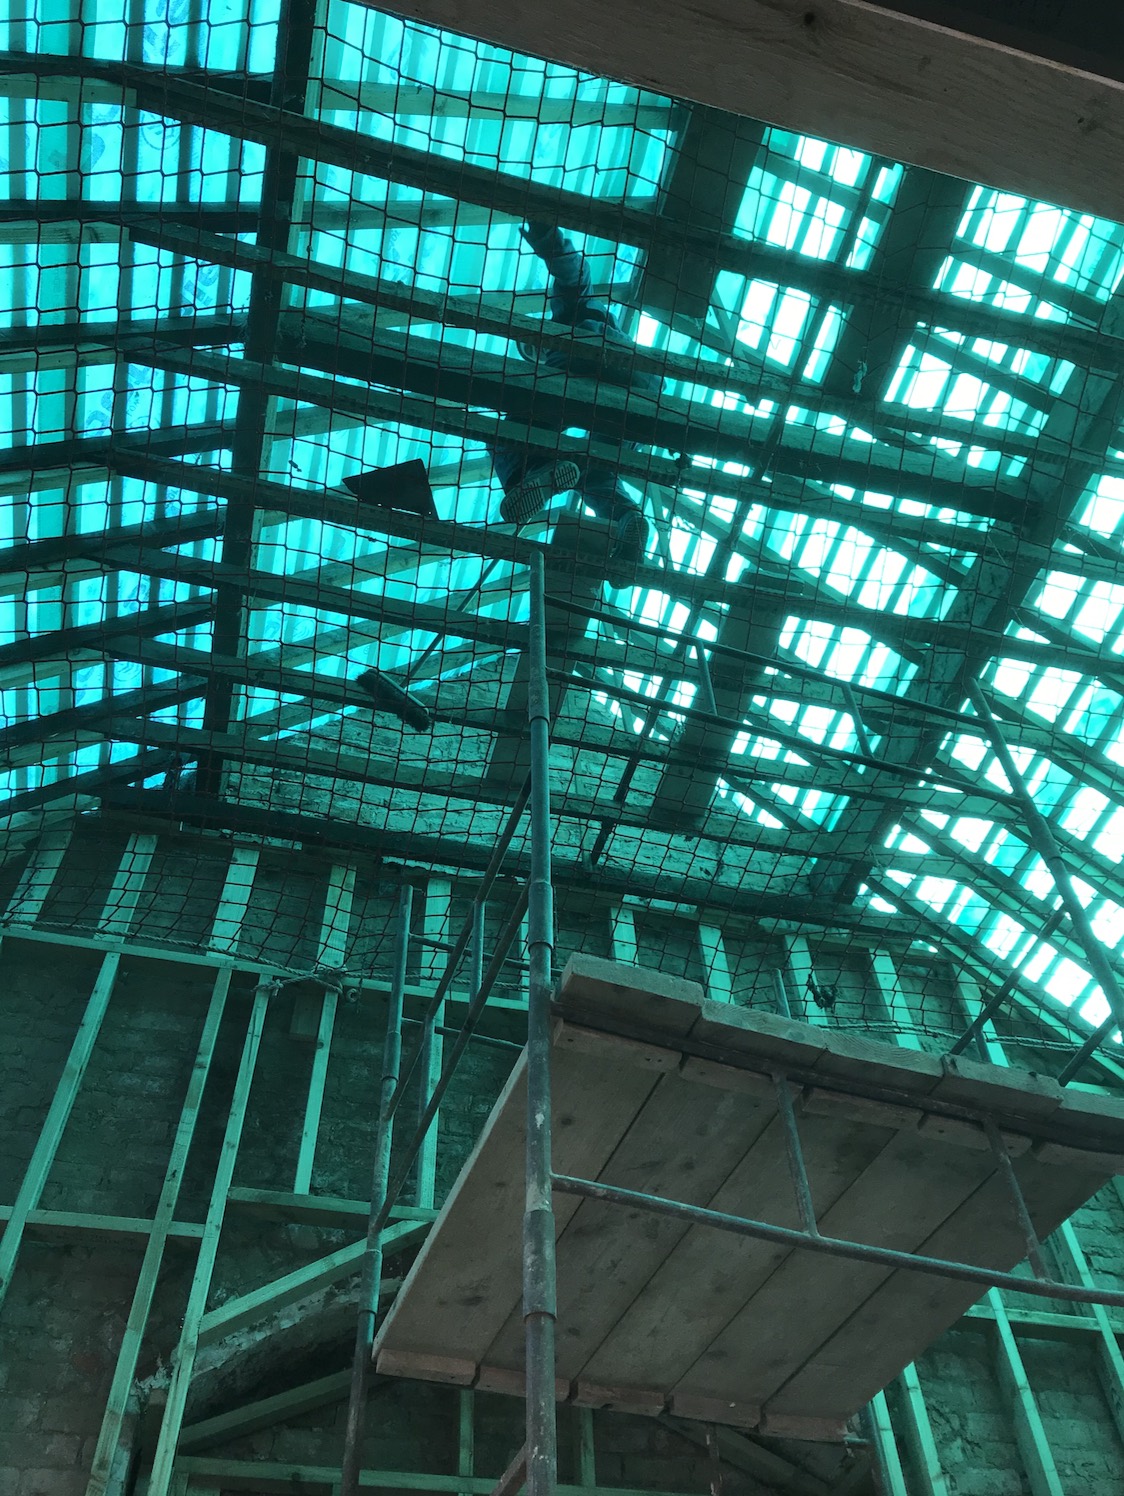
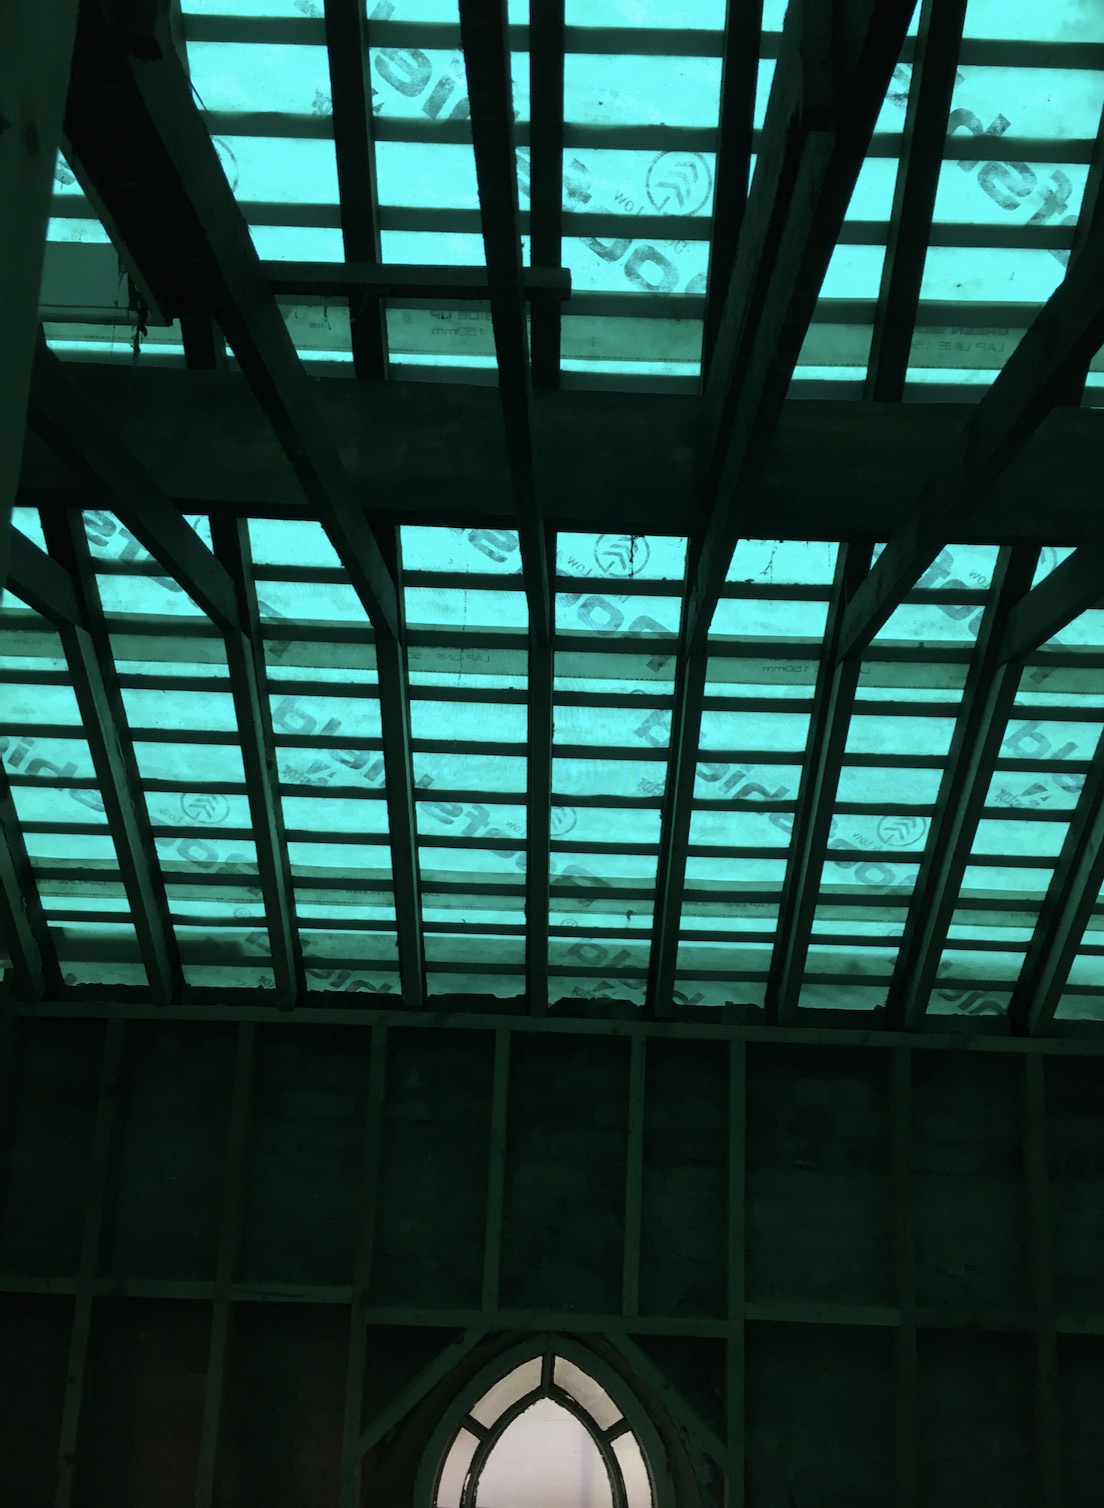
The strange green light is from the new breathable membrane that was being laid on the roof. Here’s a new view of the Chapel I don’t think I’ve shared before:

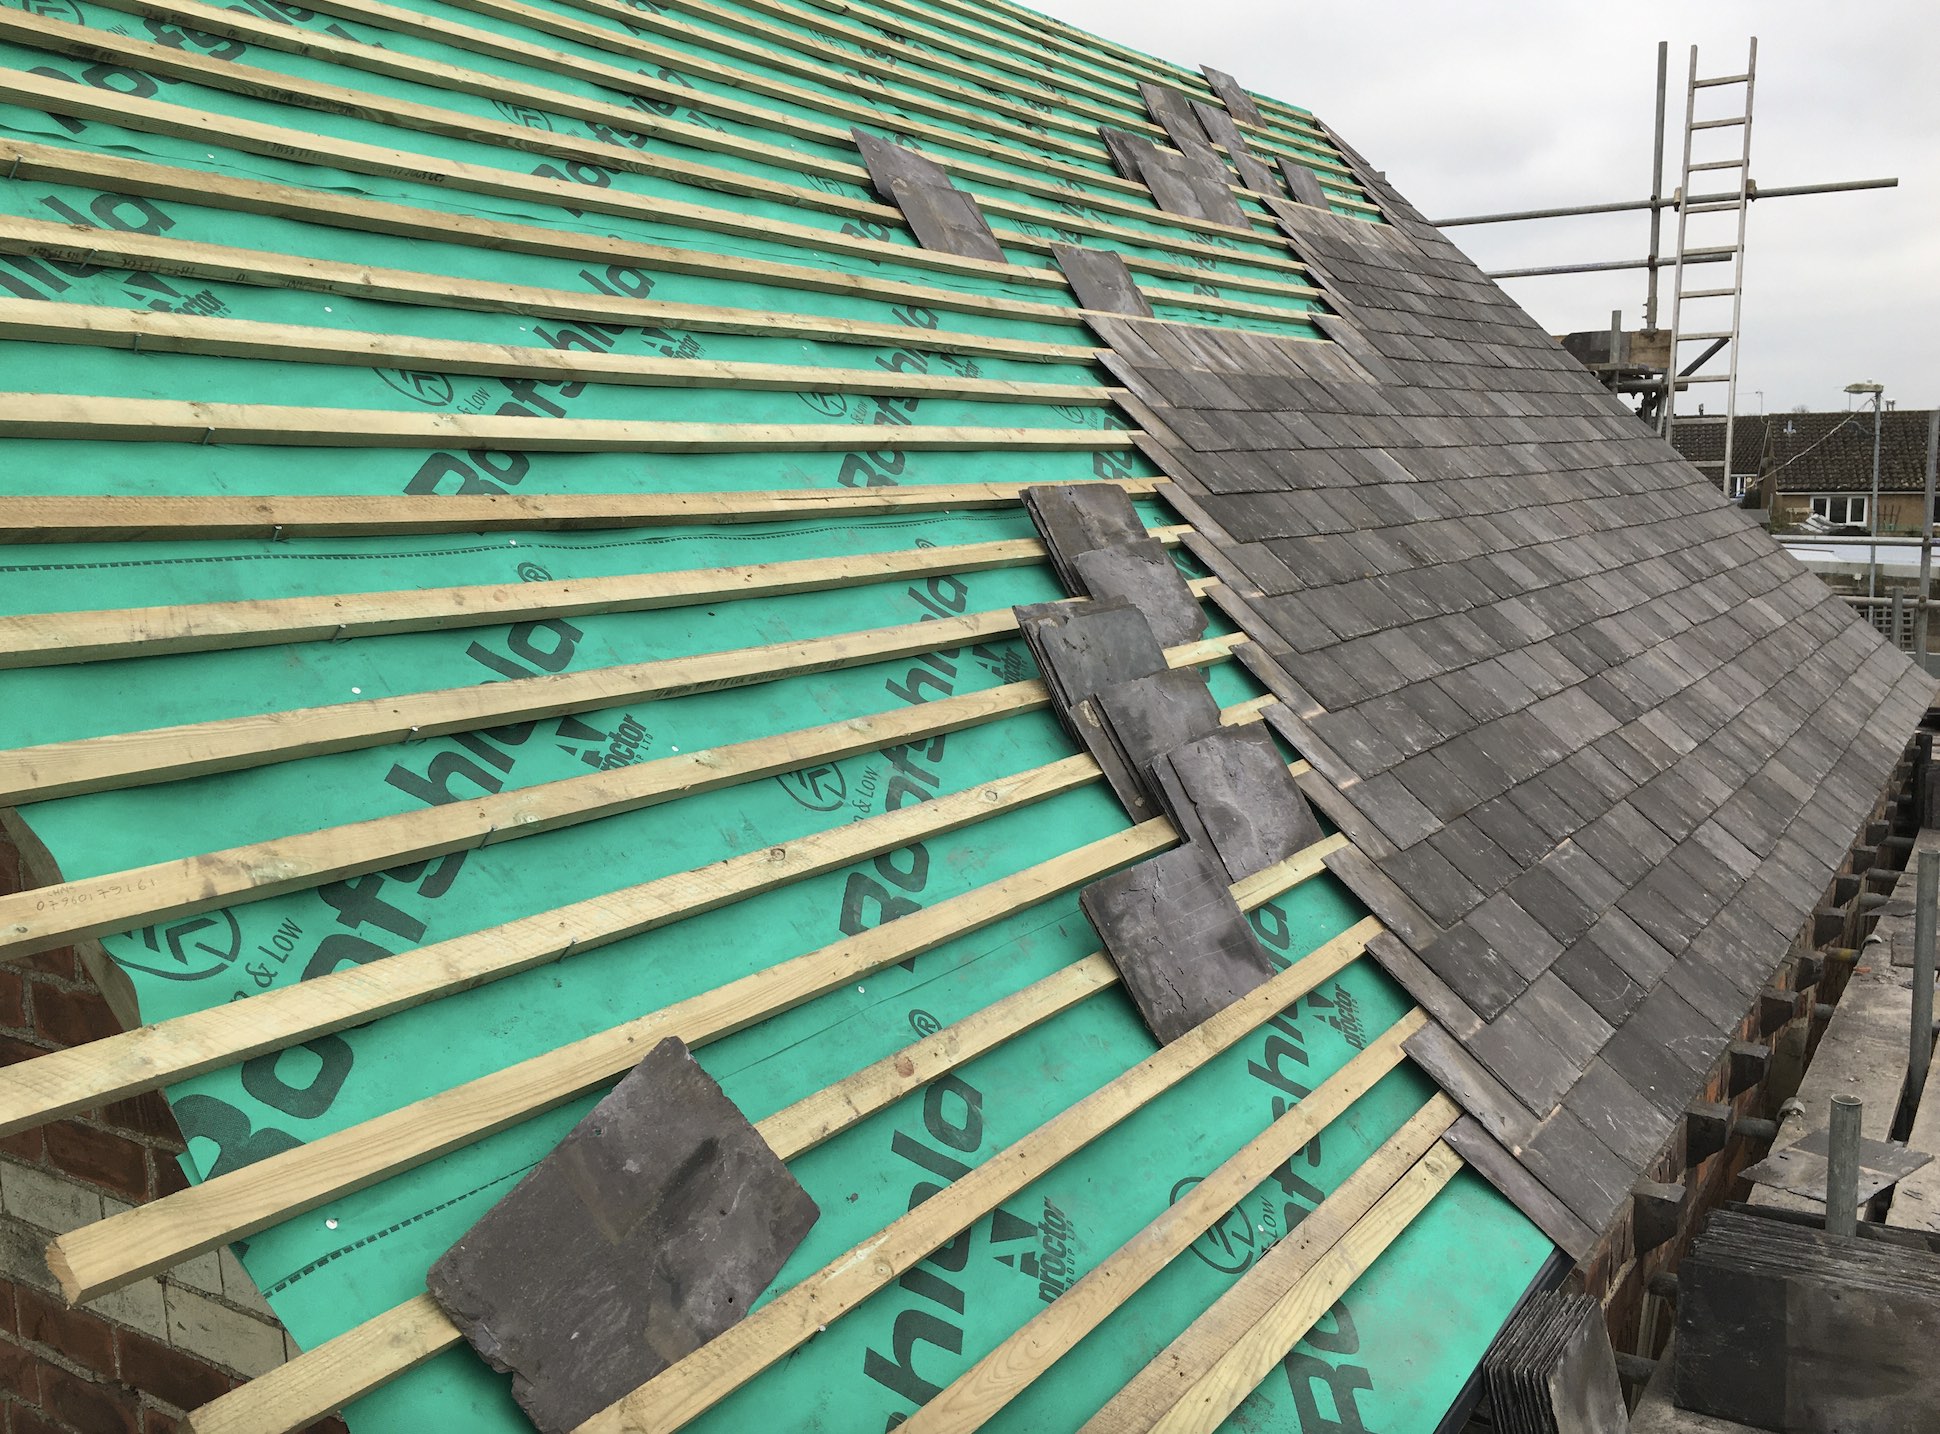
Finally, a photo below from my first time up the scaffolding! The slating was coming along really well. We managed to salvage around one third of our original slates, and the roofers brought some lovely reclaimed Welsh slates along to use too. I’m originally from South Wales and was very pleased to have a part-Welsh roof!
Conclusion
I hope you enjoyed seeing the renovation progress in this mid-week post. Seeing the inside start to take shape with the battening and stud work has been a real highlight after many months of drawings. I did some 3D modelling of the spaces early on, but nothing quite prepares you for the real thing!
With the roof works underway too, it’s felt good to give this part of the building the same care and attention as the brickworks and Chapel structure. It made sense to restore the roof at this stage in the process. It also meant that the whole structure became weather proof.
For easy navigation, I’ve made a ‘Renovation’ tab on the homepage to catalogue this series. Alongside sharing the key points of the renovation on my main HOUSE PLANT HOUSE instagram, I’ve got a dedicated secondary page — HOUSE PLANT HOUSE renovates, which I will link here, where I’m sharing more of the Chapel renovation project.
This process is actually quite intrinsically linked to HOUSE PLANT HOUSE because alongside being a space for my plants and I to grow, it’s also going to be a place from which I can run my small business. This was something I’ve had to put on hold for a while, with re-locating and all, but it’s a goal I’ve been working towards behind the scenes for the last few years. Essentially, the Renovation Diaries will document the creation of a physical iteration of HOUSE PLANT HOUSE, which I’m really looking forward to sharing.

Leave a Reply