
For today’s instalment, we make strides with the exterior woodworks as the fascia boards are reinstated. There are quite a few evening and weekend painting sessions to get things looking smart before the scaffold comes down. Inside there’s lots more insulation going in and the Chapel gets boarded out. This makes the whole space inside start to look much more like it’s finished state!
Fascia boards and external woodworks
As I mentioned in the previous renovation post, the fascia boards were re-made to replace the existing ones on the Chapel. These were pretty weatherbeaten and rotten in places so it made sense at this point to give the woodworks at the front of the building some care and attention. We wanted to invest in doing the repairs at this stage in the renovation to preserve the exterior of the building for the future. It was also much, much easier with the scaffold in place for the brickies and roofers!


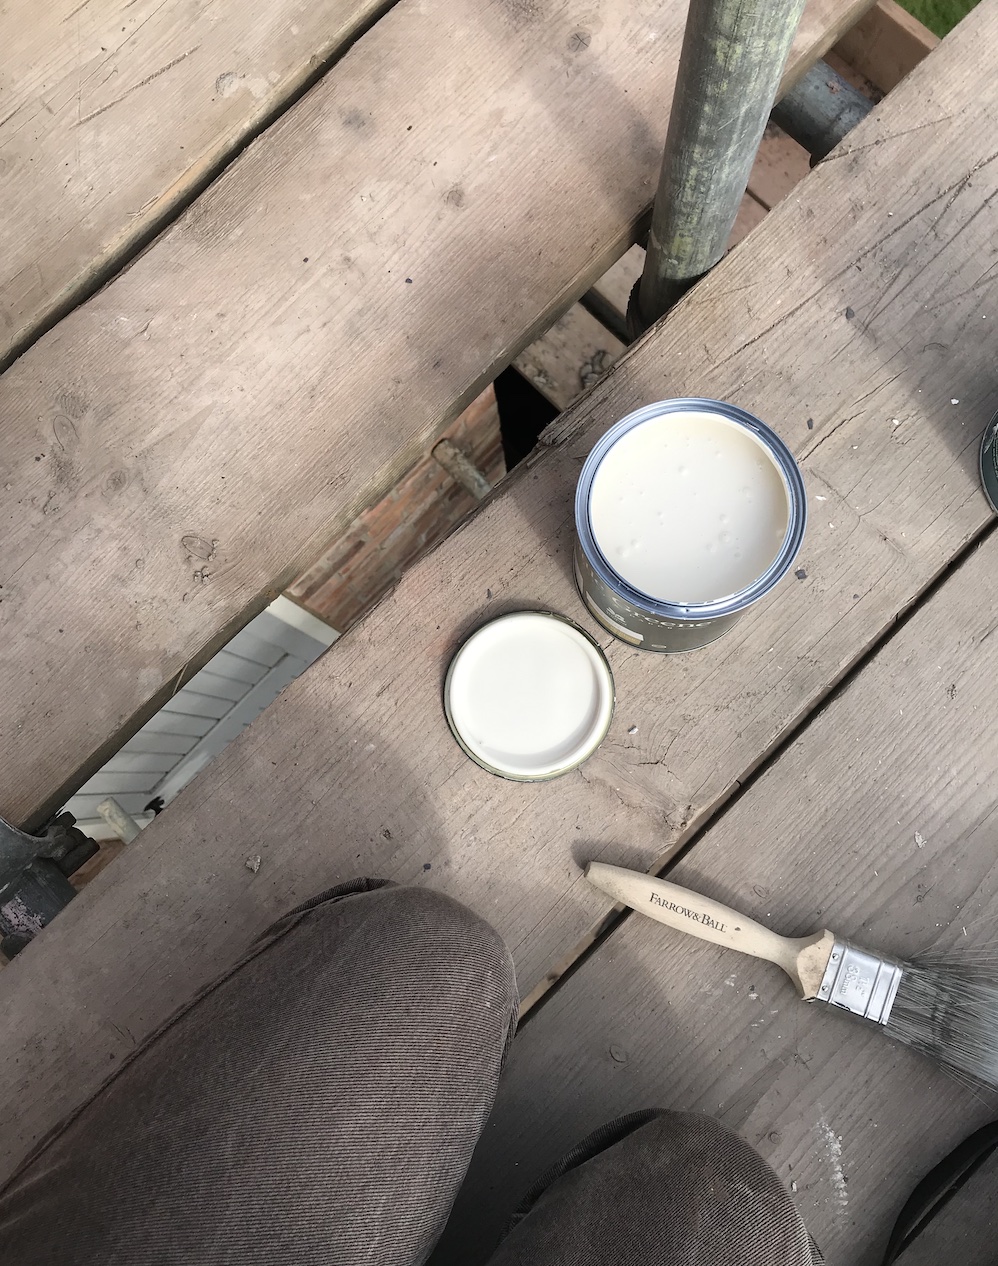
With the beautiful boards on site, we applied knotting and primer and a few coats of colour. I really rate Little Green exterior paint and went for a Mid Clay colour. This was very close in shade to the previous tone and looked great with the bricks. The slats underneath the fascia boards were also replaced and ready for painting too. Richard also turned us a lovely new finial for the porch to replace our wonky, slightly dishevelled one! With the brickies working up the scaffold in the daytime, the inside of the Chapel became a woodwork painting studio for a few days!
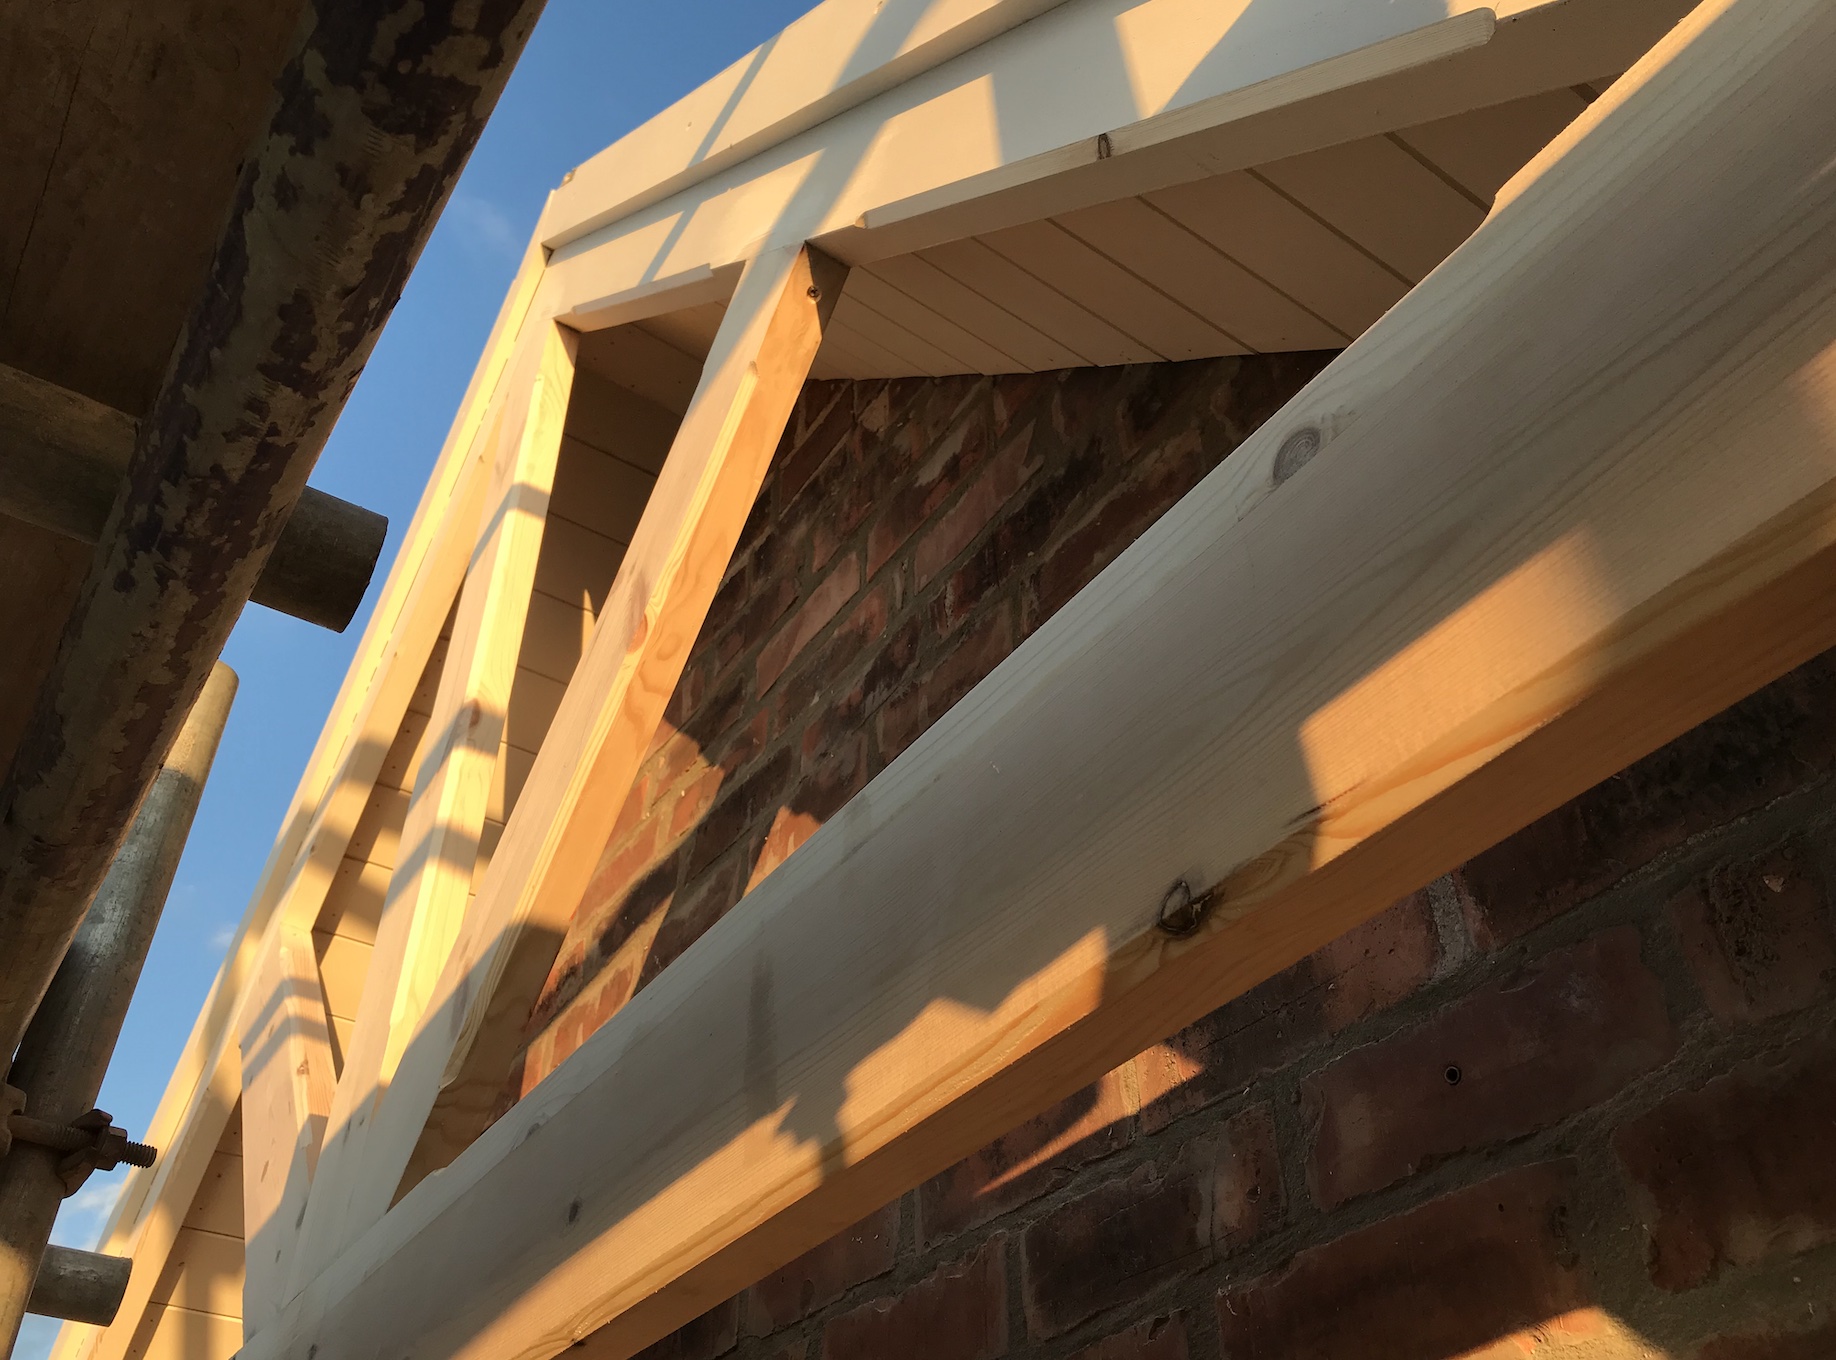
Our joiners came across one sunny evening to install the woodworks at the front of the Chapel. For a few weeks the front had looked quite bare! They also brought some timber to recreate the fan shape that I mentioned in last weeks’ post.


Mid installation photo:

…And it’s up! Their attention to detail is just brilliant and they added in the little notched and chamfered details that also appears on many of the other woodworks at the Chapel. You can see a closer look in the image below, centre. We applied some knotting solution to the wood that evening to prepare for priming the following day as the sun was going down.
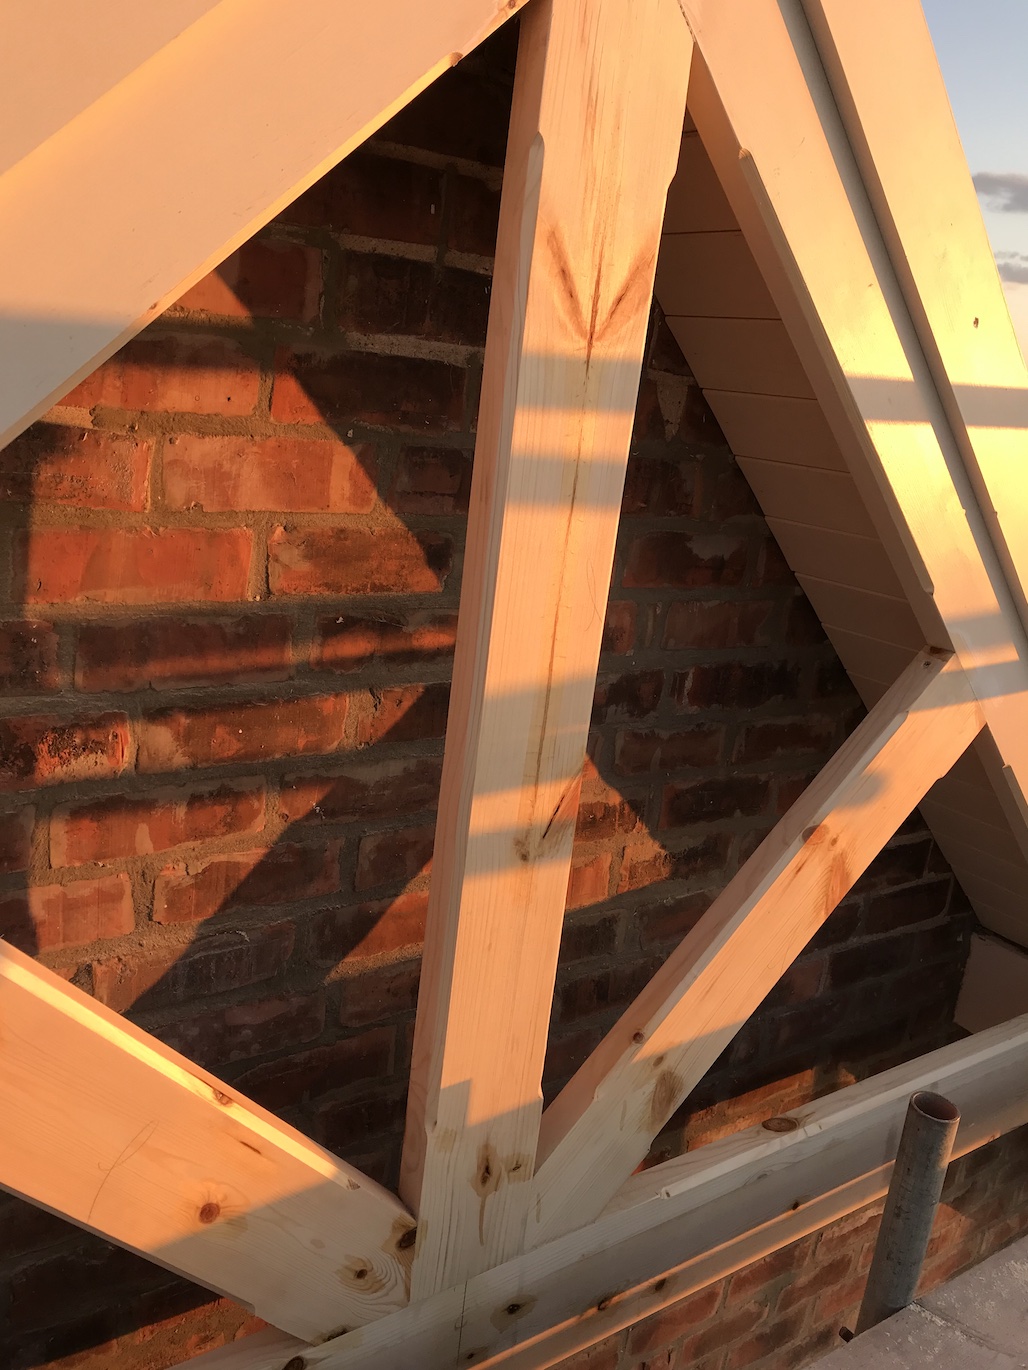

This was a very memorable day in the renovation!
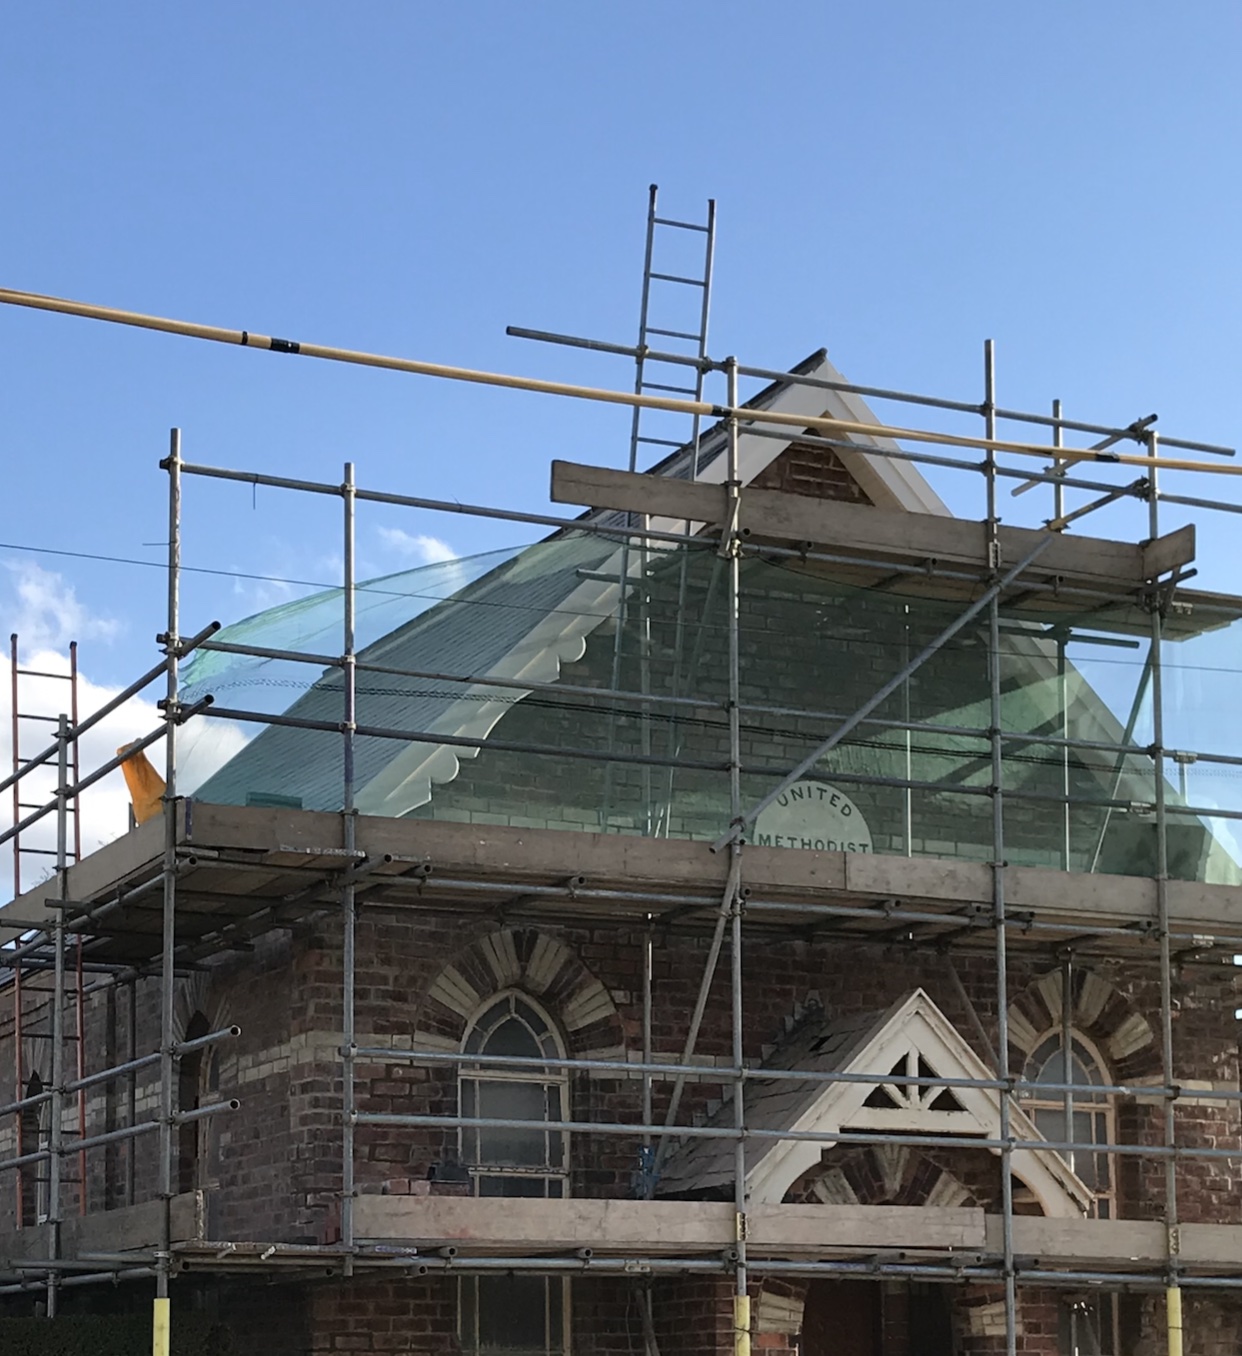
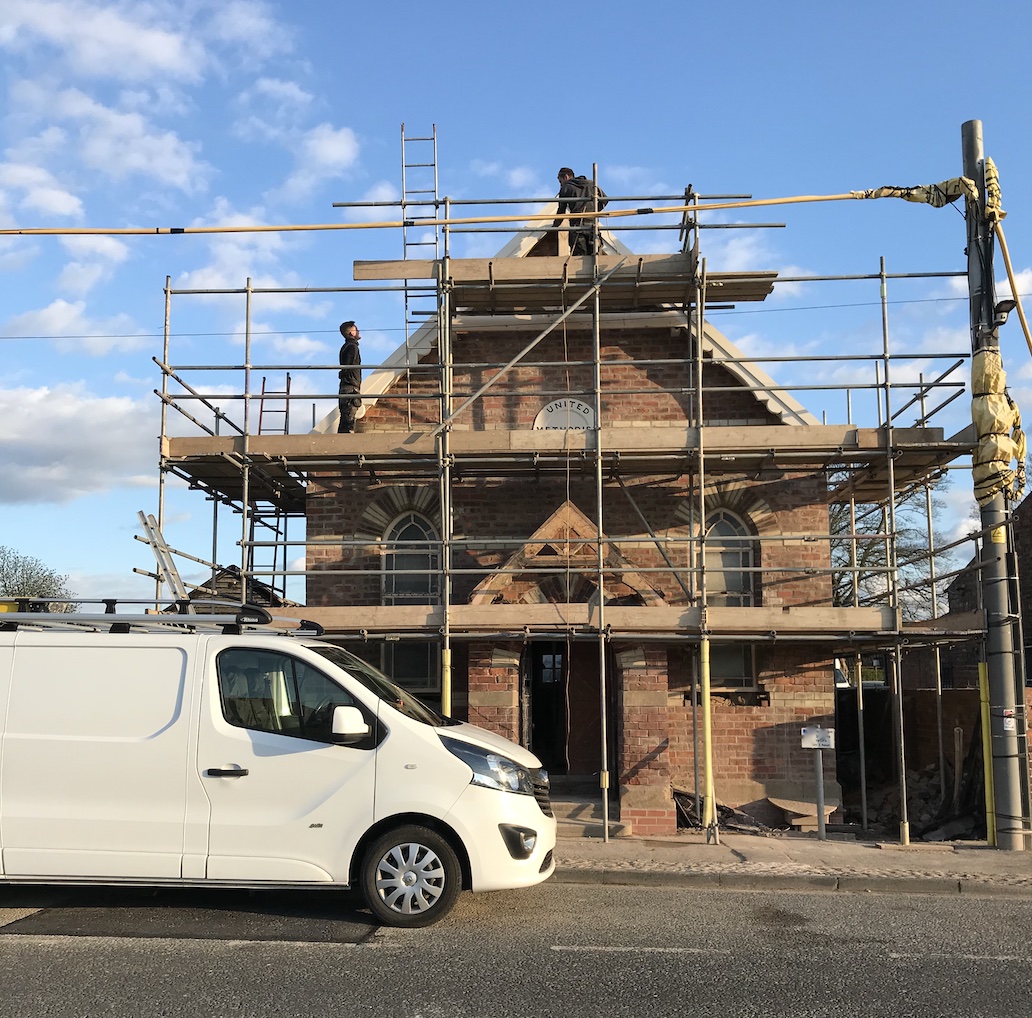
Weekend painting up the scaffold
With the woodworks prepped and ready to be primed, we proceeded to spend quite a few evenings and weekends painting up the scaffold. Despite not being a big fan of heights, I got used to it pretty quickly!


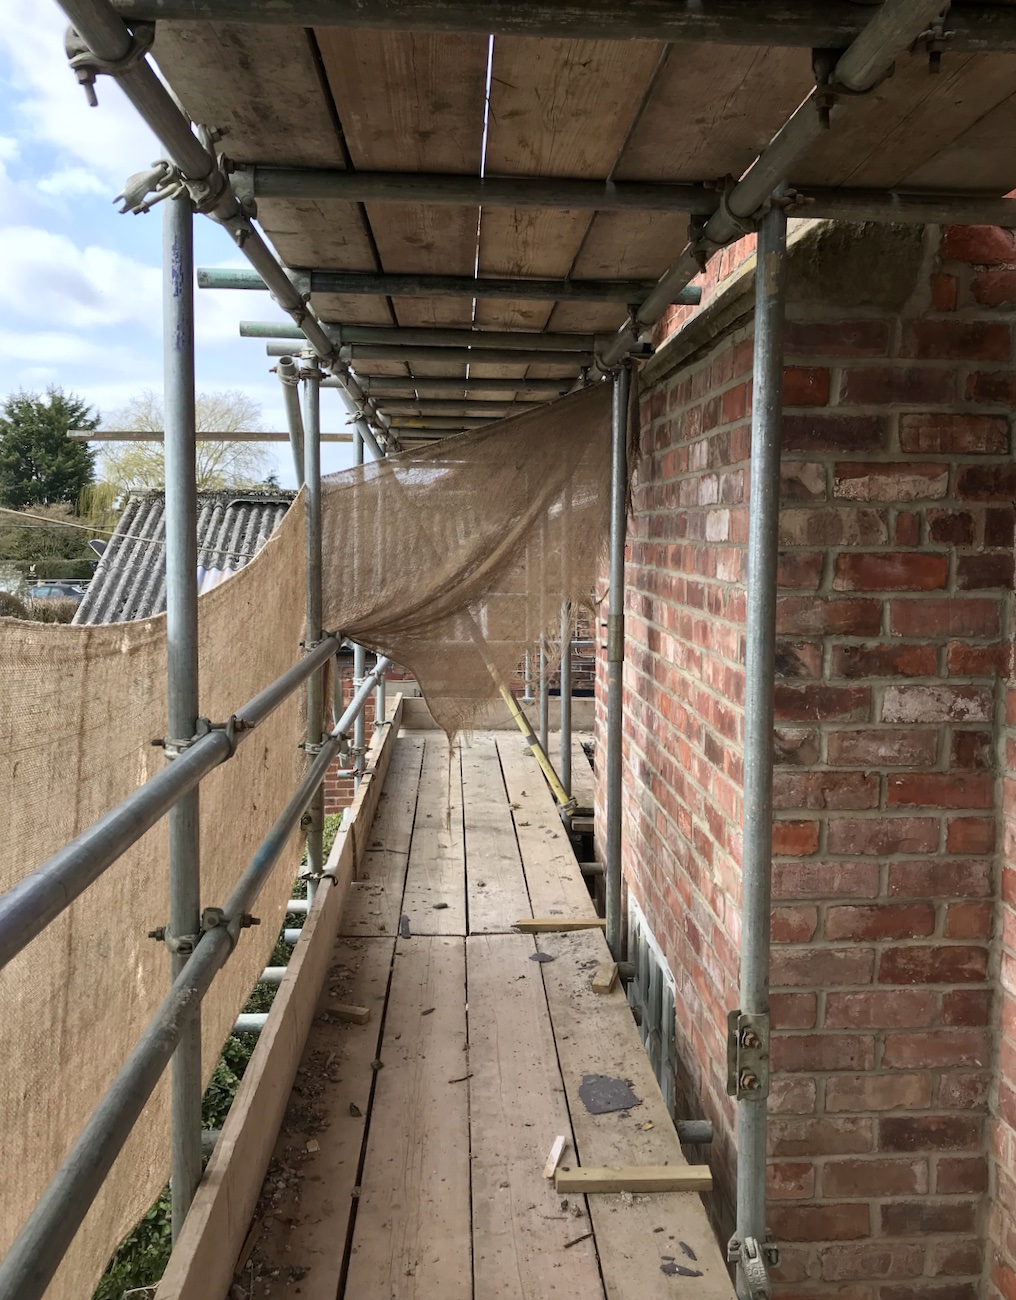
Here you can see how the Mid Clay paint colour looks on the fascia boards. The clay tone of it really does compliment the warm terracotta colour of the bricks and also references the shade of the lighter detail bricks. As an art-school graduate I am aware I look at colour very intensely! I admit that I do love to pore over a paint chart…


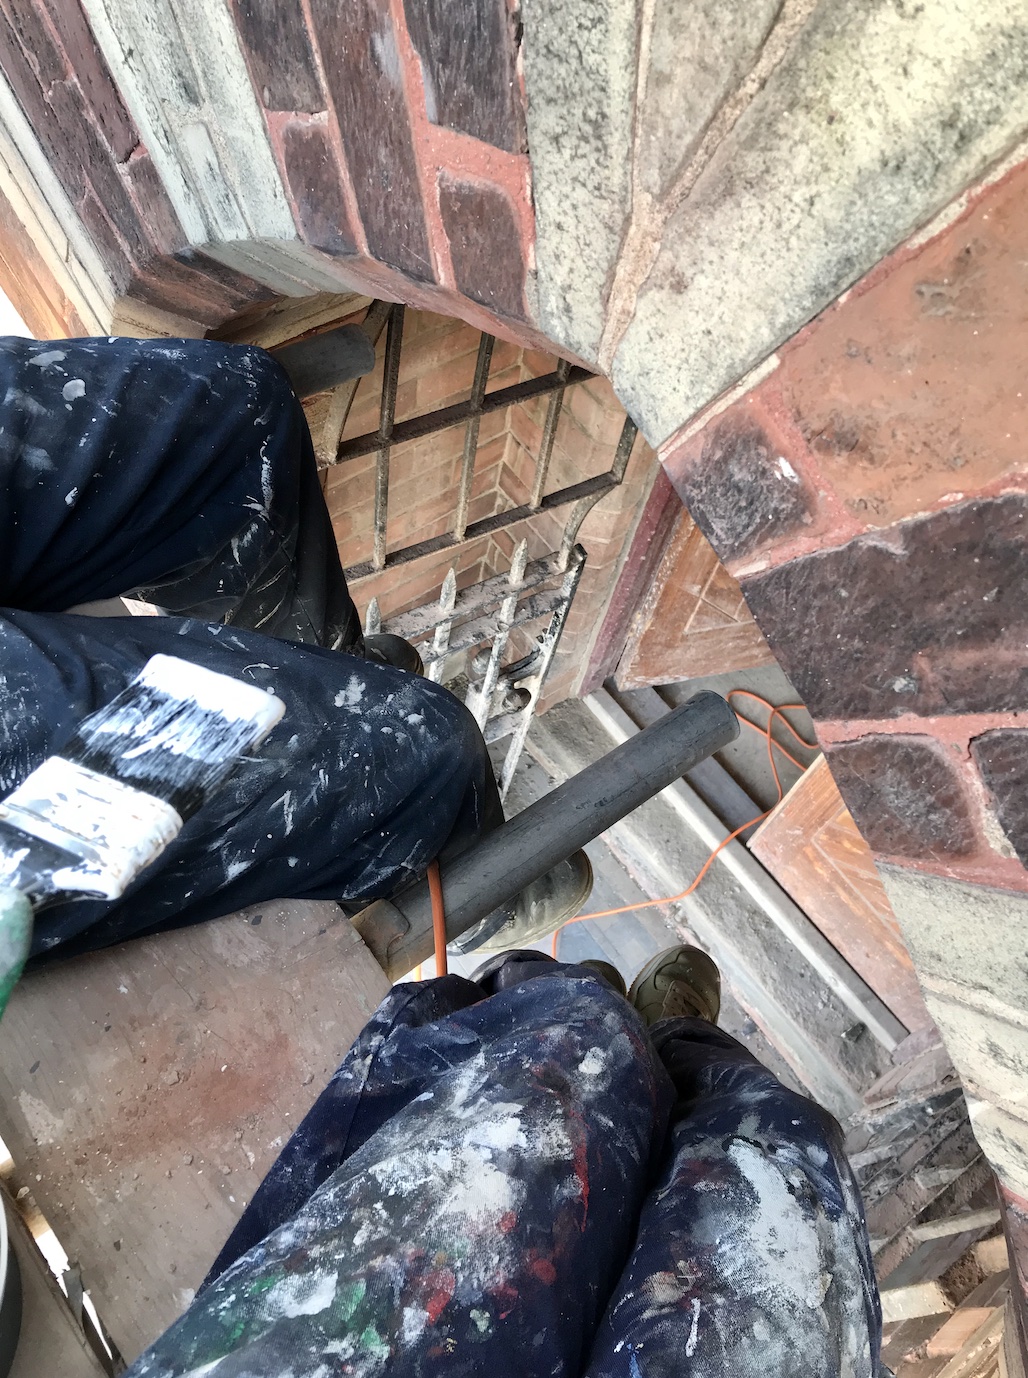
Next up was a very tricky paint job. I am laid down on the scaffolding as I attempted to reach underneath the roof slates to the woodworks that were only marginally visible from ground level! A small detail, but I know I’d notice it all the time if we ignored this step. It would also help to protect the wood too. We painted it black as it’s close to where the new guttering will be installed. I was aching quite a bit the next day after all that twisting and turning!
The disc…
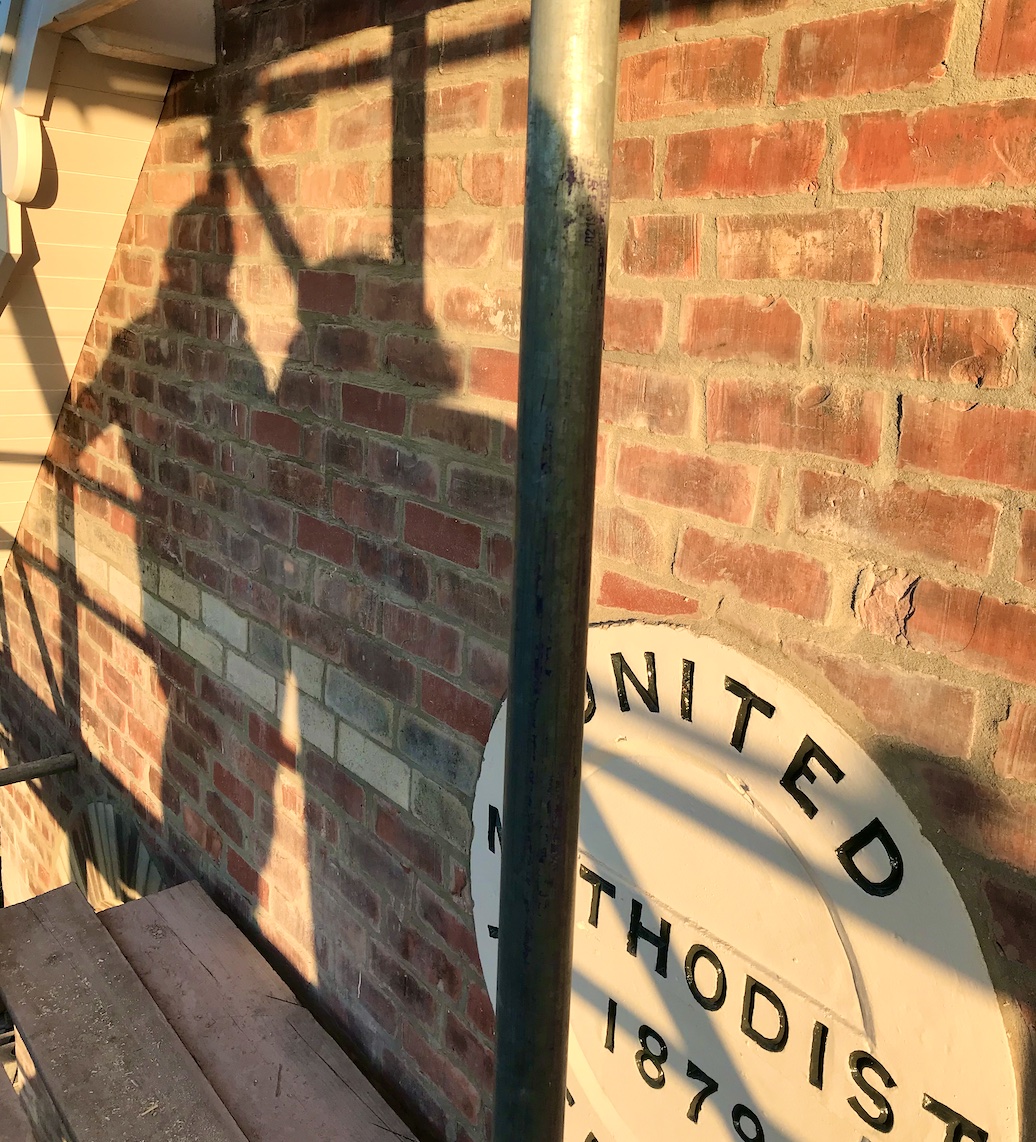
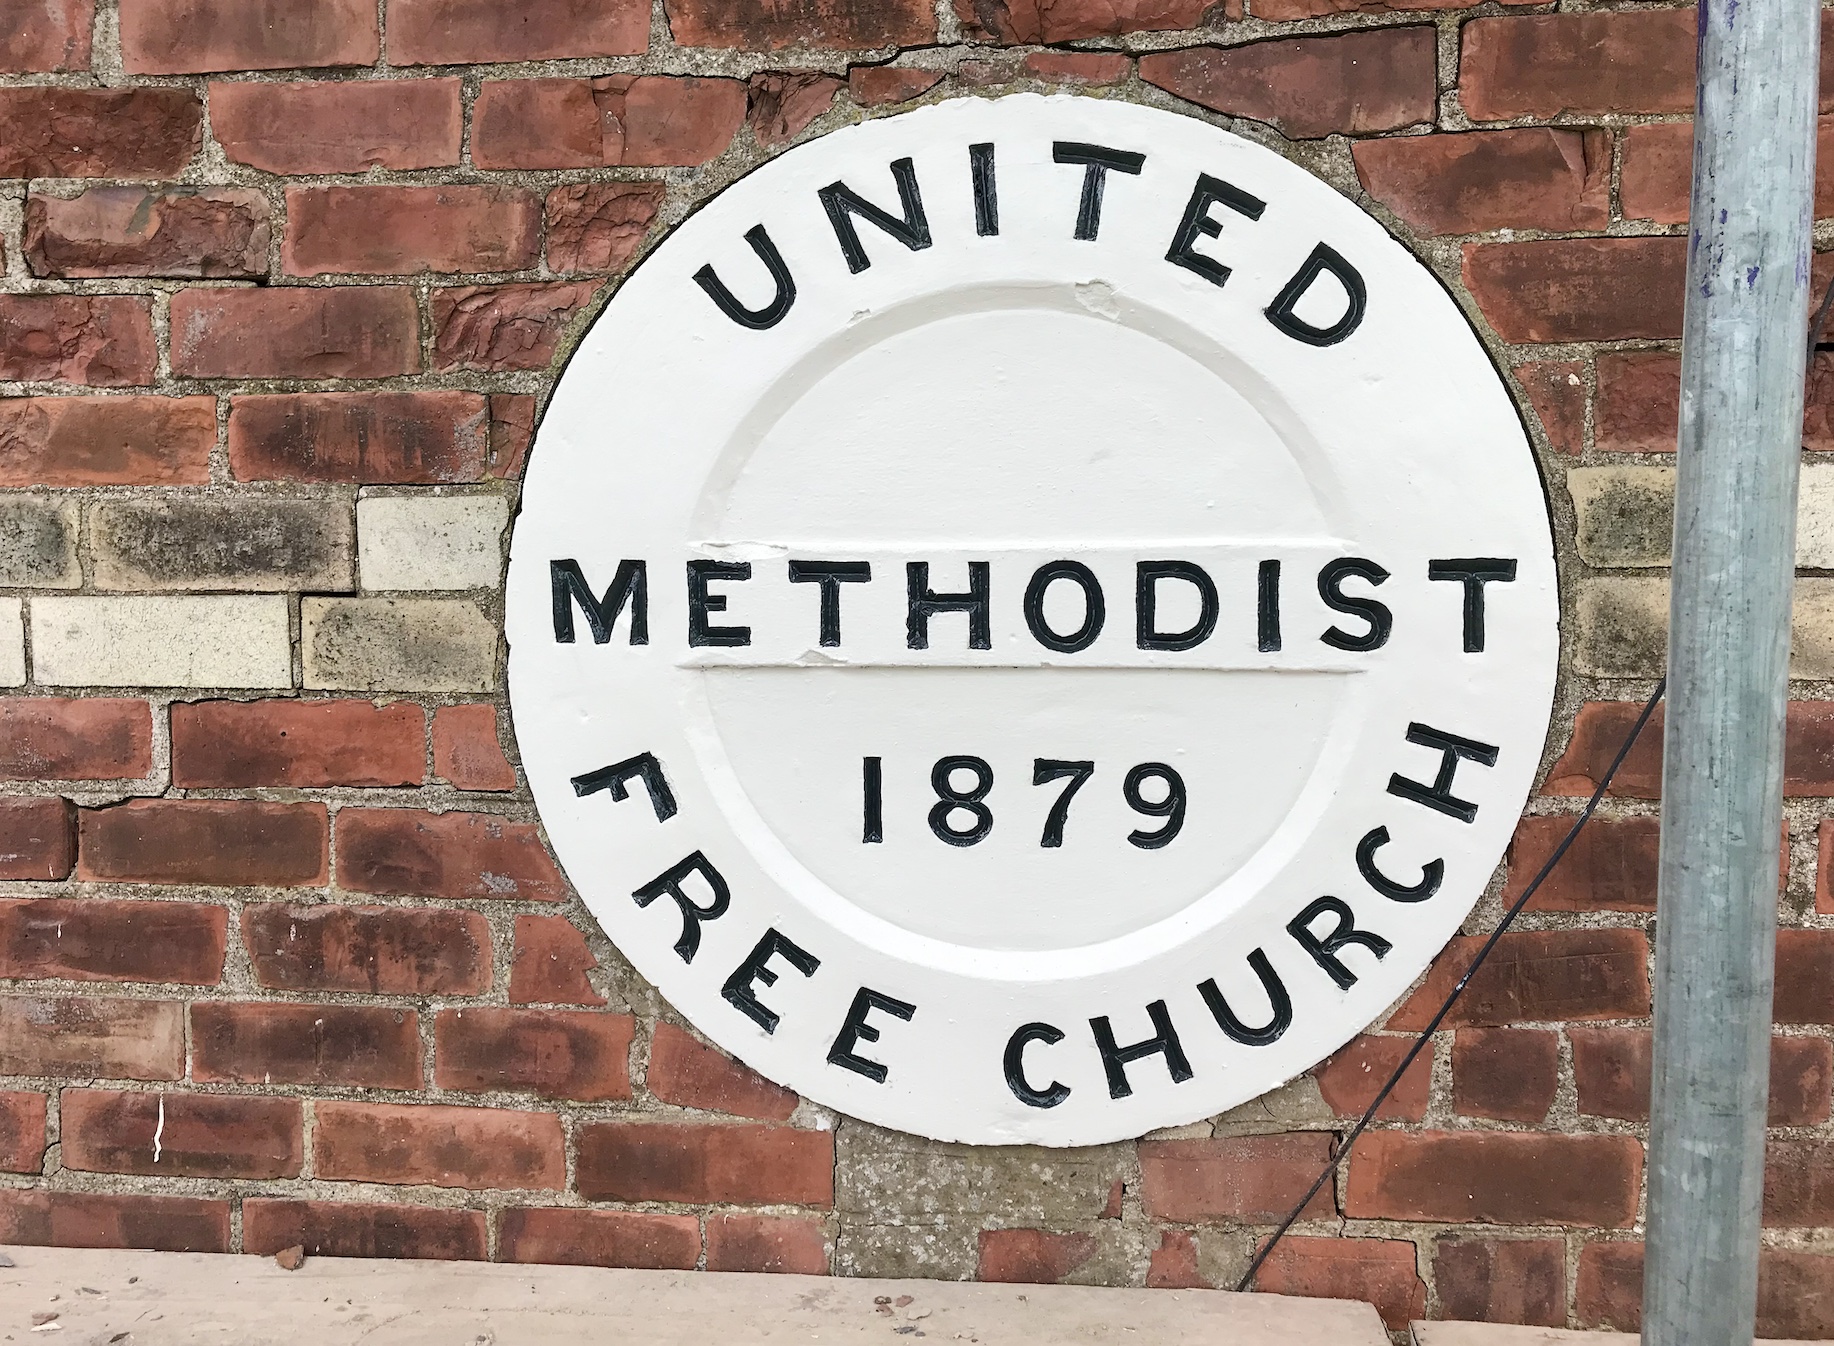
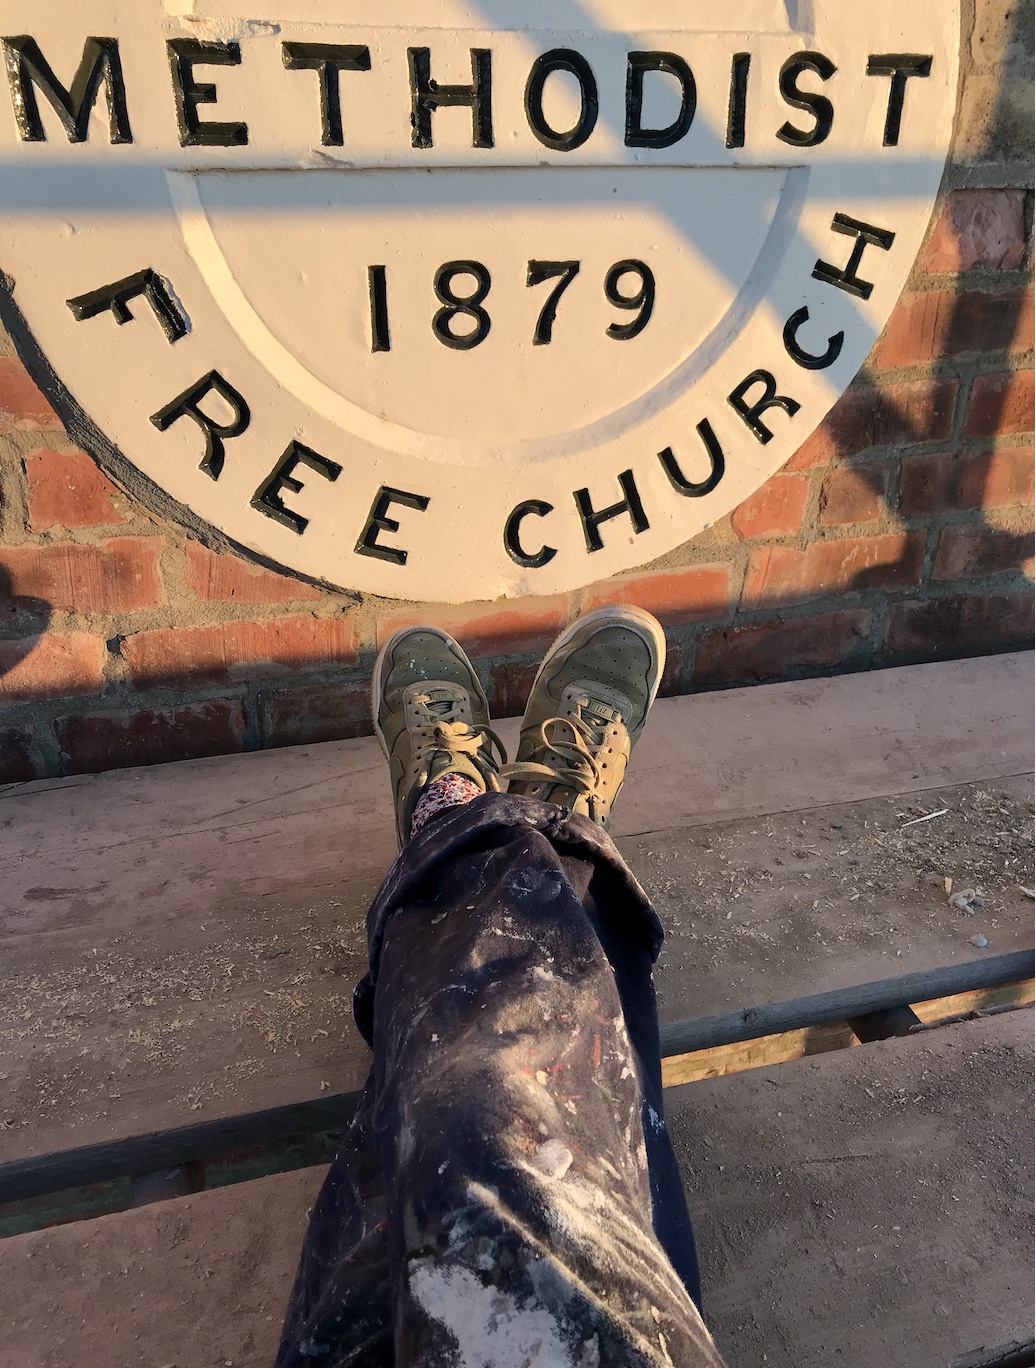
Once the larger woodworks had a few coats of paint, I turned my attention to the painted disc. It was looking a little discoloured up close so I wanted to freshen it up. You can see it here, below right:


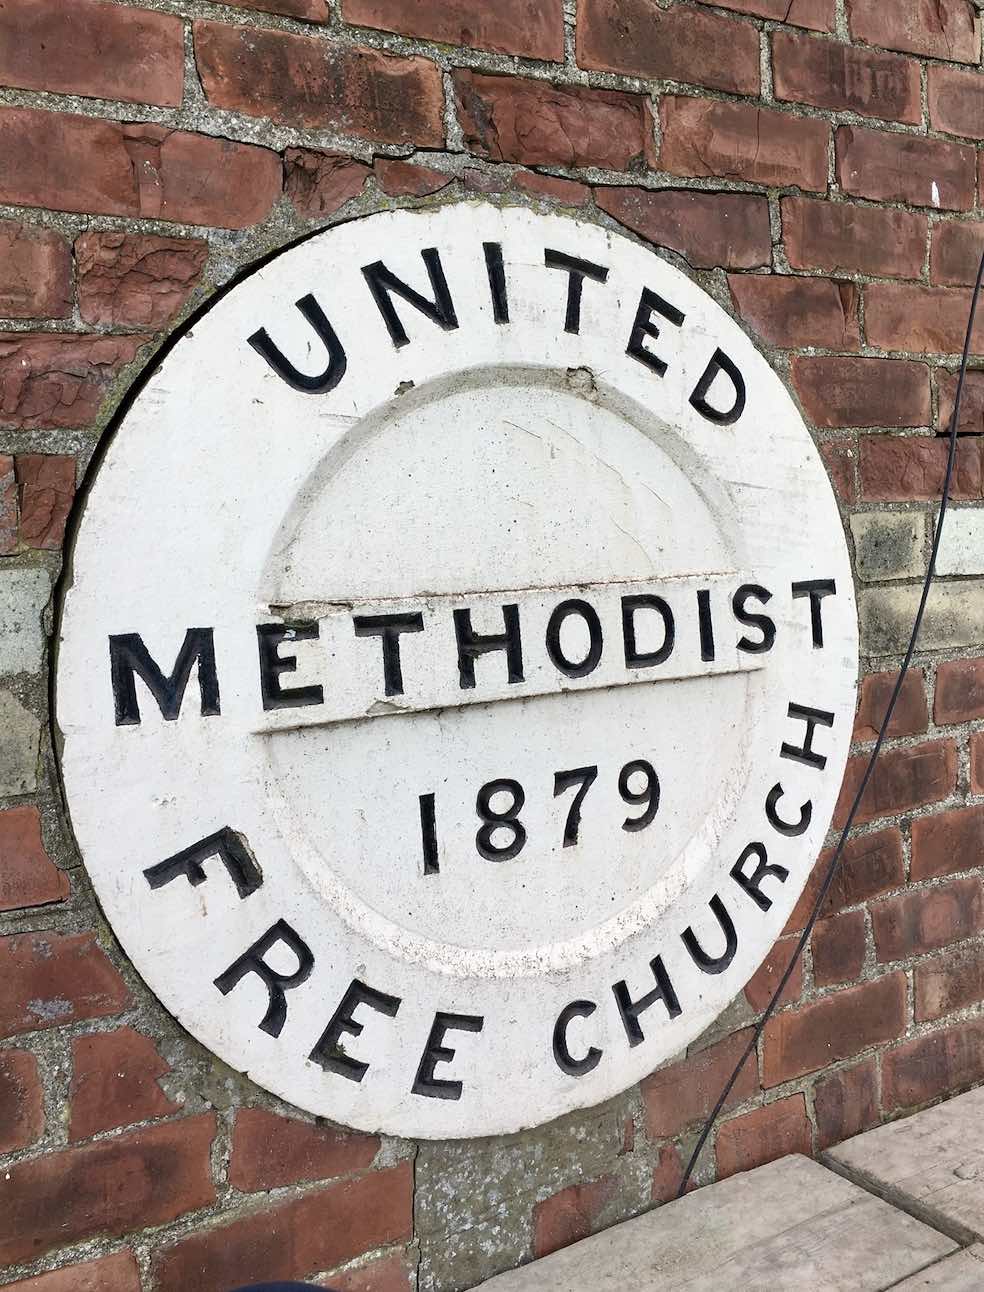
First I needed to clean the disc, before giving it a few fresh coats of paint. It was a pretty time-consuming process to paint around all of the letters! Slowly I could see it looking crisper and brighter and so I then needed to work in the letters. I’ve got quite a lot of painting experience so was actually quite looking forward to this part!


I cleaned then keyed the letters with some fine-grade sandpaper to help remove any remaining debris. Next it was time to prime, which is the dark grey colour you can see in the photograph above. After that, I went in with a couple of coats of off black paint until I achieved a good density. It took me around 3 hours per coat to ‘sign write’ the lettering and thin layers were key.

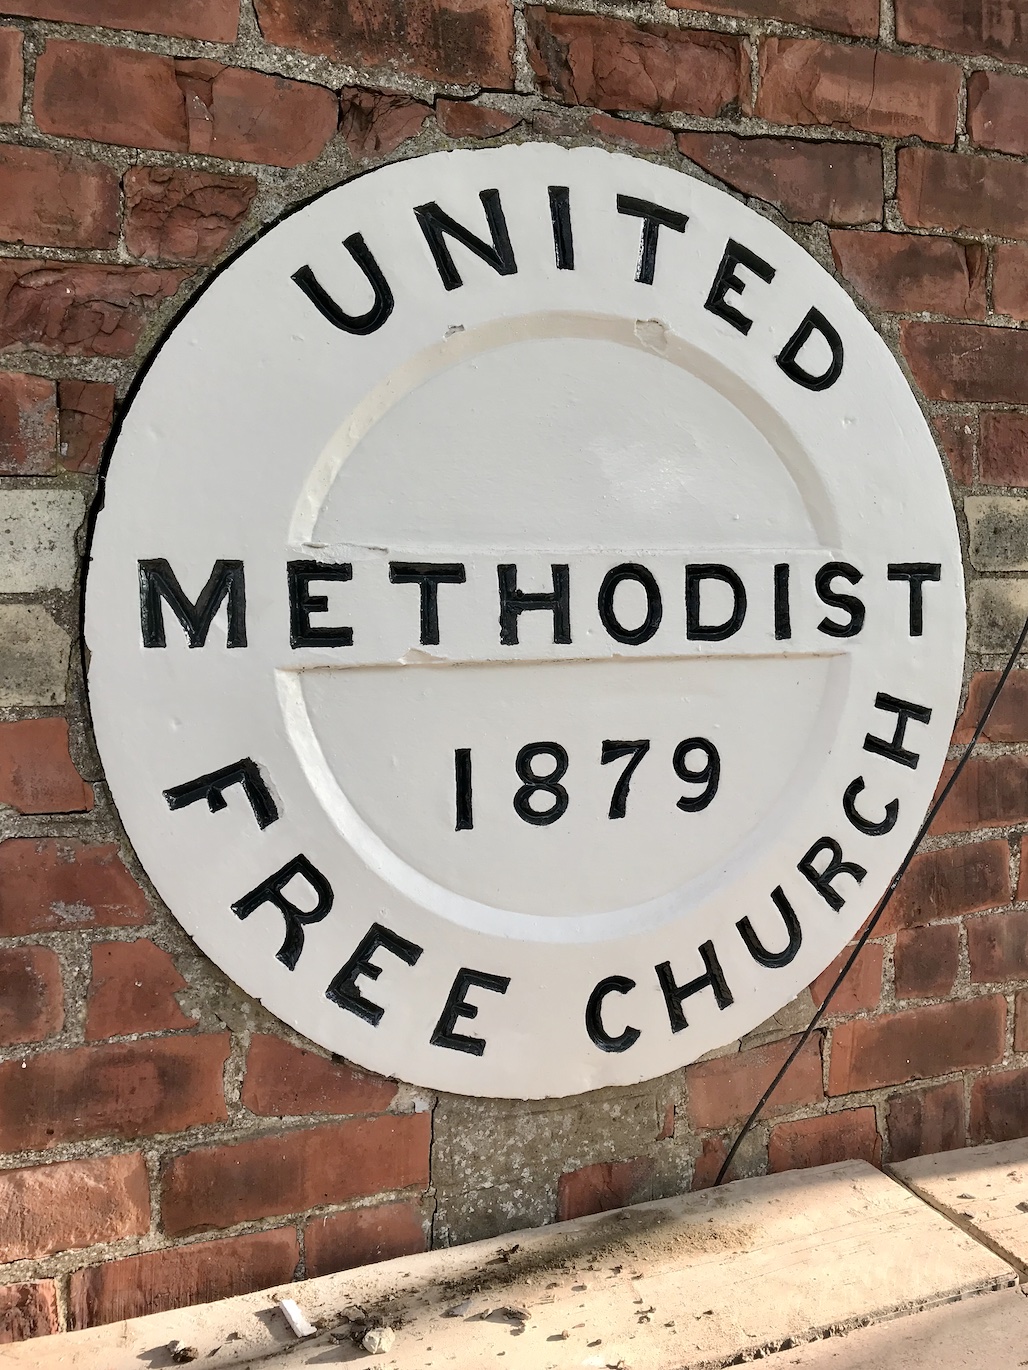
The disc is looking good once more!

The porch takes shape
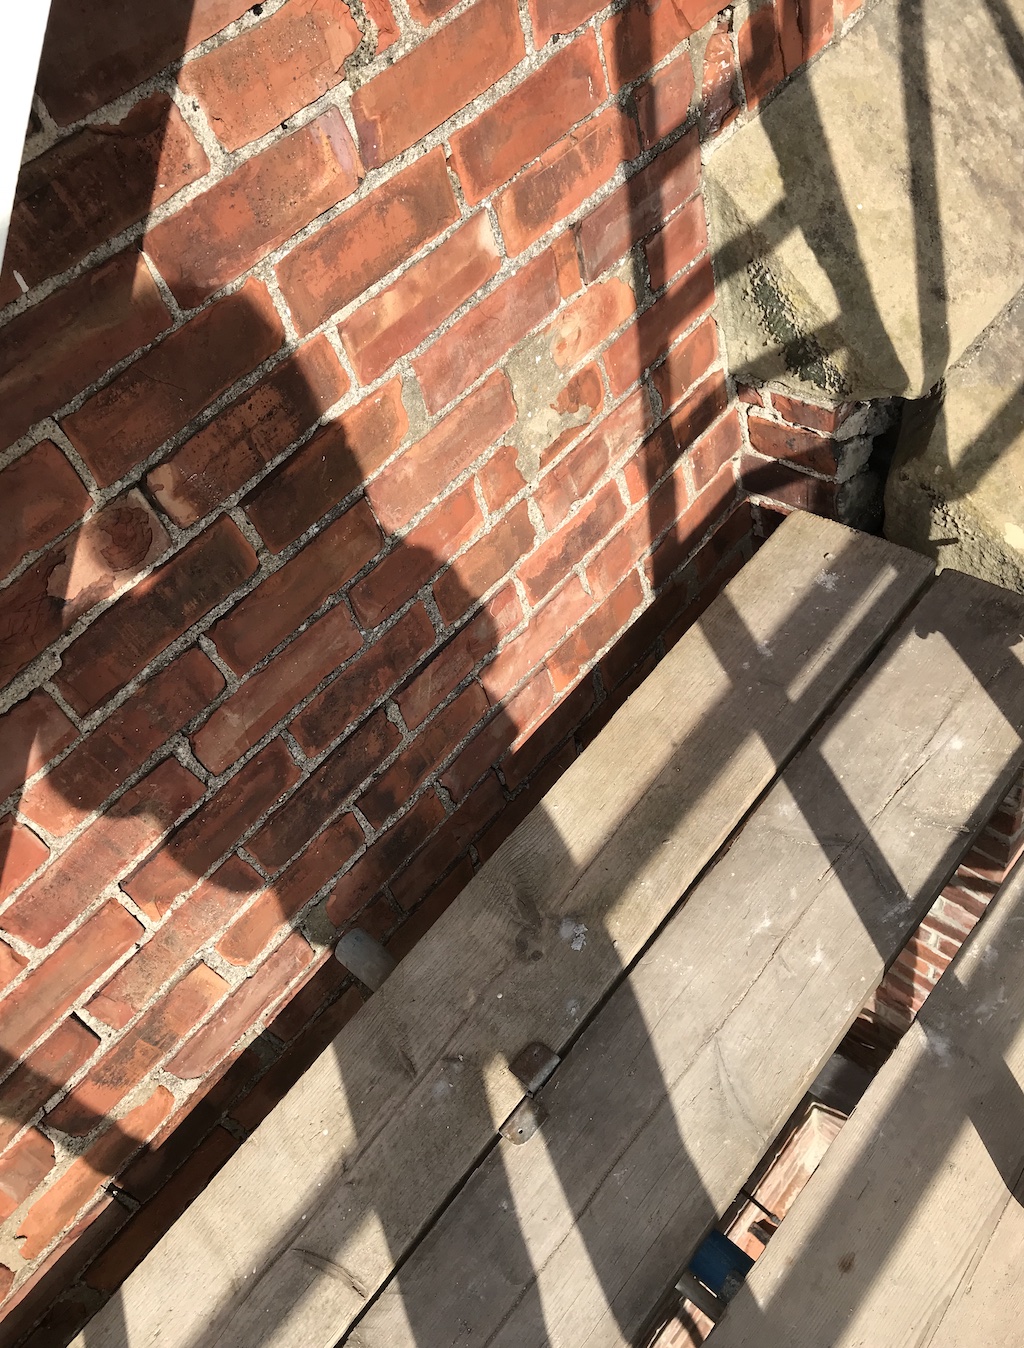
As a plant lover, the eccentric sedum growing out of the guttering around the porch was something I’d got used to on site, but it was time for it to go now. The next stage was to continue working on the porch woodworks and strip the slates to insulate in preparation for the roofer.


We used a heat gun to strip the paint off before the joiner made the necessary repairs to any damaged timbers.

My view from painting the disc down onto the porch roof:

Below right: the roofer did a lovely job on the slates and lead flashing. Below left: we started to prime the wood ready for yet more painting…

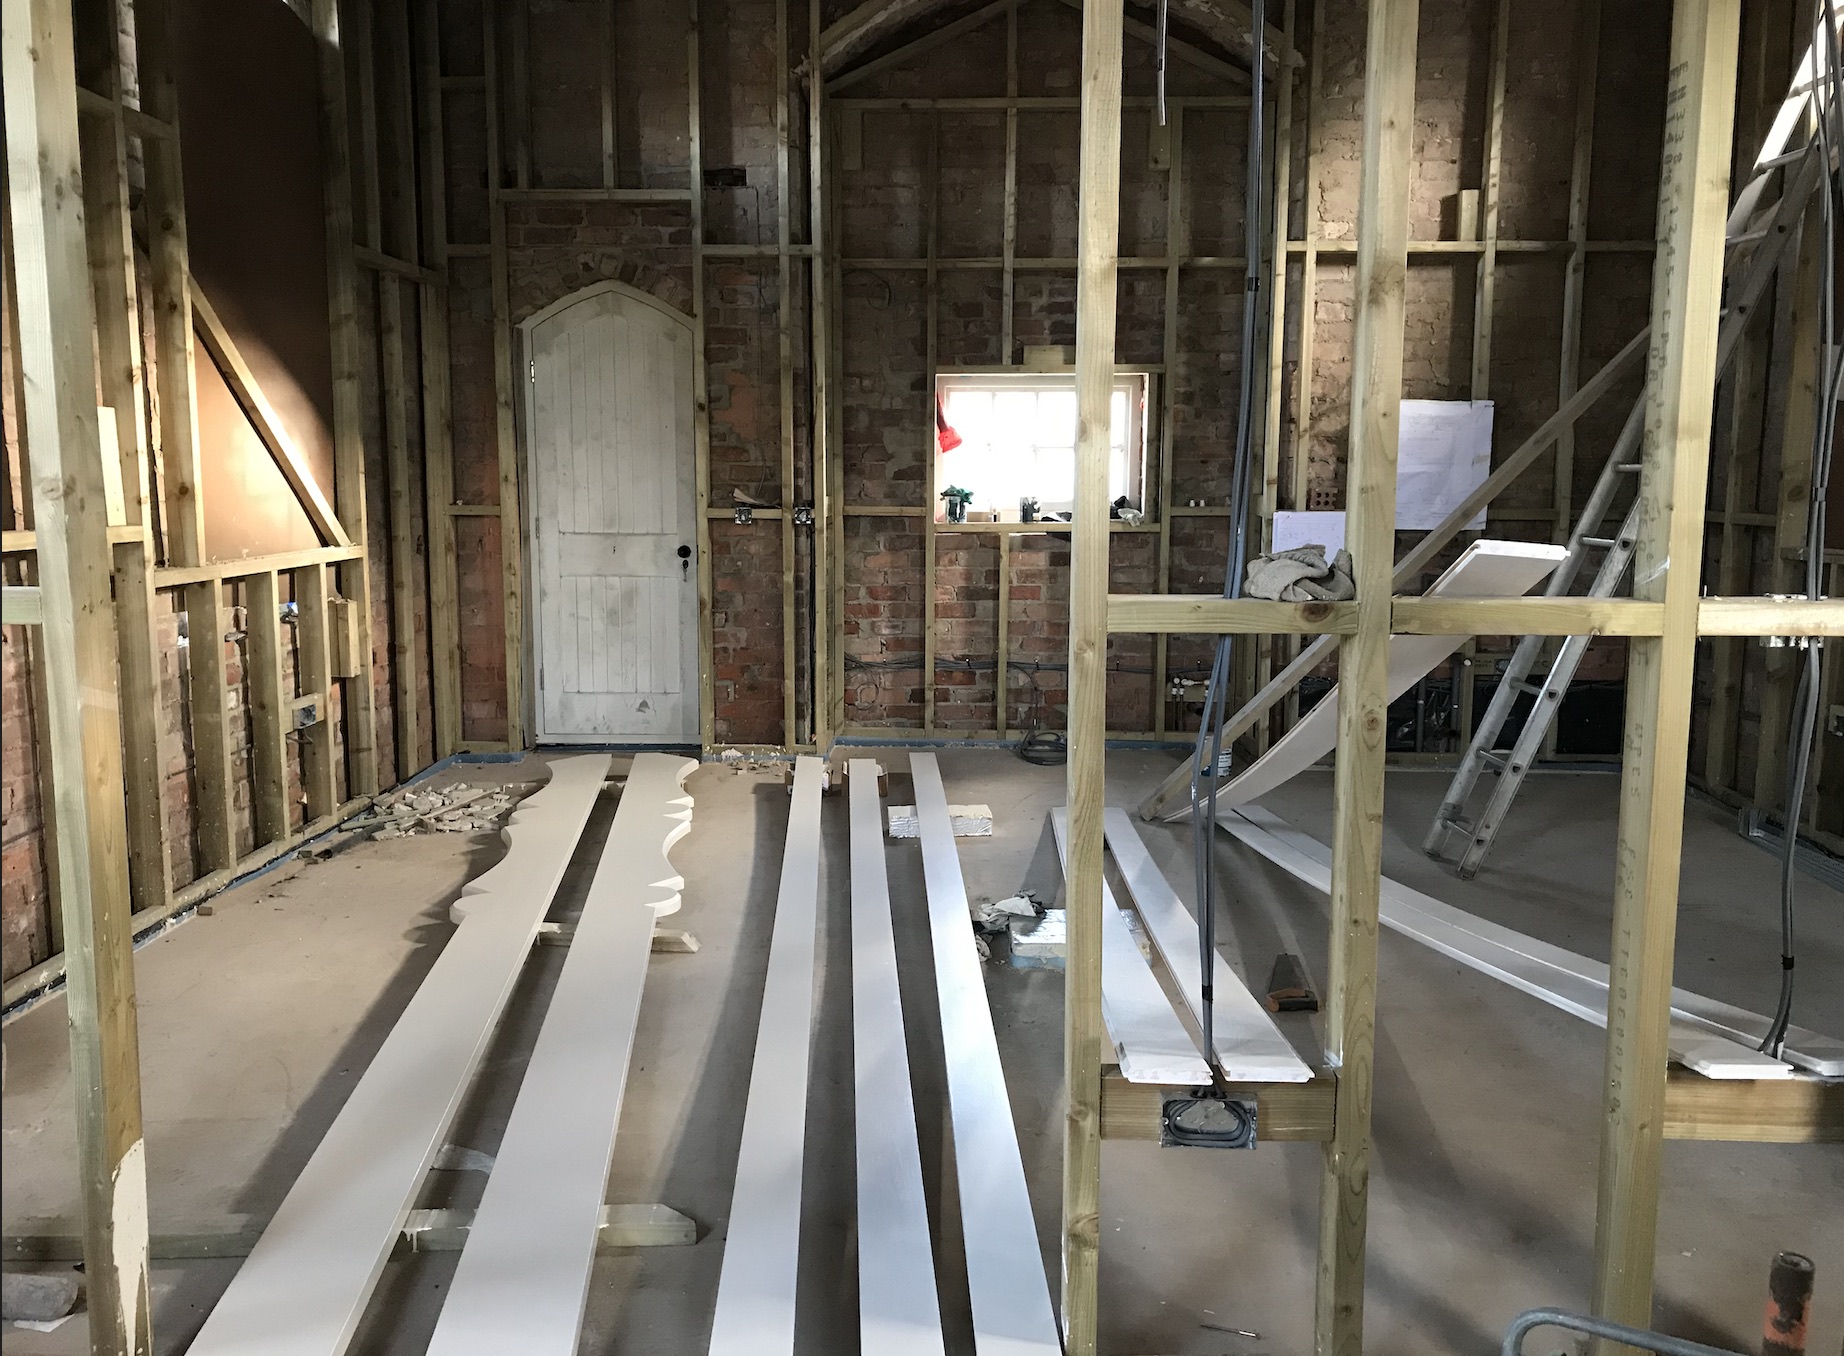
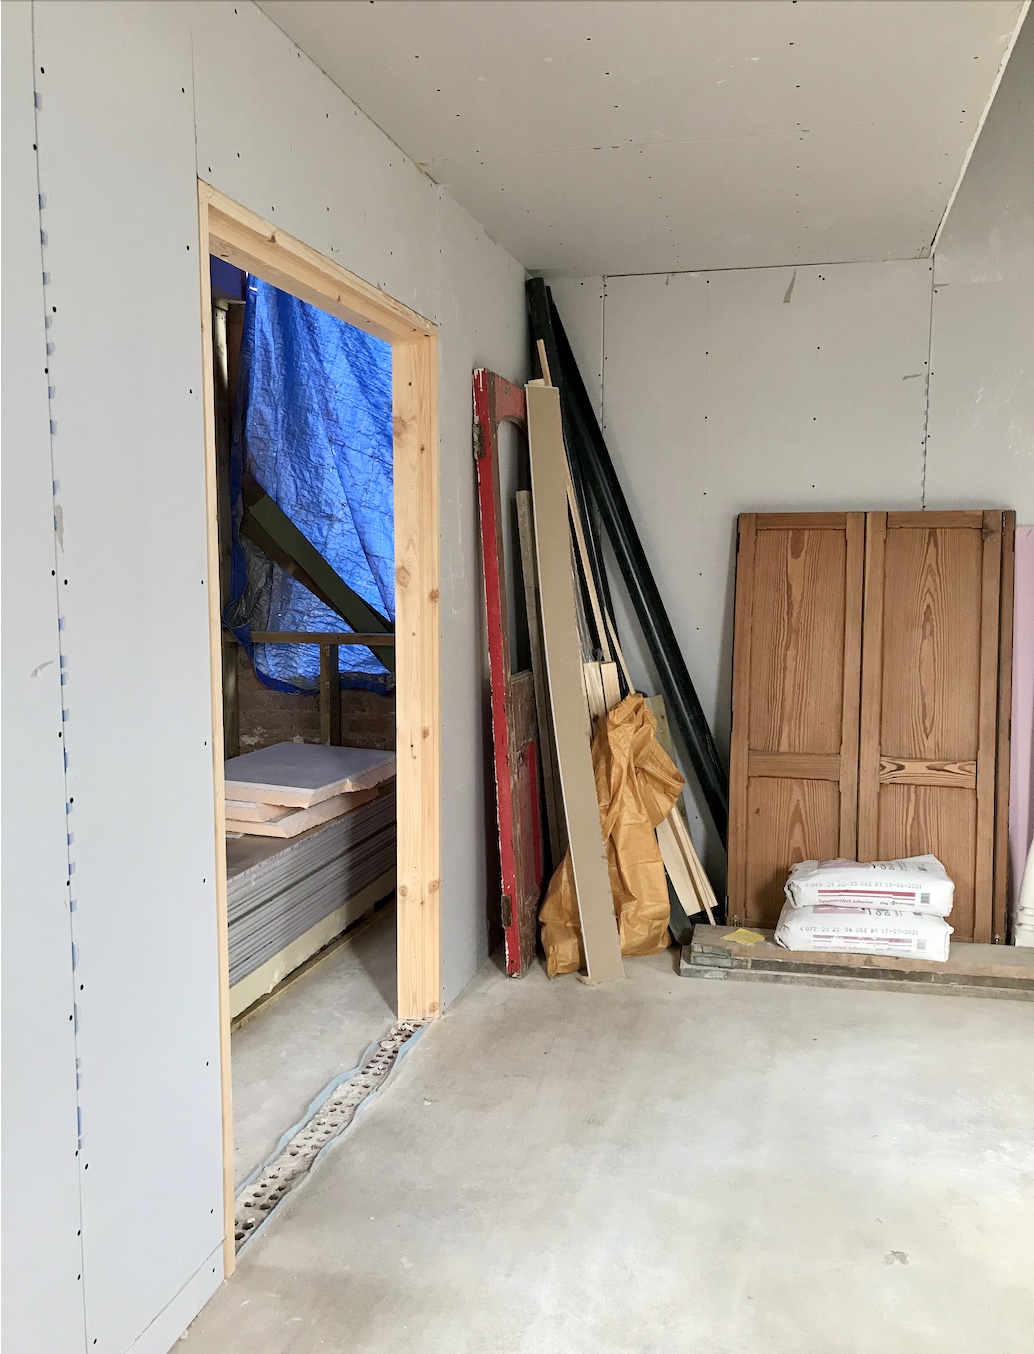
Lots and lots more insulation
Meanwhile, inside was looking extremely exciting! We took delivery of what felt like a mountain of boards – insulation for the walls, plus a big stack of plaster boards, fire boards and more in preparation for the boarders. First though, the insulation was fitted like a large, shiny jigsaw puzzle in the walls over the weekend! Rolls of insulation also went into the stud work too.


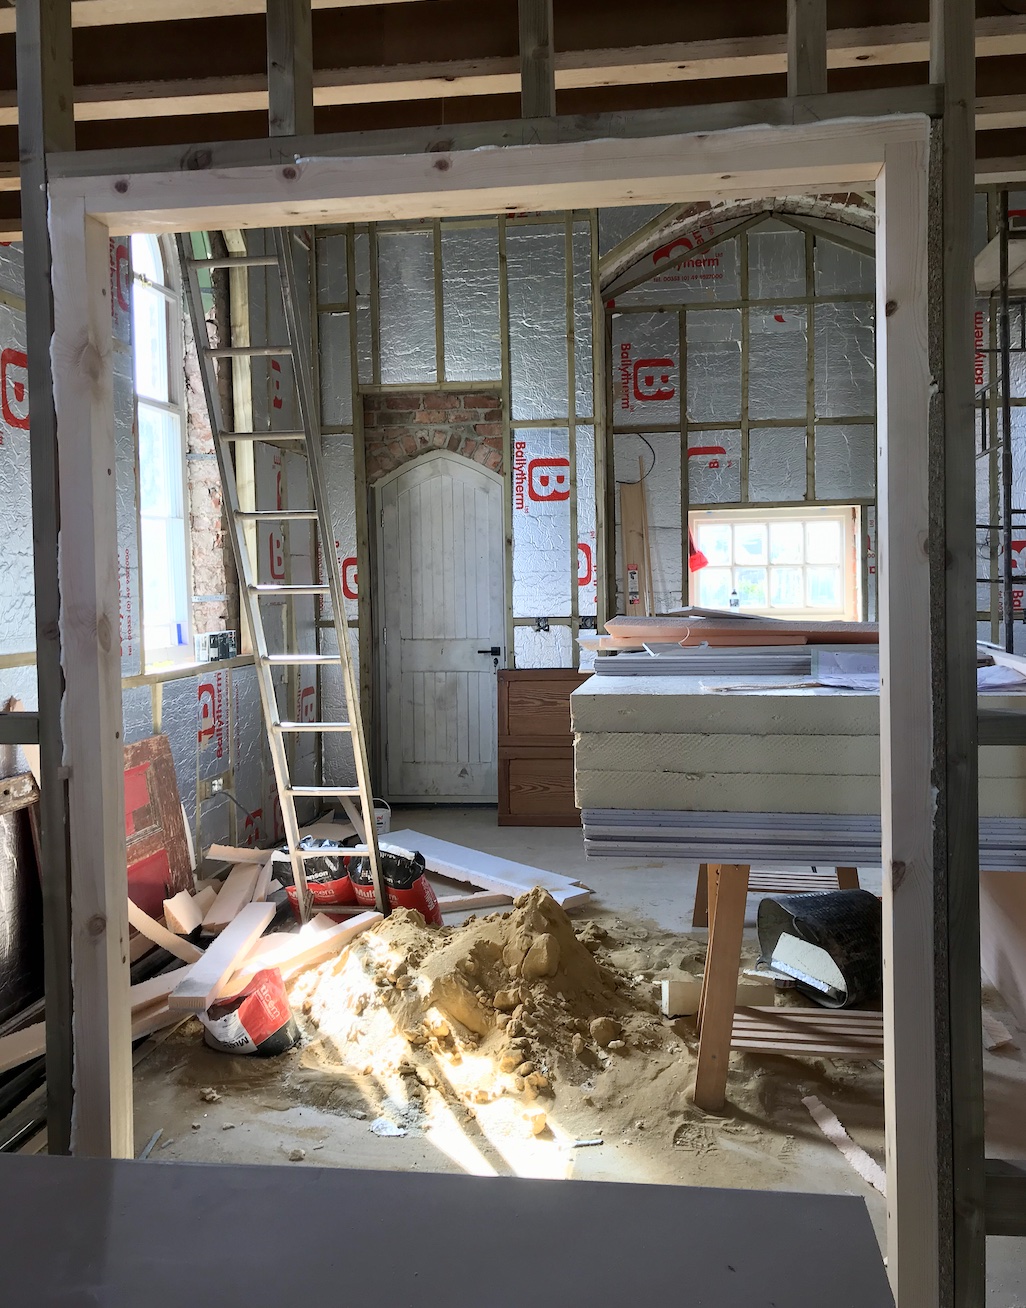

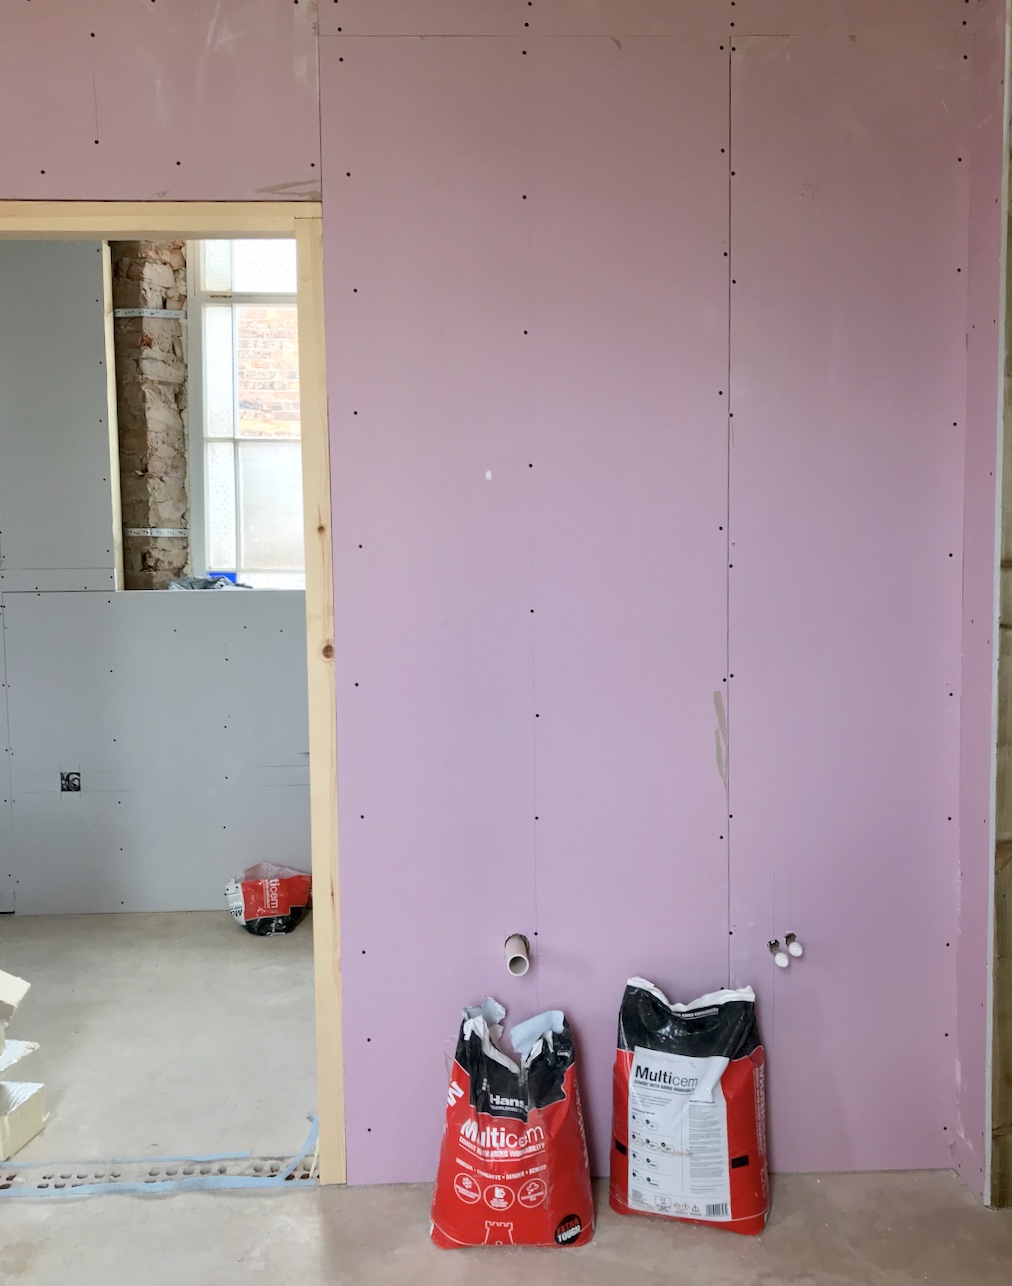
Boarding the Chapel
Swiftly after the insulation was installed, the boarders came to the Chapel. They set about working their way throughout the interior and over the space of a few evenings, the walls were looking very different indeed. A few months after removing the lath and plaster ceiling, it felt great to see a ceiling once again. Architecturally it’s quite a feature of the space and looks beautiful from the new mezzanine level now.


The spaces are transforming into distinct zones now:
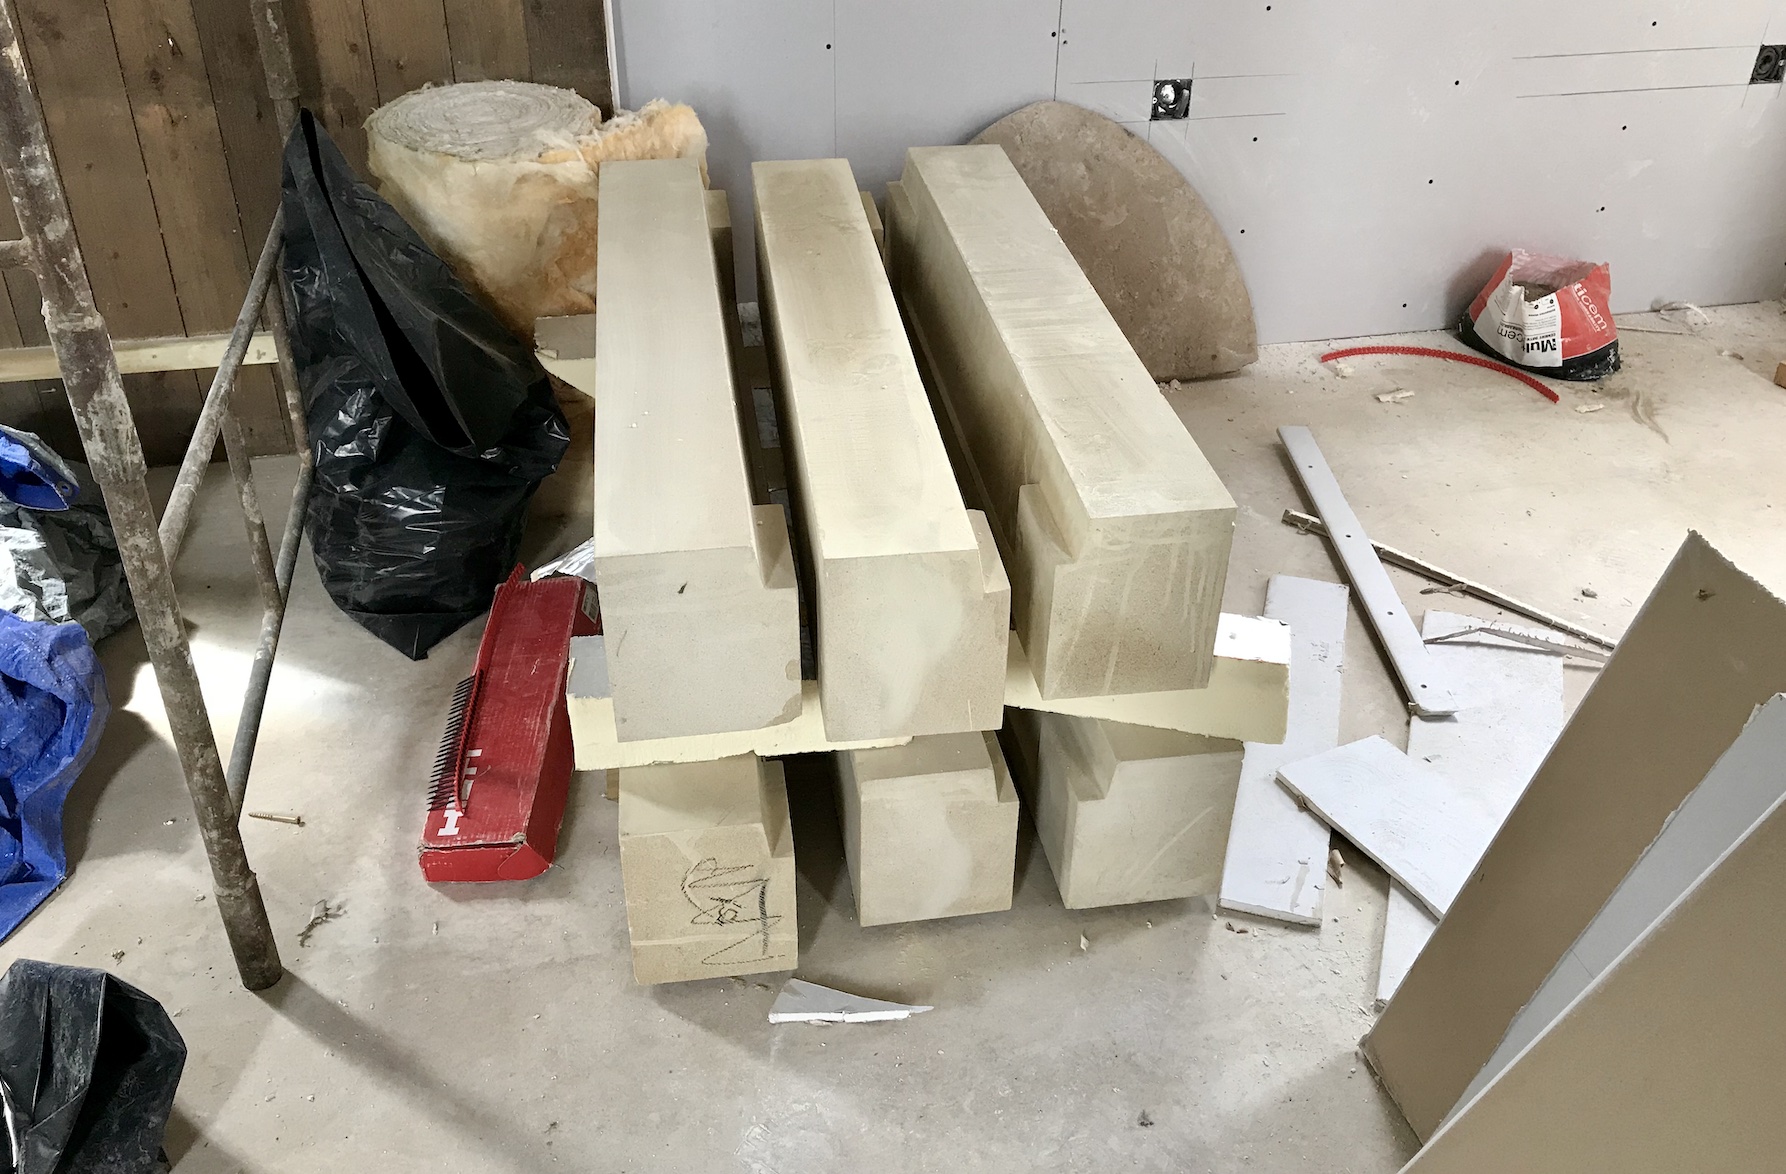
Sandstone sills arrive on site
At this time, the sandstone sills that were made at a local stonemason’s based off the original designs came back to the Chapel. Despite being extremely heavy, they were actually beautiful. There’s a remarkable softness to this material up close. I’ll be honest, I have no idea how the brickies are going to lift these into position. Though one thing I do know is that you certainly wouldn’t want to drop a chunk of this anywhere near your toes. Even if you are wearing steel toe caps!
Conclusion
I hope you enjoyed this weeks’ renovation post – the woodworks and related painting outside has really started to make the building look rejuvenated again. We’ve had a few people stop and say how nice it’s starting to look, which means a lot! Many of these tasks are as much an act of conservation as a question of aesthetics. Over the space of a few weeks, the Chapel interior is looking markedly like we envisioned in all those months ago.


For easy navigation, I’ve made a ‘Renovation’ tab on the homepage to catalogue this series. Alongside sharing the key points of the renovation on my main HOUSE PLANT HOUSE instagram, I’ve got a dedicated secondary page — HOUSE PLANT HOUSE renovates, which I will link here, where I’m sharing more of the Chapel renovation project.
This process is actually quite intrinsically linked to HOUSE PLANT HOUSE because alongside being a space for my plants and I to grow, it’s also going to be a place from which I can run my small business. This was something I’ve had to put on hold for a while, with re-locating and all, but it’s a goal I’ve been working towards behind the scenes for the last few years. Essentially, the Renovation Diaries will document the creation of a physical iteration of HOUSE PLANT HOUSE, which I’m really looking forward to sharing.
Here is a pin incase you want to save or share the post with someone who might enjoy it!
