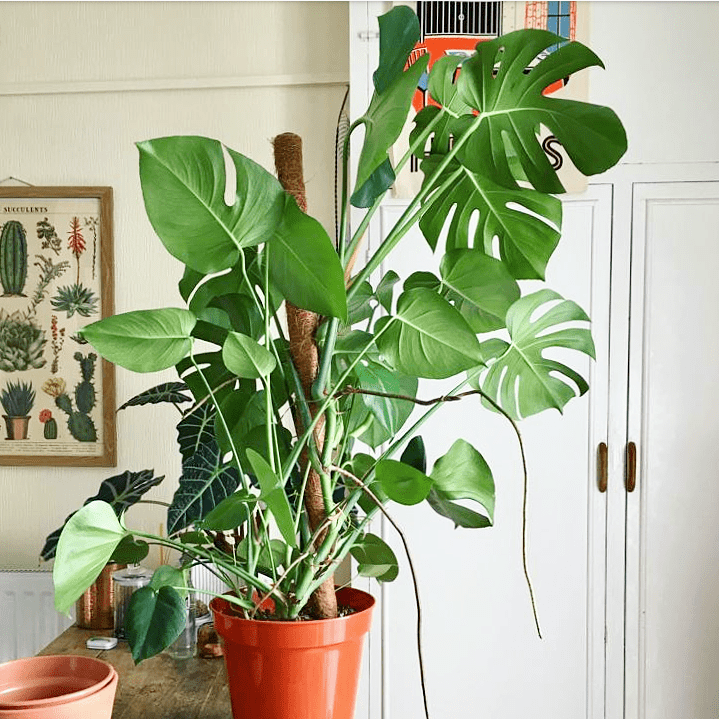
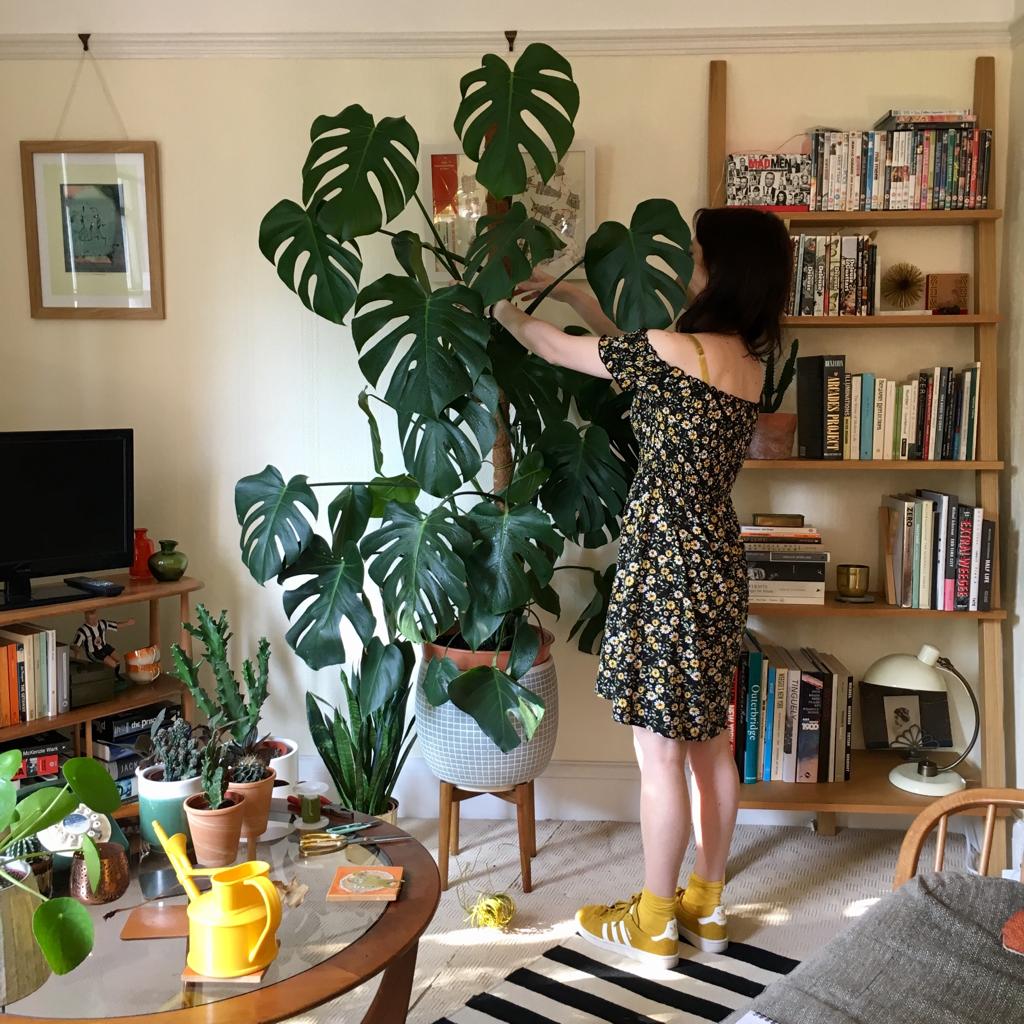
Perhaps the most prized plant in my collection at home is my big monstera, I say big as I have a little one too. ‘Big one’ is one of the oldest plants of mine and I grew it from a small plant, so I’m pretty attached to it. It kept me company through the writing of my PhD and has acted as a christmas ‘tree’ on more than one occasion. So safe to say it’s part of the family.
An inevitable activity that comes with growing plants is of course, repotting. Around 18 months ago when I repotted my monstera, I shared the process in a blog post, so as that time has come around again, I wanted to show you how I repot some more mature plants.

In this post I’m going to be showing the process of repotting both of my monsteras. You’ll see that ‘little one’ isn’t actually all that little anymore and is quickly catching my big plant up! But before I get into it, I thought I’d offer some general tips to keep your monstera happy or to spot when your plant might be in need of a pot upgrade:
- WATERING: As your plant grows and moves up in pot sizes, it will require more water. This sounds obvious, but I will admit that I’m quite sure I’ve been under watering my big monstera the last few months. When the plant gets pot bound, this can also make it way more thirsty so bear this in mind!
- SOIL: Whatever mix you like to use, make sure your plant isn’t sitting in water for any length of time. For my monstera plants, I use a houseplant mix, perlite and bark which helps with aeration. Also, take time to become familiar with the root structure as a pot bound plant can start filling the top of the pot with roots, which you can keep a look out for (this can also be a sign of under watering).
- FOLIAGE: Another sign your plant might need repotting is when the edges of the leaves go a bit papery and brown. This can also be a signal that the air is too dry, but I’d recommend checking the roots too so see if outgrowing it’s pot could be the cause. Monstera leaves need cleaning to be kept free from dust. I try to do this once a week by using a pressure sprayer, leaving for 10 minutes, then wiping with a clean cloth (I recycle my old t-shirts for this job!)
- POTTING ON vs ROOT PRUNING vs TOP DRESSING a question that arises when potting on more mature plants such as monsteras is ‘do I want it to grow bigger?’ I often get customers telling me about their family plants that have been banished to a hallway or similar because ‘they got too big!’. If you want to restrict the growth of you plant, you can root prune or top dress instead of going up in pot sizes. Root pruning involves keeping the plant in it’s current pot, but trimming the roots and replanting. Top dressing means removing the top inch or so and adding a fresh layer of soil to the top of your pot. I’ll write more about this process in my next blog post about my stromanthe sanguinea repotting, but if you have any questions in the meantime let me know!
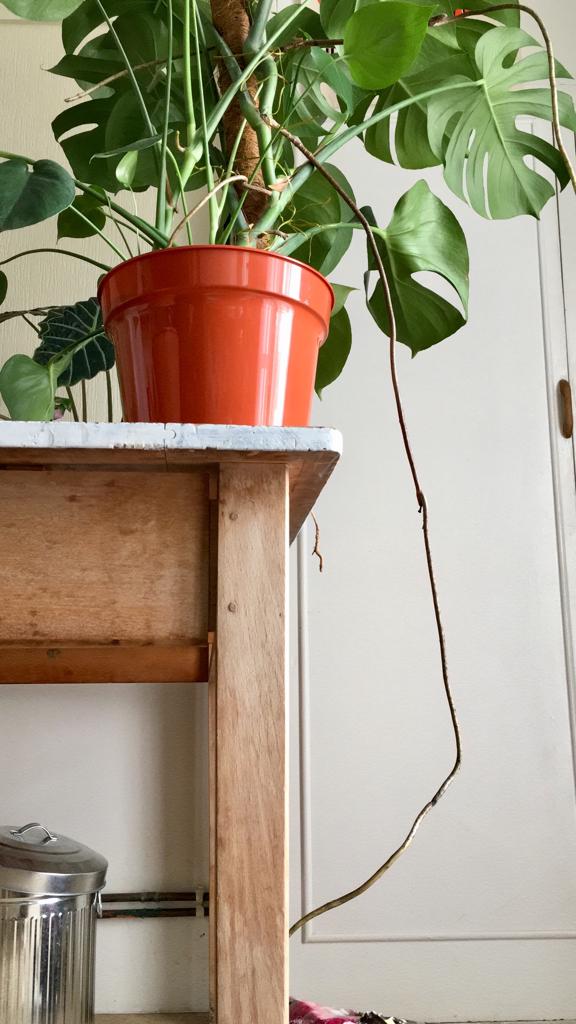
A NOTE ON AERIAL ROOTS: as visually weird as they might be, aerial roots on more mature monsteras should really be put to use and either fed back into the soil, into a moss pole, or in a vessel containing water. This helps nutrients and moisture reach the top of the plant, which will result in larger leaves with more holes (providing the other conditions such as light are adequate). I experimented with this and I can say it does make a difference. See photos at the end of this post of the roots allowed to grow off an aerial root in a jar of water.
REPOTTING “LITTLE ONE”
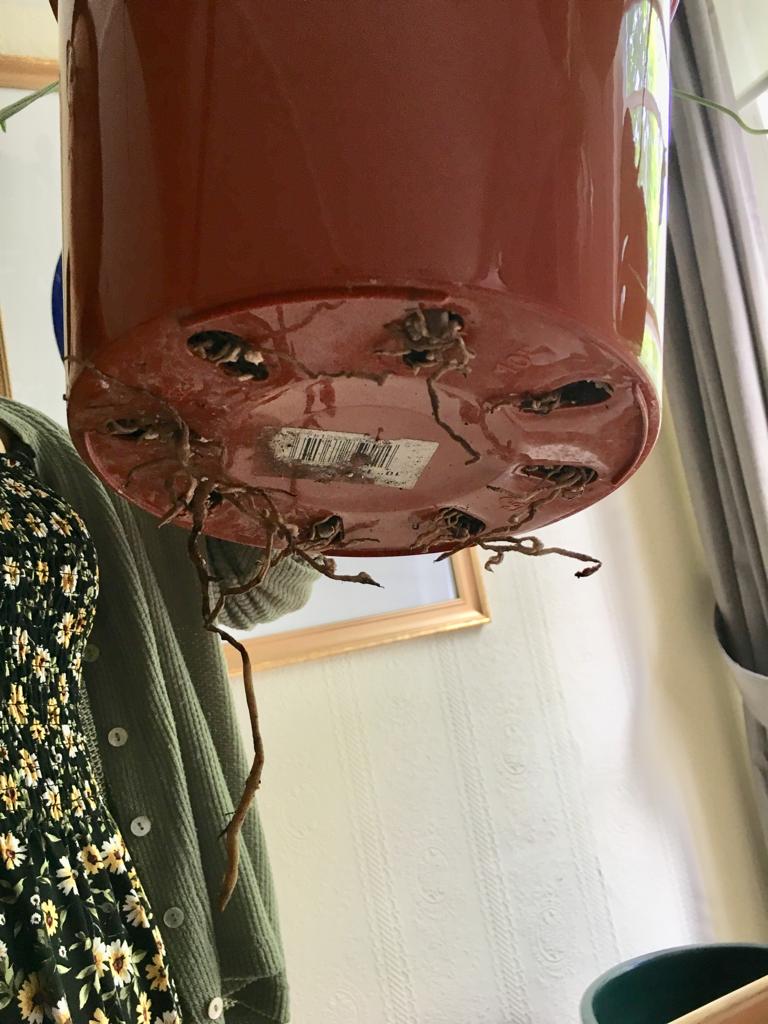
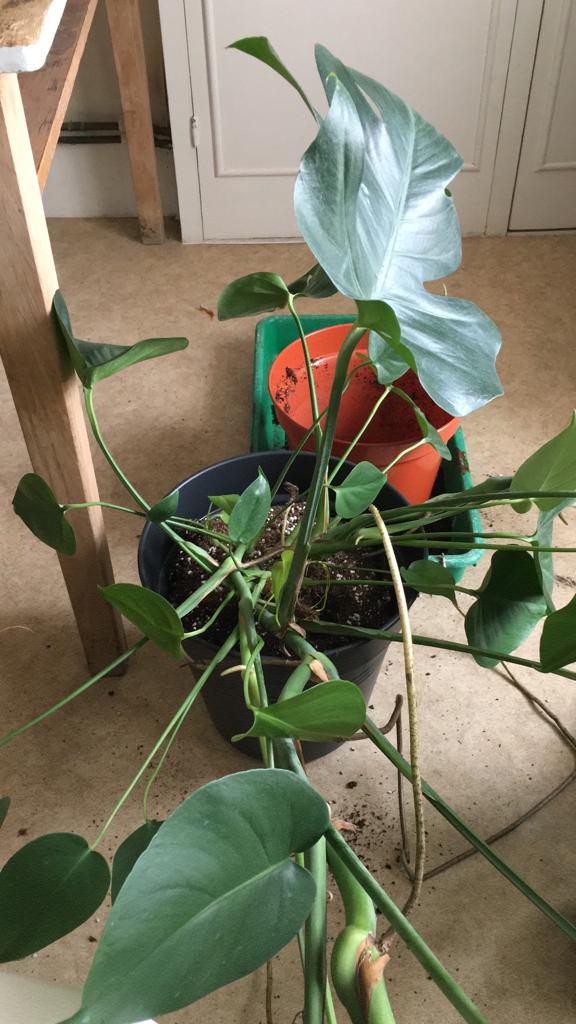
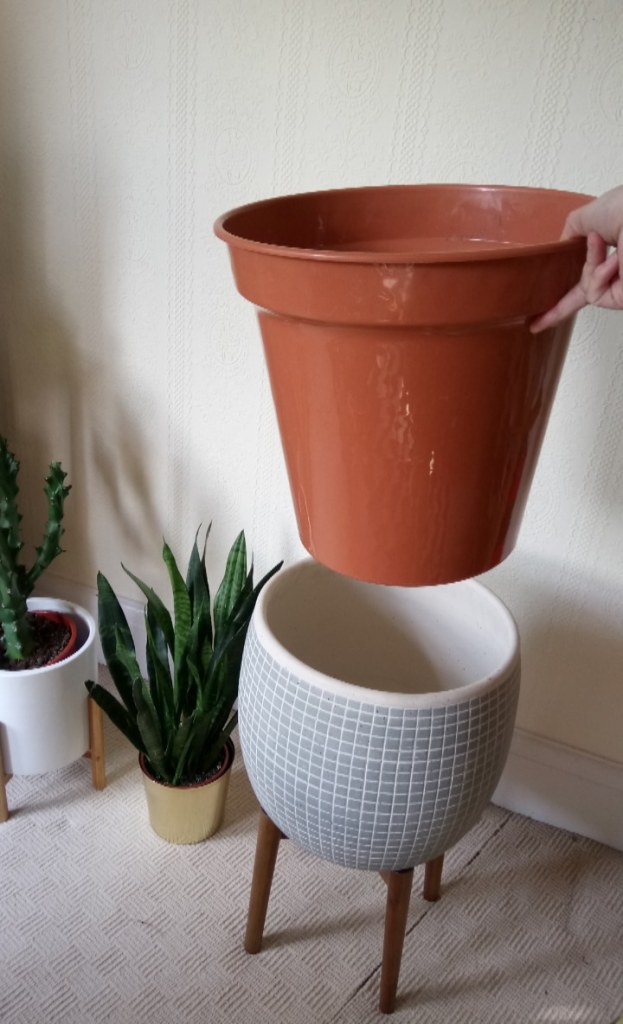
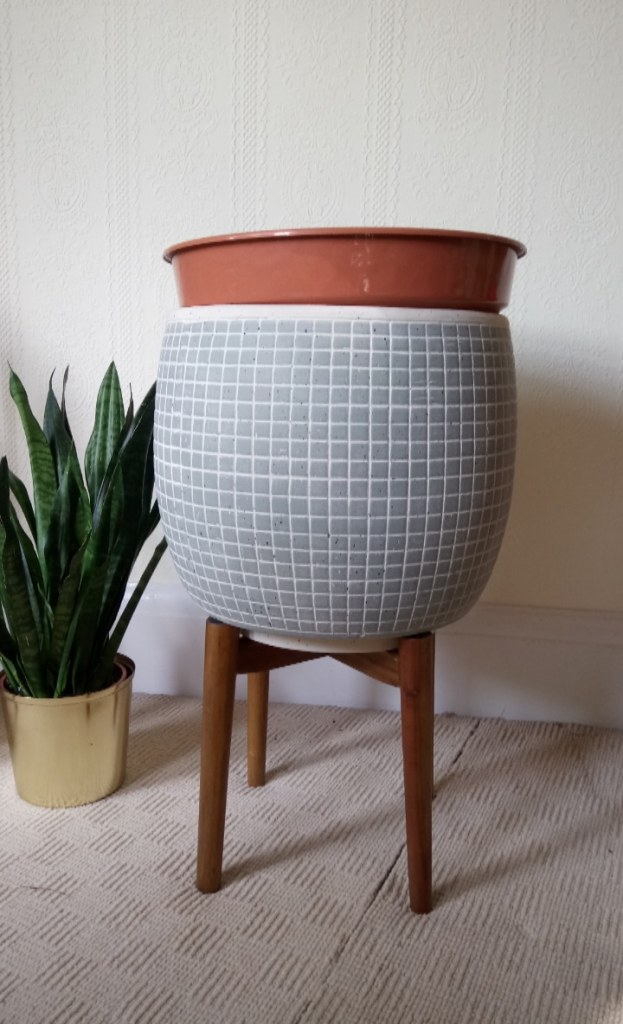
Below I have documented the process of the smaller plant being potted up. Here it is sitting on the table before I carried it out to the kitchen to do the messy part! You can see the roots growing out the bottom of the pot and some aerial roots were particularly long too! I opted to move it up just one pot size, from a 10inch to an 11inch pot because my mid century plant stand couldn’t really take a bigger size. I’ll probably end up doing a major re-pot next year and look for another planter I love as much. I had two 11 inch pots (see photo far right) and decided to go for the Ehlo one on the left which has been home to my hydrangea until today. It was slightly less tapered which meant more room for those roots, so switched the pots around.


*Side note: always remember to wash your used pots in warm soapy water before repotting your plants!

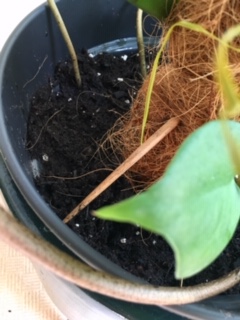
As the photographs below show, the roots were circling the bottom of the pot and coming out of the bottom, meaning it was well in need of a pot on. At this stage, it is really important to tease those roots out with your hands if they are quite compacted like this, so that they are loose and ready to grow into the compost in their new pot. I’ve shown this process on my instagram stories in my ‘plant care/repotting’ highlights with various plants if you want to see how to do this. I also pushed the long aerial roots into the soil where possible to allow moisture and nutrition to reach the taller parts of the plant.


‘Little one’ also needed a newer coco coir pole (see size difference above left) so I removed the old one and gently worked the new one into place, this meant undoing the ties and starting over, which is always a bit daunting! After much adjusting, I carried the plant back into position to make the finer adjustments. I’d recommend doing this as you can make the plant fit the space it is in much better this way.


REPOTTING ‘BIG ONE’
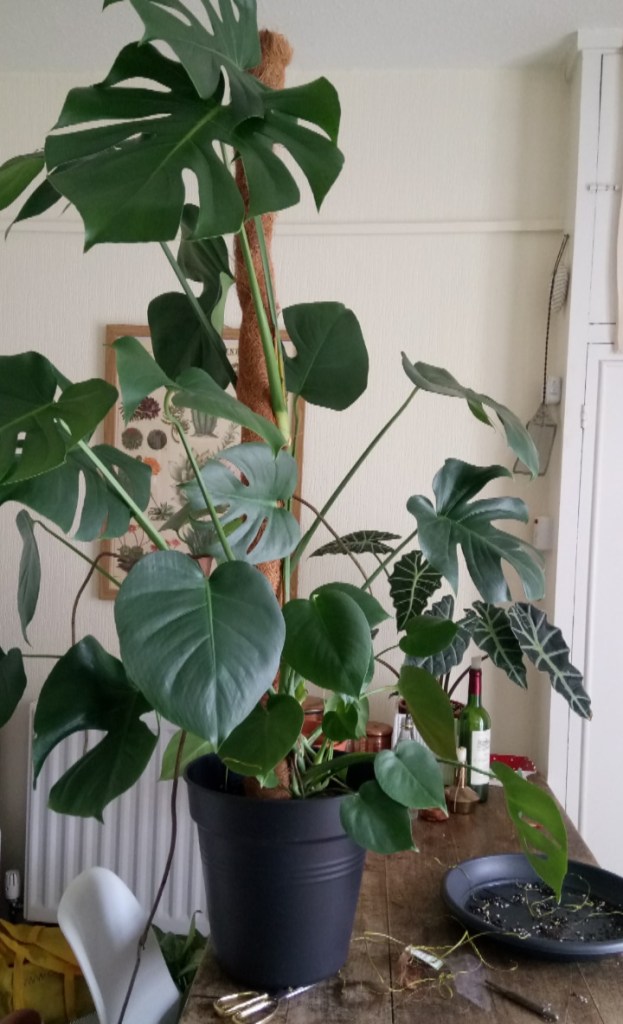
Out of everything that I have been repotting recently, this was the one planty job I had been avoiding for so long. ‘Big one’ has just got so, well… BIG! Which meant that the process of repotting would be quite a challenge. But after seeing the leaves look pretty sad and droopy and the coir pole getting wobbly last week, I knew I had to do it.
Pot size: As with my smaller plant, I was quite restricted by my planter in terms of size of pot I could go up to. Obviously this is an aesthetic concern, but I struck a balance in that I went up to a big enough pot that would benefit the plant, which also just about fit back inside the cache pot. As the photographs above show, this isn’t ideal, but visually when the plant is in the pot, I didn’t think it would be that noticeable.


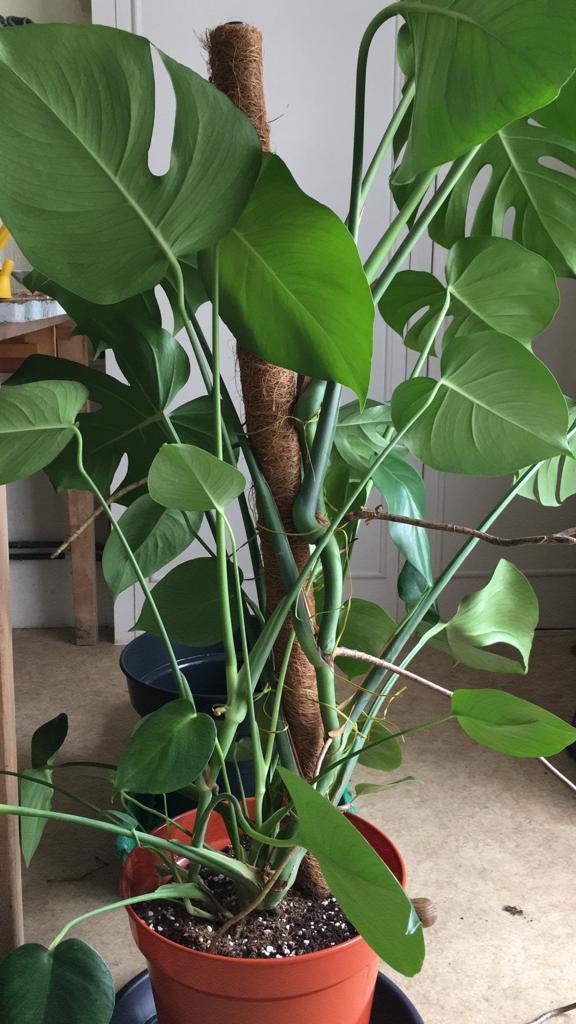
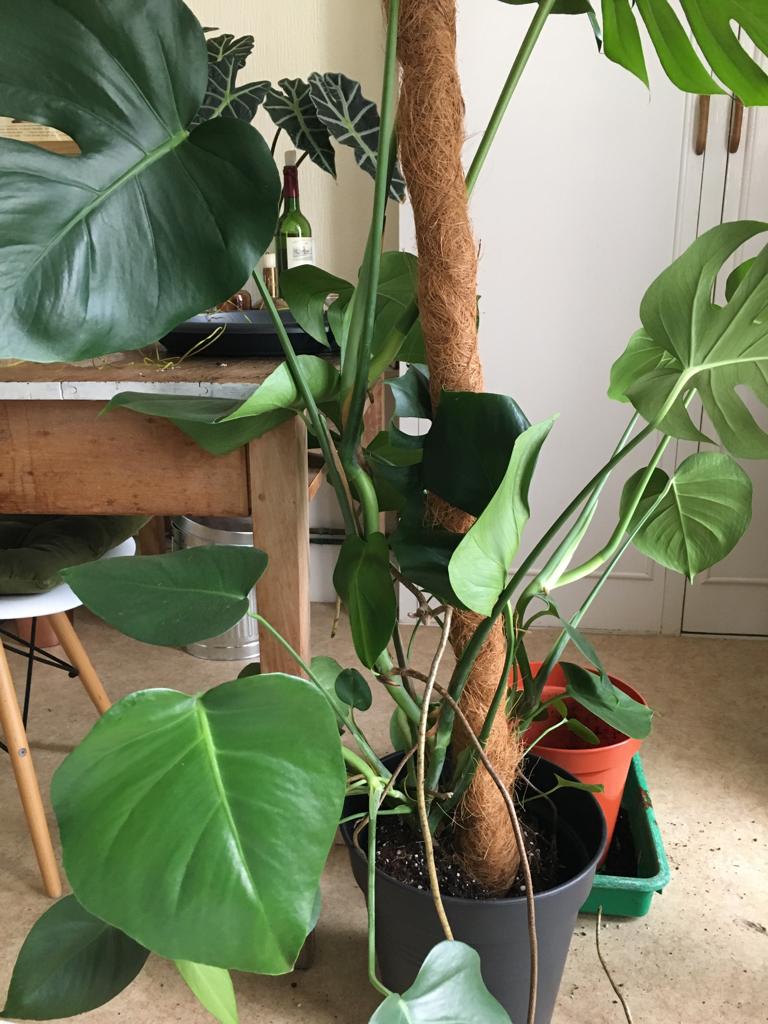
Support: I have a selection of coir poles that interlock which made this part fairly easy, I just selected the right length and added it on. This meant that I didn’t need to untie the plant like with ‘little one’. There were some stems that did need adjusting to account for some of the leaf stems stretching out towards the light (thanks winter) and I strapped the top of the plant to the new pole, but this didn’t actually take too long. As you can see from the two photos below, I added a wooden chopstick in to act as a support for the coir pole. It helped wedge both plants into an upright position. I always do this and it works surprisingly well.
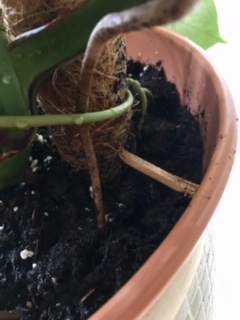
Roots: Below shows the state of the roots before repotting, they had started to take on the shape of the bottom of the pot, followed by a shot of the roots after being ‘worked out’ and before planting (don’t skip this step!). The next two photos show an aerial root from the top part of the plant, which I put in a jar of water, and sat back in the base of the pot. It’s got long enough to replant into the pot now! As I mentioned briefly earlier, keeping your aerial roots ‘working’ will help to keep all parts of the plant adequately fed and watered. The stem that this aerial root was coming from has shown larger leaf size in it’s new growth as a result.


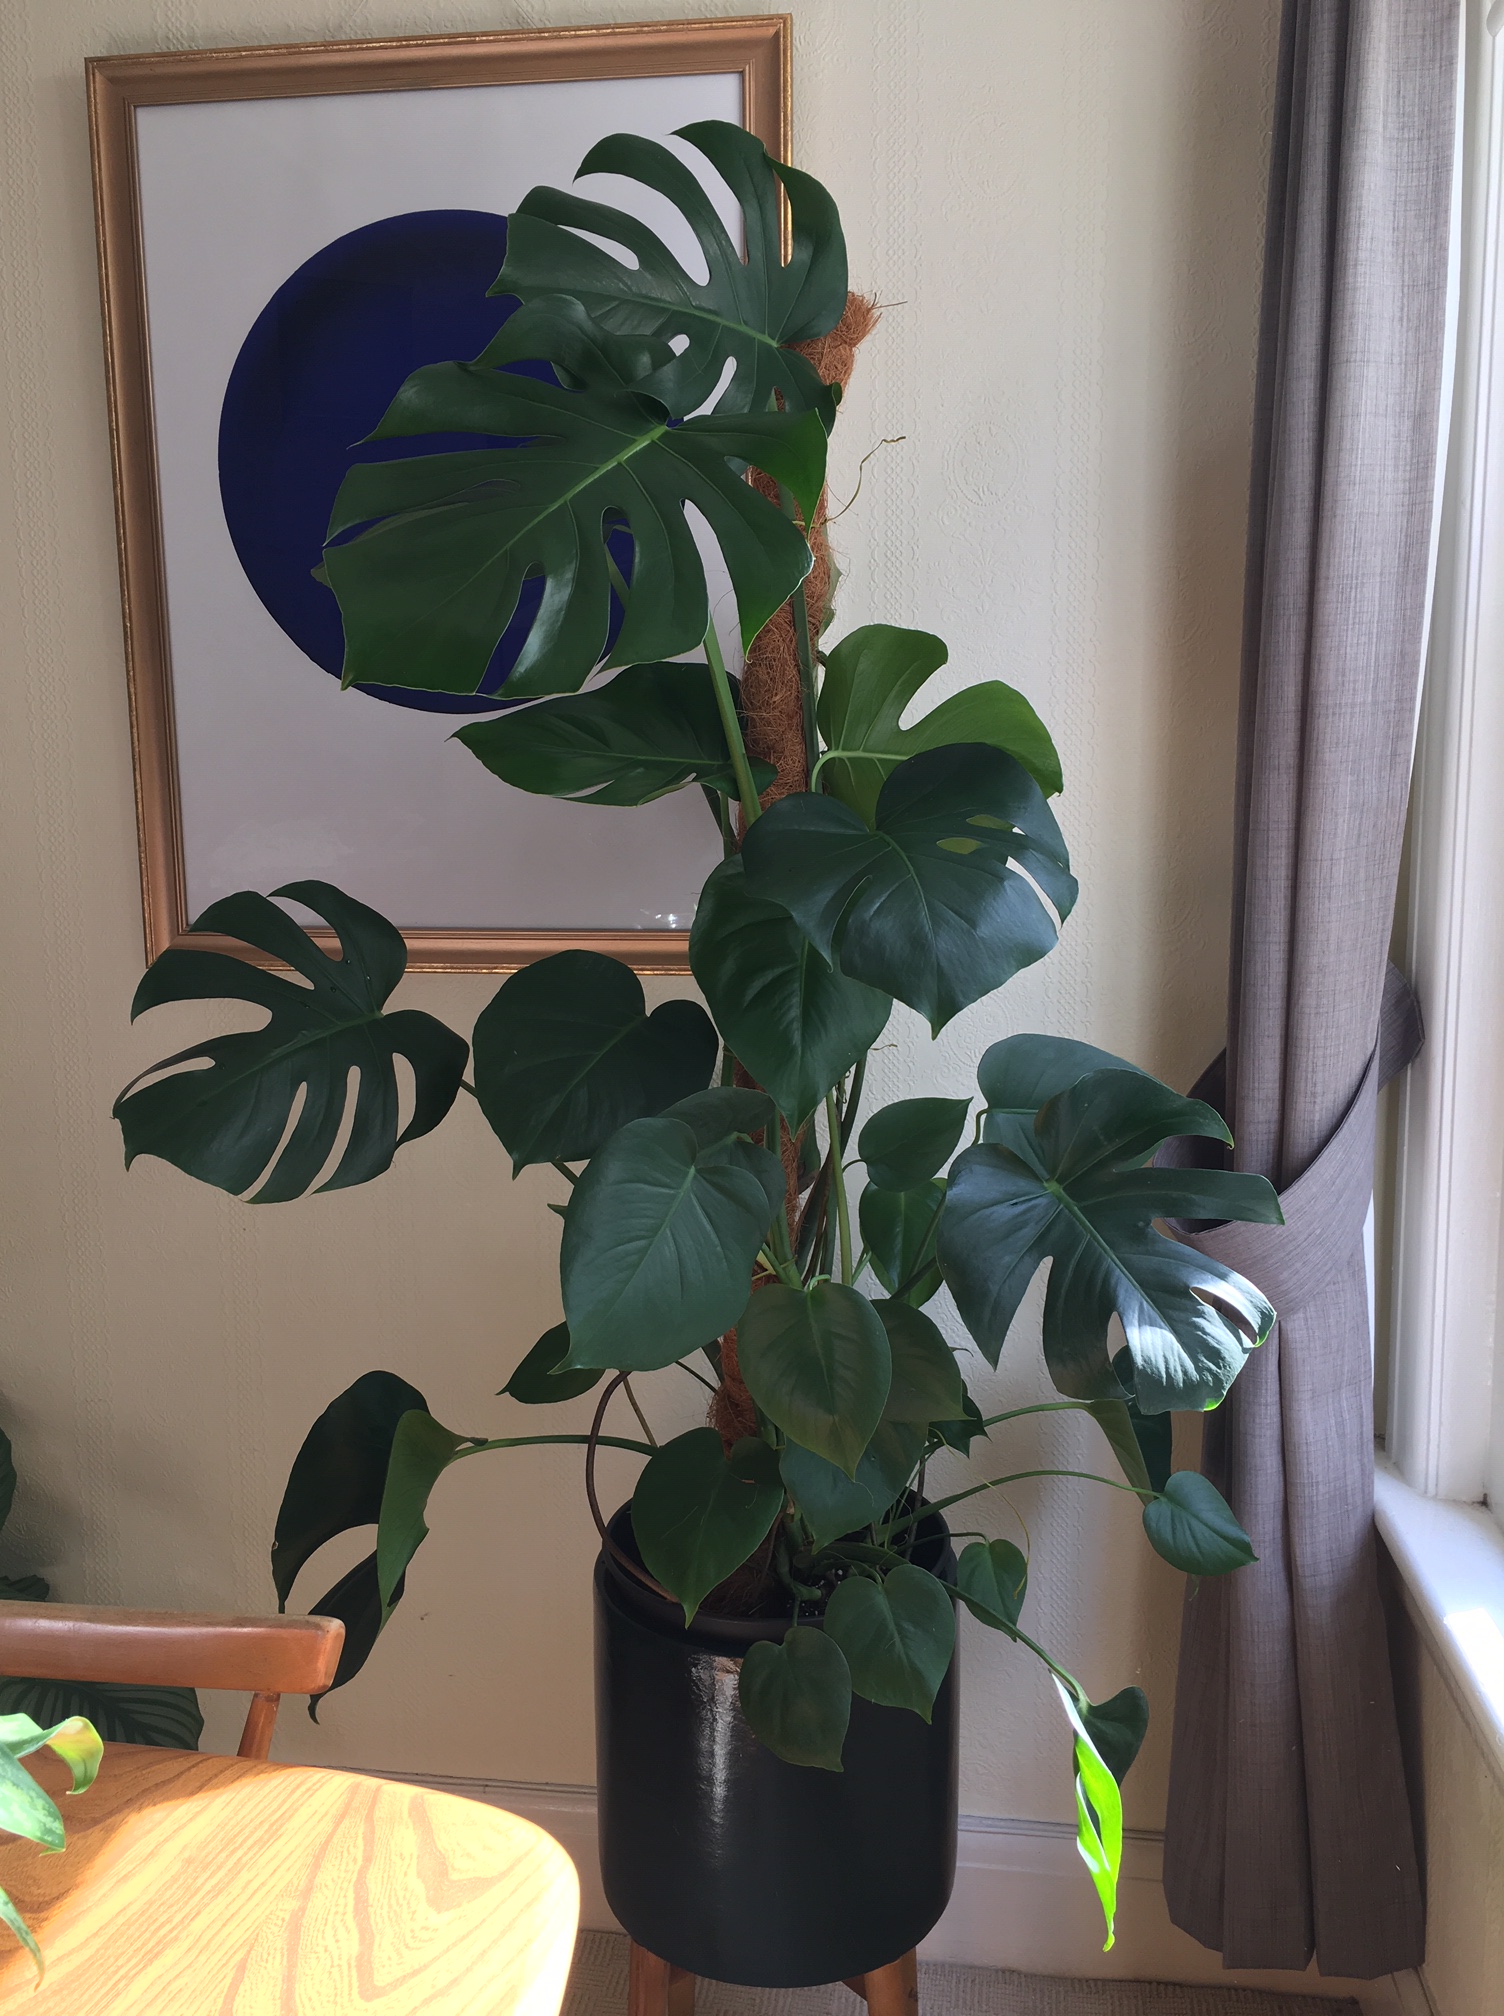
Here is the finished result, showing the process of tying the top part of the plant up to its new support, it looks so much more stable as a result:

Lastly, I watered both plants and made myself a well deserved cup of tea! I also filmed at different points in this process and will save the videos in my Instagram stories highlights under ‘repotting’.
UPDATE: Since writing this post I’ve put together some other related Monstera blogposts you might be interested in reading:

Leave a Reply