
Today’s post is a highly requested one + after chatting to some of you recently, I wanted to put together a post that compiles your frequently asked propagation questions in more detail, in a place that you can easily refer back to.
You will probably know by now that propagation is an aspect of plant care that I particularly love. It’s also a part that new plant lovers can be quite intimidated by. But I’m pretty sure that once you’ve had a couple of successful propagations, your confidence will grow + you might want to start experimenting with taking cuttings of other types of plants in your collection.
*There’s a propagation tab on the H O U S E P L A N T H O U S E homepage, so if this is a topic that interests you, please have a look through some of the other posts I’ve written! This post also follows on from last week’s one about my favourite houseplants to propagate.
In today’s post, we will be going through the propagation process in order: from chopping up, to planting the cuttings + at each stage, I’ll be answering the common queries as we go.
We’ll be discussing:
- Taking cuttings from your plants.
- Preparing your plants for propagation.
- The propagation process.
- From propagation to potting up.
Let’s get into it…
1. Taking cuttings from your plants.
Why take cuttings?
First of all, let’s take a minute to address why chopping up a plant might be a good idea! Disclaimer: this decision is entirely up to you, so please don’t feel like you need to hack up all of your plants as an experiment! Also, you really don’t need to cut your plant severely — a little trim will suffice if you would like to try your hand at propagating something. It’s worth saying that chopping your plant isn’t the only way to propagate — there are a few options, but propagation by division is perhaps the other commonly practiced way to grow your collection. In many ways it is more straightforward because you are essentially just splitting/dividing up a crowded pot into multiple new plants. This works really well for plants with an upright growth habit like the marantaceae family, aglaonema, aspidistra, monsteras etc — you have to be careful to not damage the roots but it’s a good alternative to consider. I’ve divided up trailing plants in this way too, like my philodendron brasil + I also made a new small ceropegia plant by division last year.
The main reasons to take cuttings from your plant are:
- It might have grown into a shape that does not look like how you would like it to look (or that it is taking up too much room!)
- Perhaps you want to multiply your plant collection by making new plants from cuttings for yourself or even better, to share with friends.
- You know the plant doesn’t do well for you during the colder months so you want to make a back up plant (I do this often)
- Part of the plant looks like it is struggling + you want to divide it up or take cuttings + propagate from healthy stems.
Trailing plants are super popular online, but be warned, there’s that exciting ‘prime’ time between a pot just starting to trail + maturing into a nicely full-looking, verdurous vision tumbling off your shelf… After this point however, these sorts of hanging or trailing plants can start to look past their best — they start to get a little stretched out; the weight of the long stems causing those once cheerful leaves to look more tired + lacklustre. Long stems are great if you want to train the vines along your walls or ceiling to create a jungle looking space, but in the long term, the leaves might begin to look a little tired.
These types of plants then, are excellent choices for potential propagations — I’m thinking of the varieties of pothos, scindapsus, rhaphidophora, trailing philodendrons etc. The success rate is also pretty high for these too, so it’s a great place to start.
How do I take cuttings from my plants?
When taking cuttings, you want to be sure to use a sterile, sharp blade. If the blade is a bit blunt, it can ‘drag’ across the stem + create a jagged edge. A clean, sharp cut is best. Always sterilise your tools after use so that they are ready for next time + store in a clean, dry place. Using any old snips you might find hanging around could have traces on them that could cause the cutting to get infected or rotten. Also, be aware that thicker stemmed plants such as philodendrons can sometimes ‘bleed’ when cut, so make sure you sterilise the snips before using them on another plant.
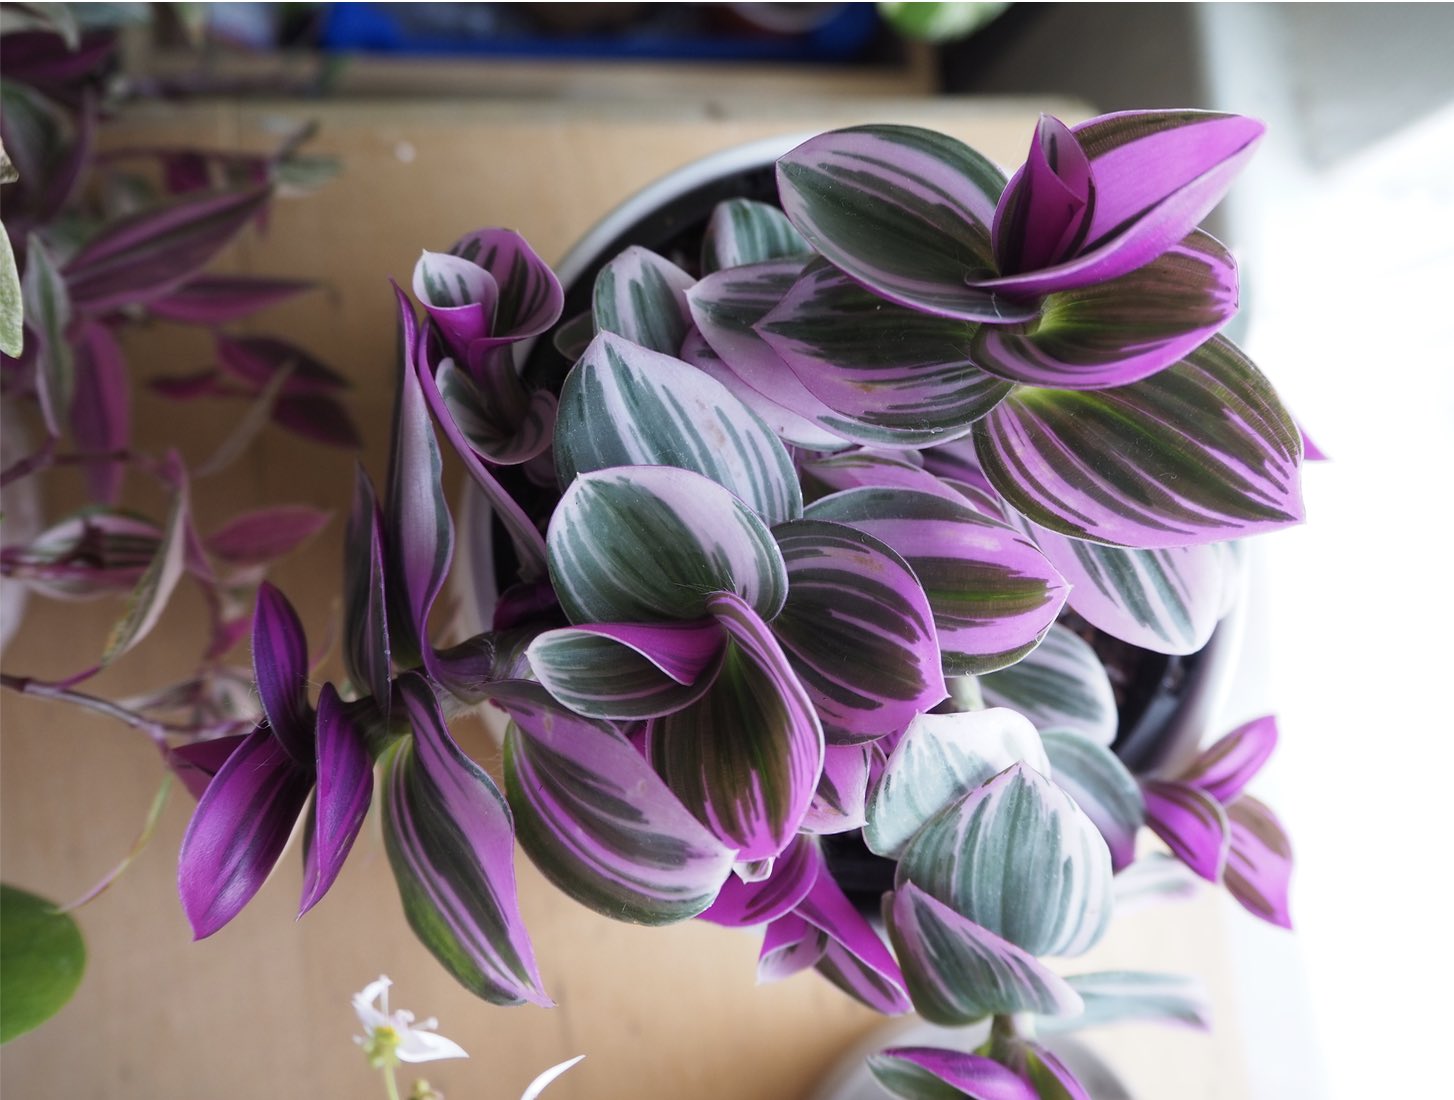
For smaller, thinner stemmed plants such as my tradescantia fluminensis, I don’t take individual leaf cuttings, but instead will cut the ends off long stems. You’ll want to strip the leaves at the base of the stem as in the photo below. Even if you cut the plant right back, don’t throw away the original pot, because new growth will appear in this pot too from where the cuts were made!


I’ve taken some cuttings… what do I do now?
If you have cut a couple of long stems, you can choose whether to chop them up into individual leaves (for plants like pothos + scindapsus) or keep them as little stems with a few leaves on (including the end of the stem like with my pink tradescantia cuttings above). Here are some examples of the process of rooting leaf cuttings of my scindapsus + monstera adansonii:


2. Preparing your plants for propagation.
Leaving the cuttings to callus
This is a part of the process that I don’t see mentioned much online + is often a skipped step for new plant lovers. The main question I get about propagating cuttings (especially in water) is how to stop them failing or rotting before rooting. Aside from ensuring you pick healthy cuttings to root, allowing the cut to ‘seal over’ is a helpful part in this process because it creates a thin ‘barrier’ of protective tissue between the open cut + the water/soil/etc. Not every gardener does this + as with propagation techniques, it comes down to the plant in question + also personal preference.
The thing about this process is that the time for callusing the stem can vary quite considerably, depending on the plant… from a few hours to months! For the average houseplant enthusiast though, you won’t have to wait this long. Plants with thin stems + delicate leaves can react adversely if the cutting is left aside too long (more details on propagating thinner stemmed cuttings later in the post). Generally, the thicker or more ‘succulent’/ woody the stem, the longer this process will take (more on cacti + succulents later).
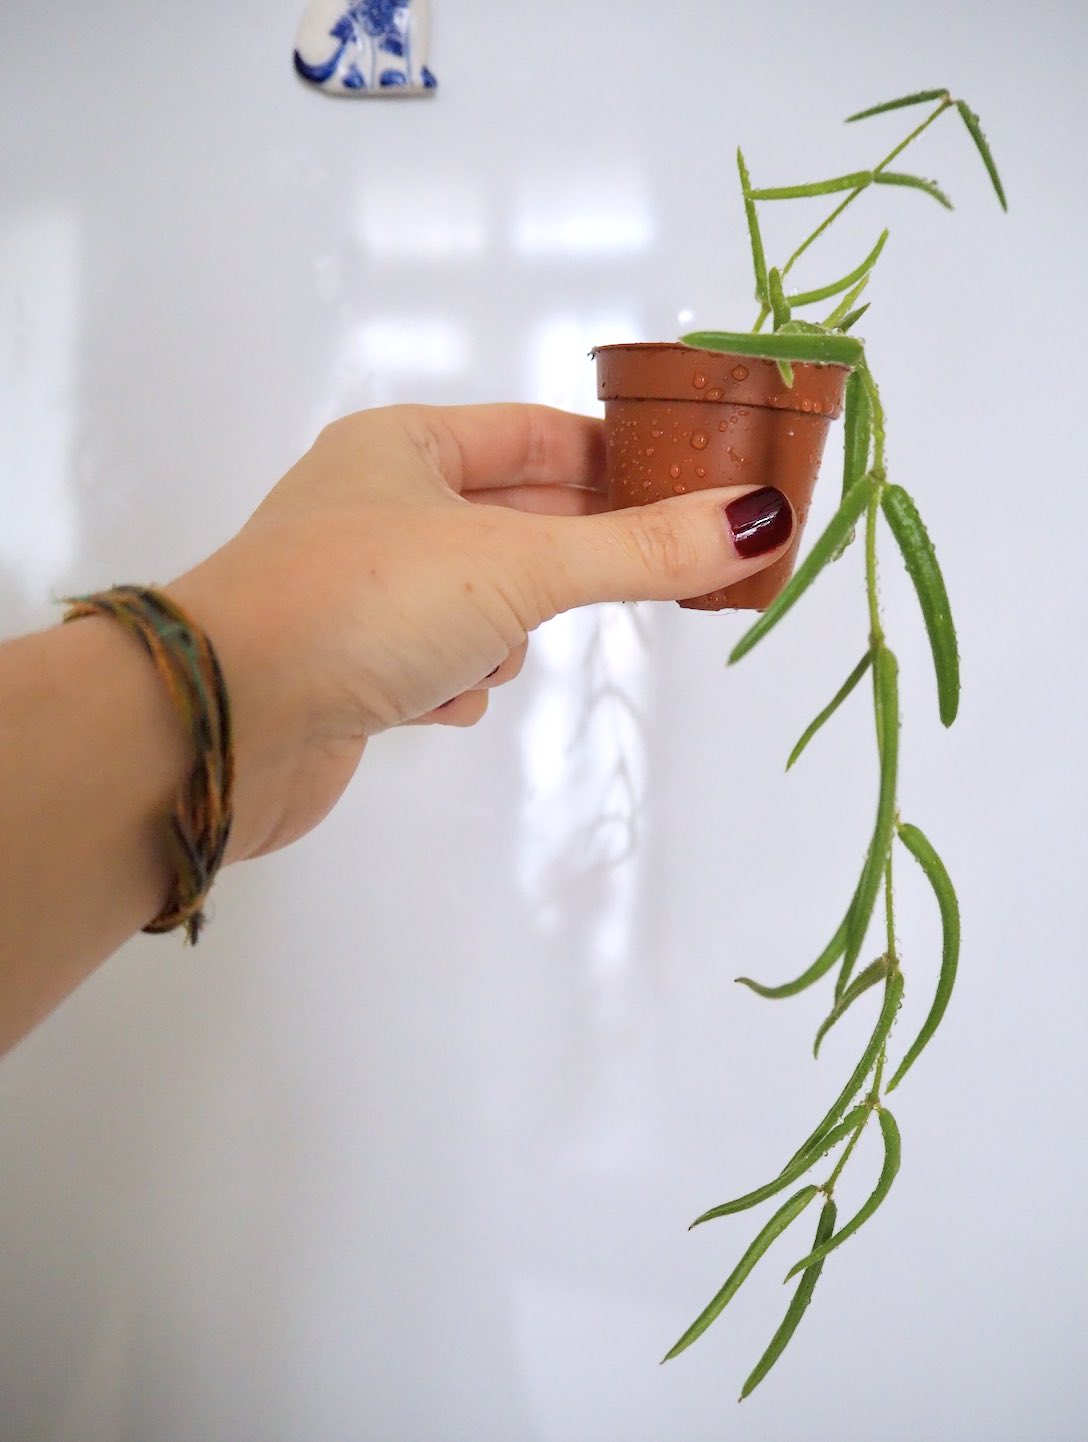
Photos below show the process of rooting this Hoya linearis cutting I took off my main plant over 12 months:


How long should I leave my plant callus over?
I’ve detailed some of my experiences here for reference, ranging from the shortest time I leave the cutting to callus, to the plants that take the longest.
*All timings are an approximate guide + what works in my conditions in the Northern Hemisphere. If propagating in winter, I’ll sometimes give succulent stems a few extra days to seal.
- String of Hearts / Ceropegia woodii — 12-48 hours
- Thin stemmed tradescantia (like fluminensis etc) — 12-48hours
- Thicker stemmed tradescantia (zebrina) — 48 hours
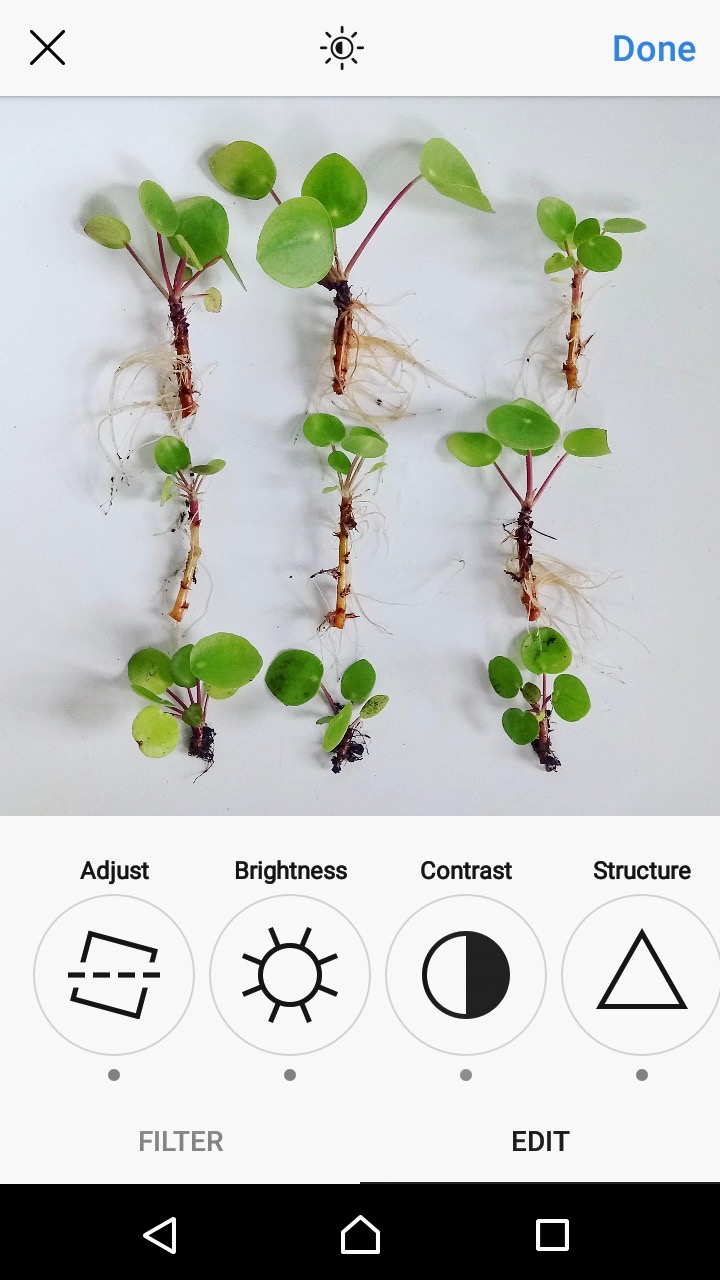
- Pilea peperomioides babies — 48-72 hours (blogpost on that here)
- Monstera adansonii — 48-72 hours
- Pothos, scindapsus etc — 48-72 hours
- Rhaphidophora —48-72 hours
- Hoyas (linearis etc) — 3-4days (more on that here)
- Rhipsalis — 3-4days
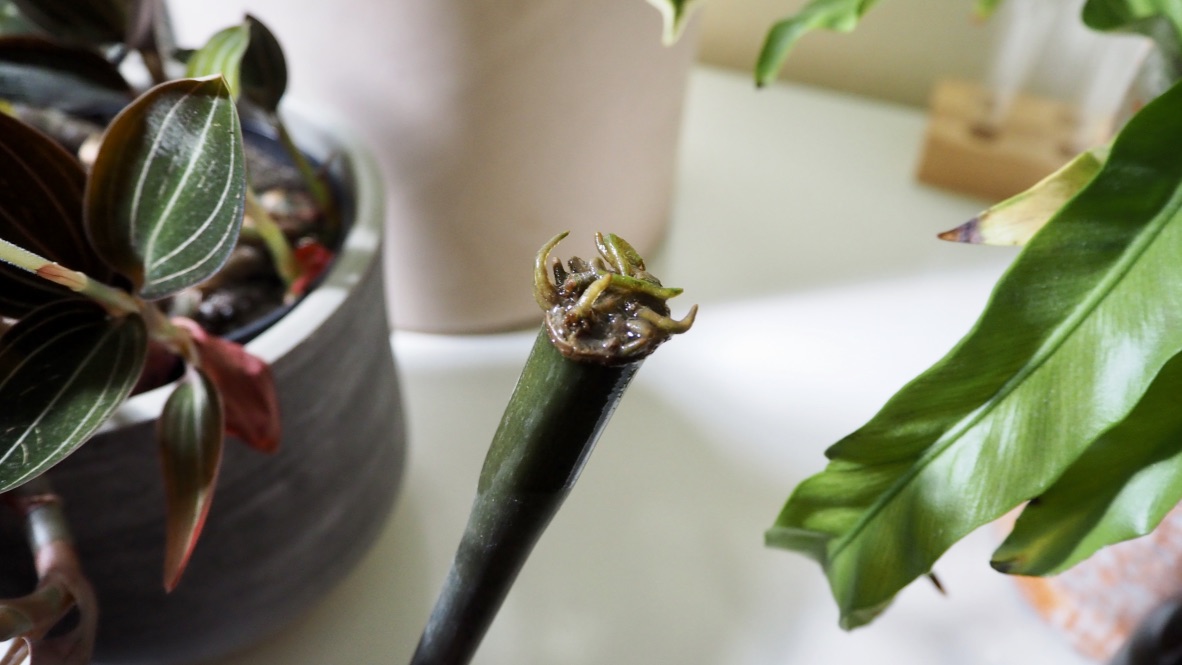
- Jewel orchids — 72 hours
- Thicker stemmed philodendrons, monsteras — 5-7 days
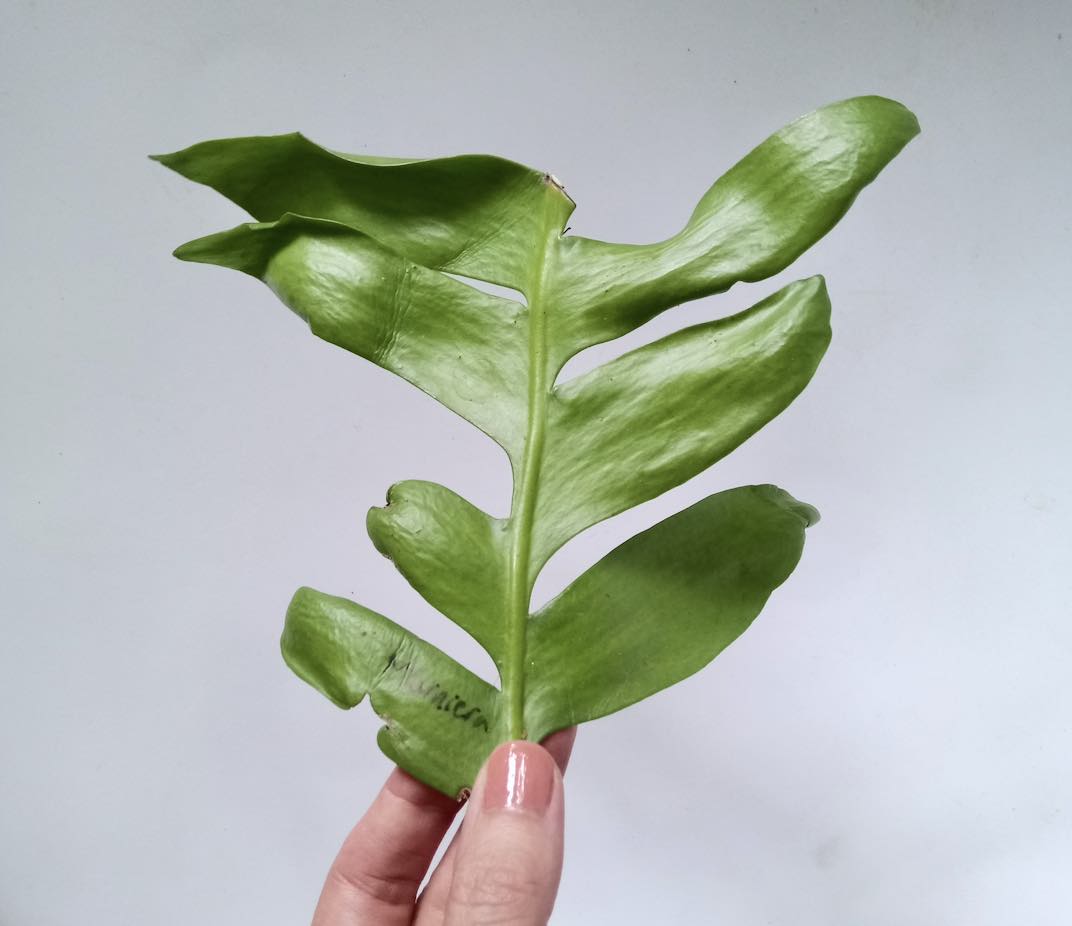
- Epiphyllum/selenicereus — 5-7days (more info linked here)
- Sansevieria/ dracaena/ snake plants —5-7 days (blogpost on that here)
- Succulents (echeveria etc) 5-7days (blogpost on that here)
- Zamioculcas zamiifolia stems — 1 week + (blogpost on that here)
- Larger Cacti + Succulents (Euphorbia etc) — a few weeks-a few months!
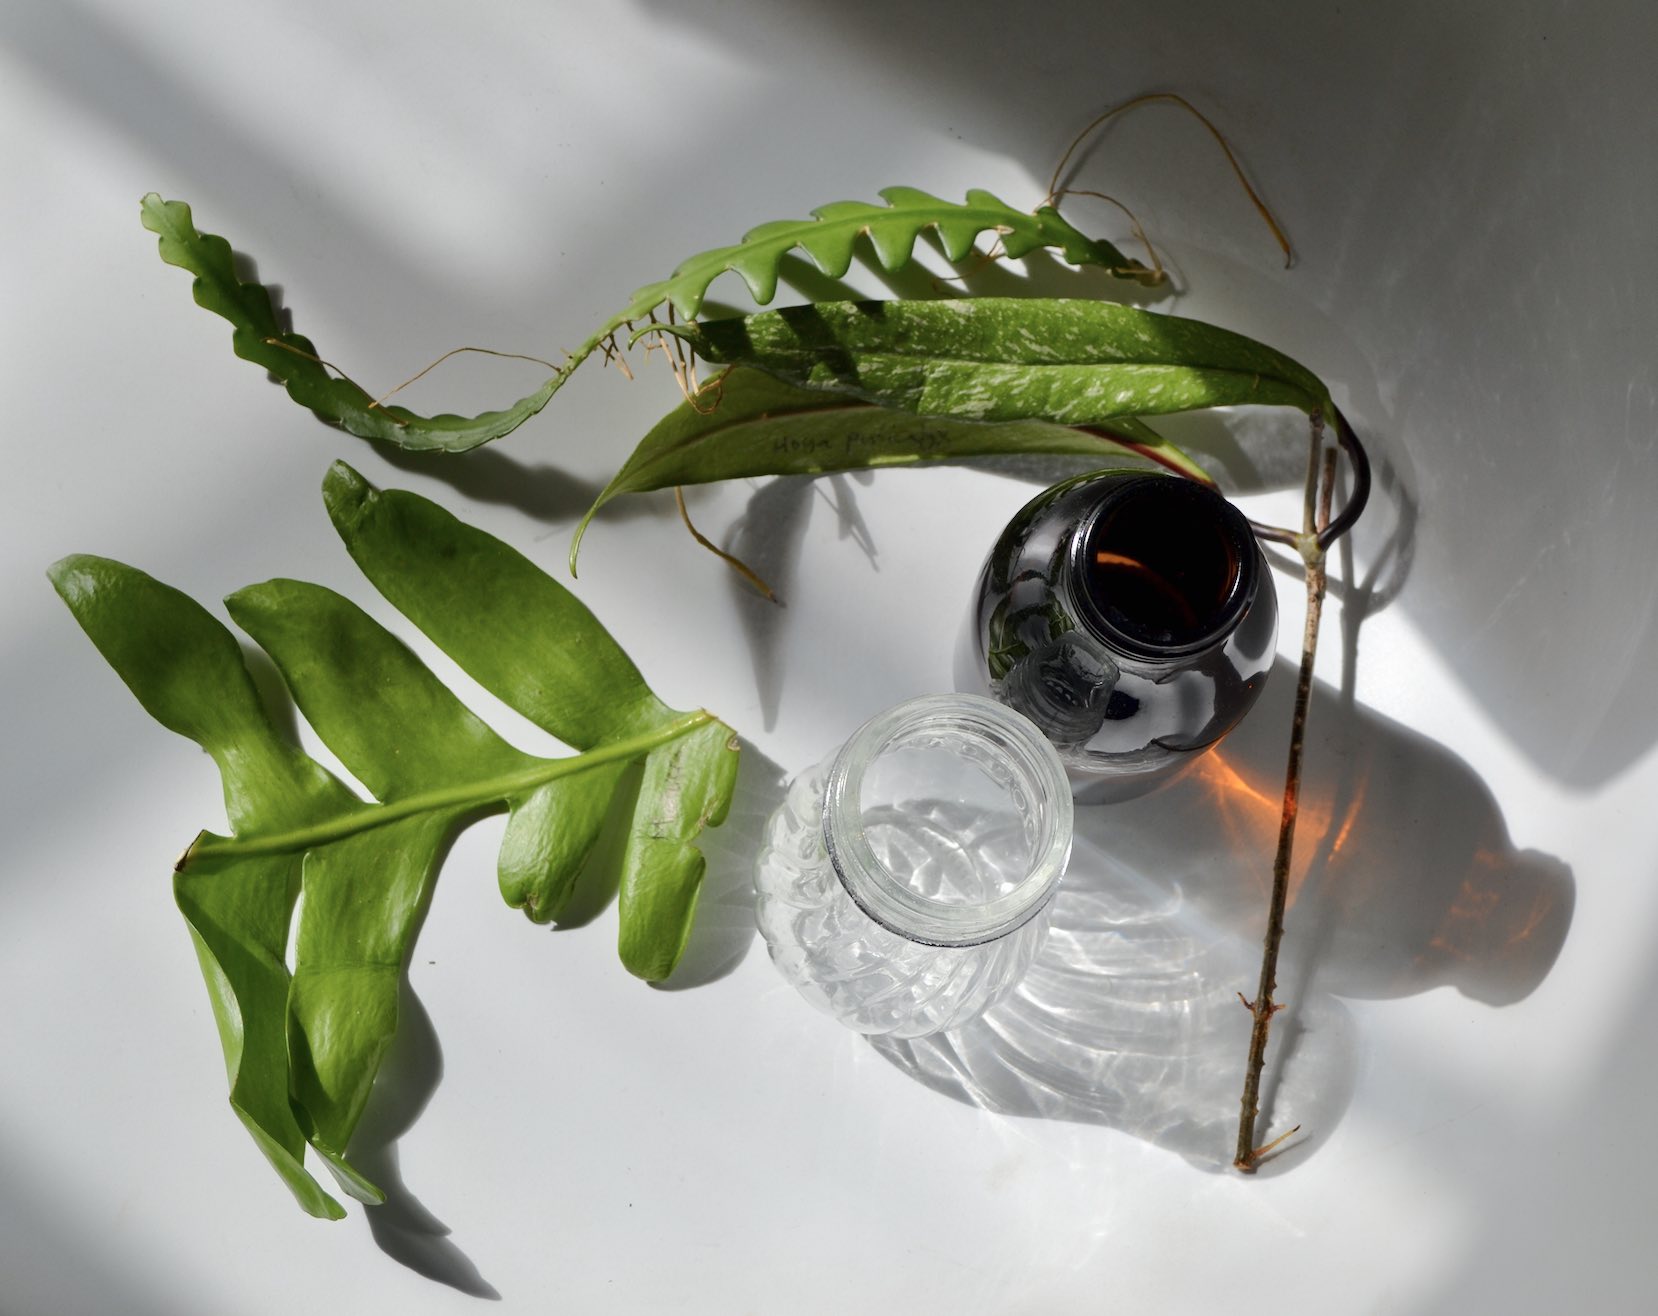

NOTE: The cuttings in the photo above left are a good example of why it’s always worth a shot when trying to root something. I received these cuttings as a lovely plant mail from Sweden but on their way to the UK, they got lost in the mail for 3 weeks. In case you wondered, they are a Selenicereus chrysocardium (fern leaf cactus), Selenicereus anthonyanus + a Hoya pubicalyx. I successfully water propagated them all + fast forward a few years to today + they are three of my favourite houseplants!
Callusing cacti + succulents

Thick succulents like euphorbias + cacti can take a few months to properly callus + they are generally a more difficult plant to attempt to propagate without rotting. I tried this a few years ago with a euphorbia trigona that was around 10cm diameter + can confirm it took 2 months to fully seal over. I wouldn’t recommend trying this over winter — wait until Spring + when the plant has a period of active growth ahead.
These photos show a snake plant leaf that is ready for propagation. You can see where the cut has hardened in these photos. This means the roots can form with a decreased chance of the cutting rotting. An inverted V-shape provides a greater surface area for roots to grow (more in my snake plant prop post):

If you are planning on experimenting with propagating more difficult plants like euphorbia succulents + other cacti, it’s important to be wearing protective gear because when you cut these plants, a milky-white, latex sap will weep out of the cut. This is an irritant, so be extra careful with your hands + face, especially your eyes + your mouth + you can lessen the oozing by dipping the cutting in cold water or use a spray bottle (protect your face if you do this) if you can’t safely move the plant. An alternative option is to use a flame that will cauterise the cut.
Here are some examples of water + soil propagation for these two types of sedum succulent cuttings:


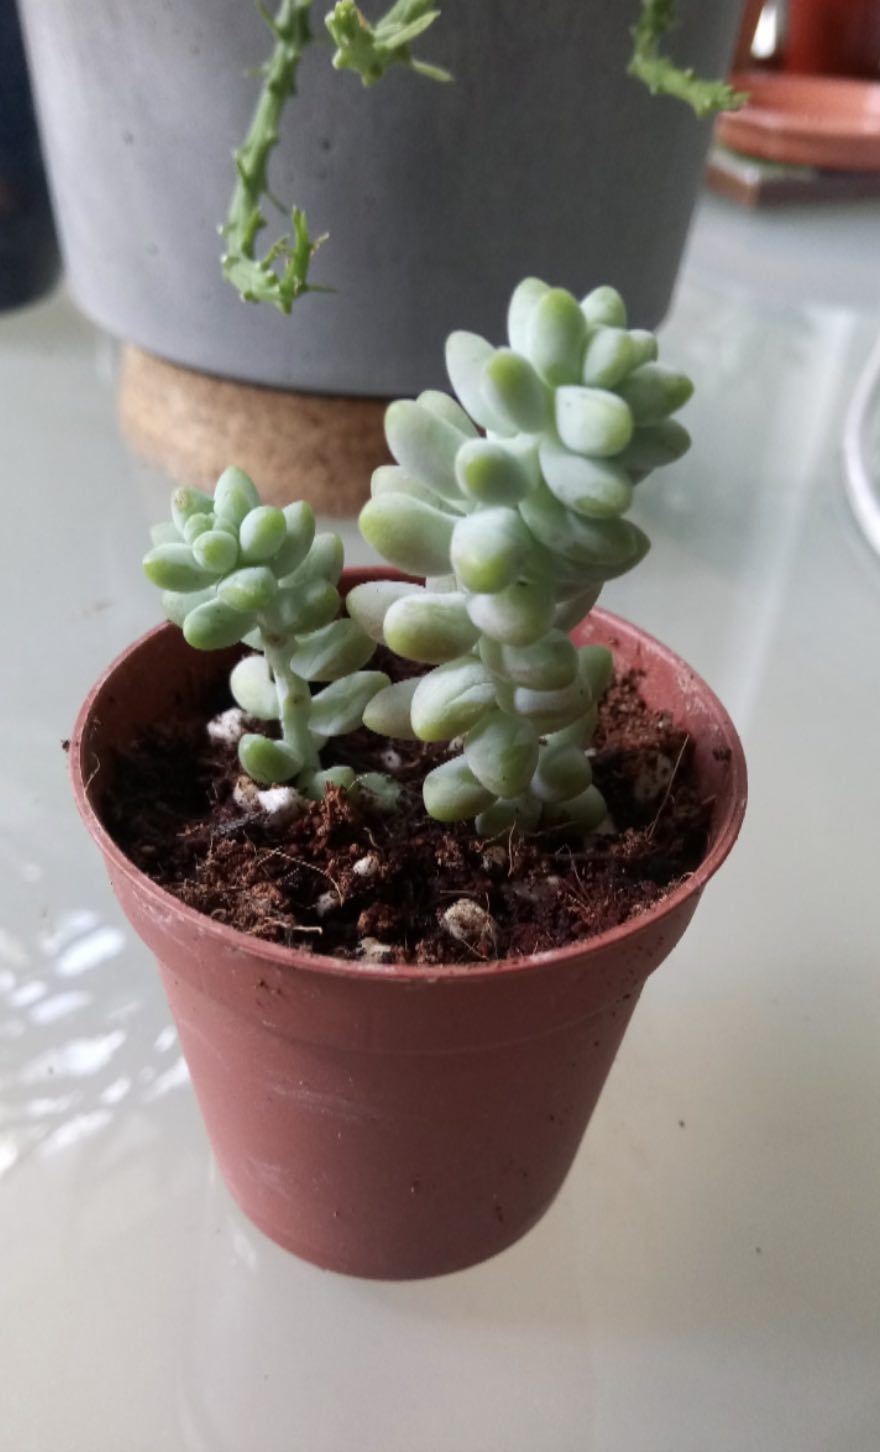

In the four photos above, I let these cuttings callus for a week before removing the lower leaves + placing in a pot of cacti + succulent potting mix. I didn’t touch these, but after a few weeks, I could feel them stabalise in the little pot + after a few months, they were growing, the photo to the right is how they were looking this summer (around 12 months later I think).
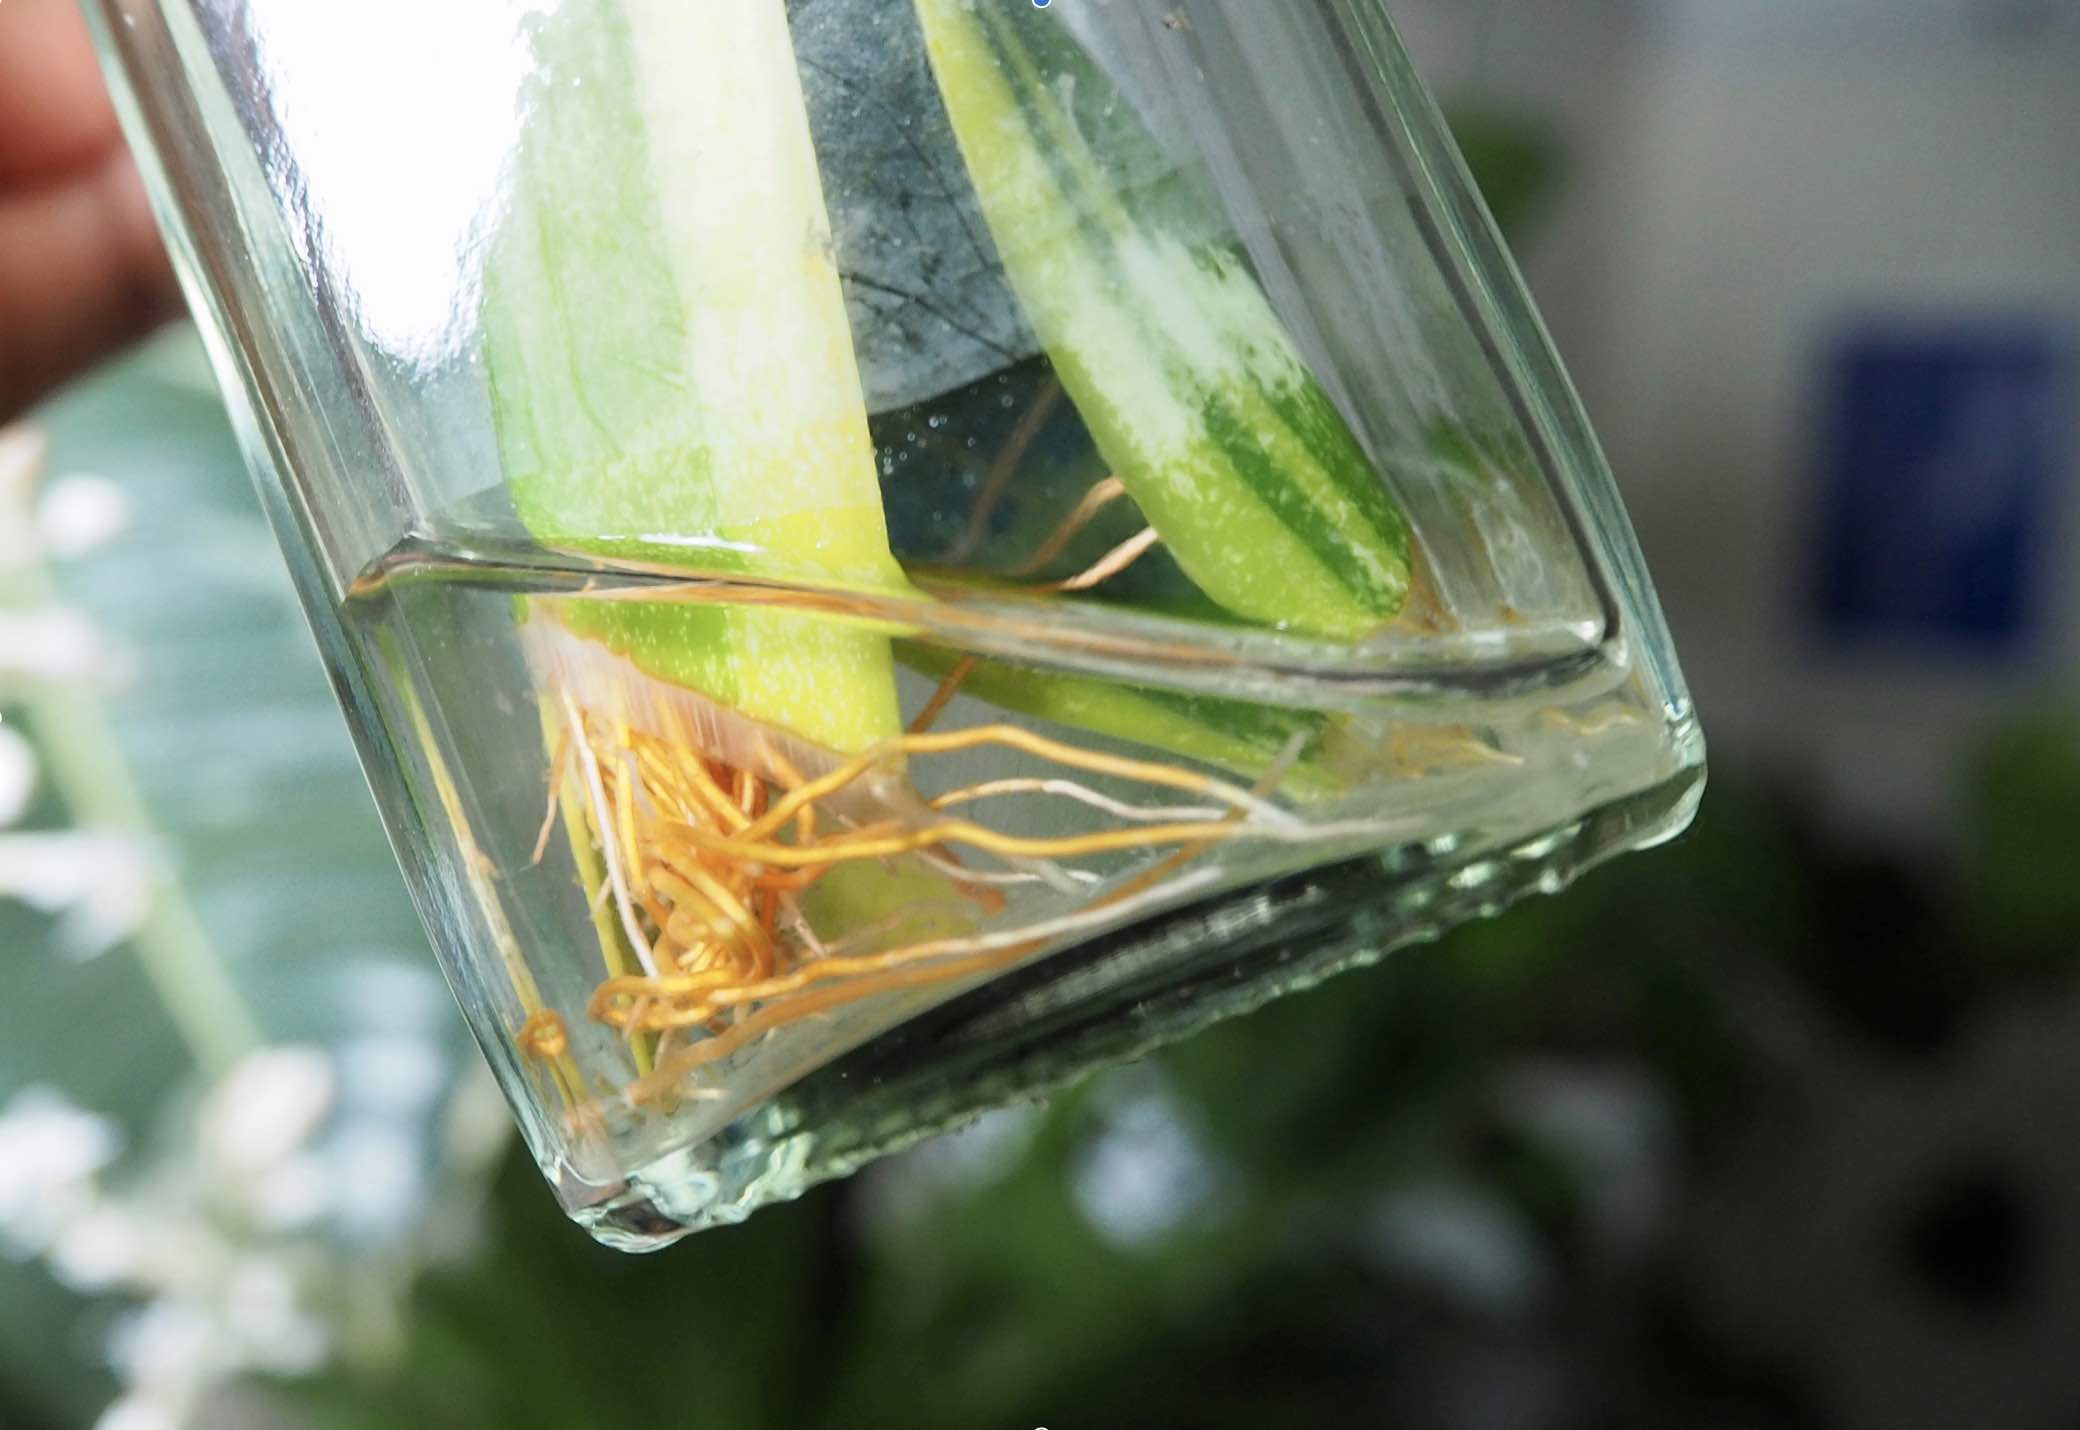
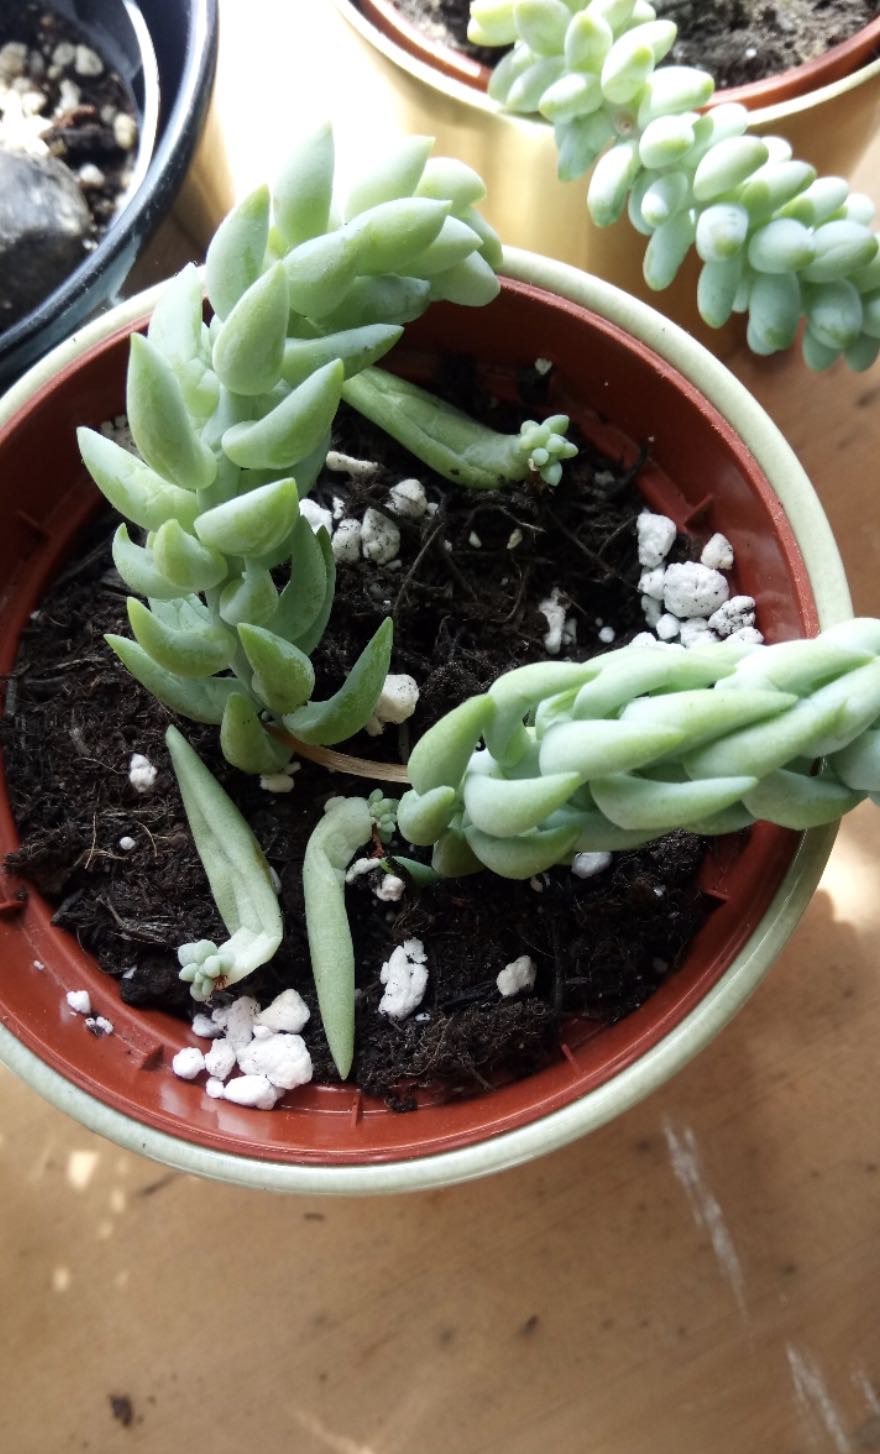
As you can see in the photos below, I allowed the sedum morganianum stem to fully callus before placing in water + as an experiment, I left it rooting for around 9 months to see what would happen. The roots grew long + after around 6 months, a new plant actually started growing underwater! The photo on the right shows the other stems that I propagated straight into soil. On the top of the surface, you can also see I laid some of the succulent leaves down + after around 3 months, new pups started forming. These are just starting to grow roots into the soil to anchor themselves in.


3. The propagation process
Choosing what propagation media to use
Propagation techniques are personal preference: whether you like to propagate your plants in water or soil, perlite or sphagnum moss is up to you + there are often a number of factors that will influence this — the plant in question, your lifestyle + household conditions too.
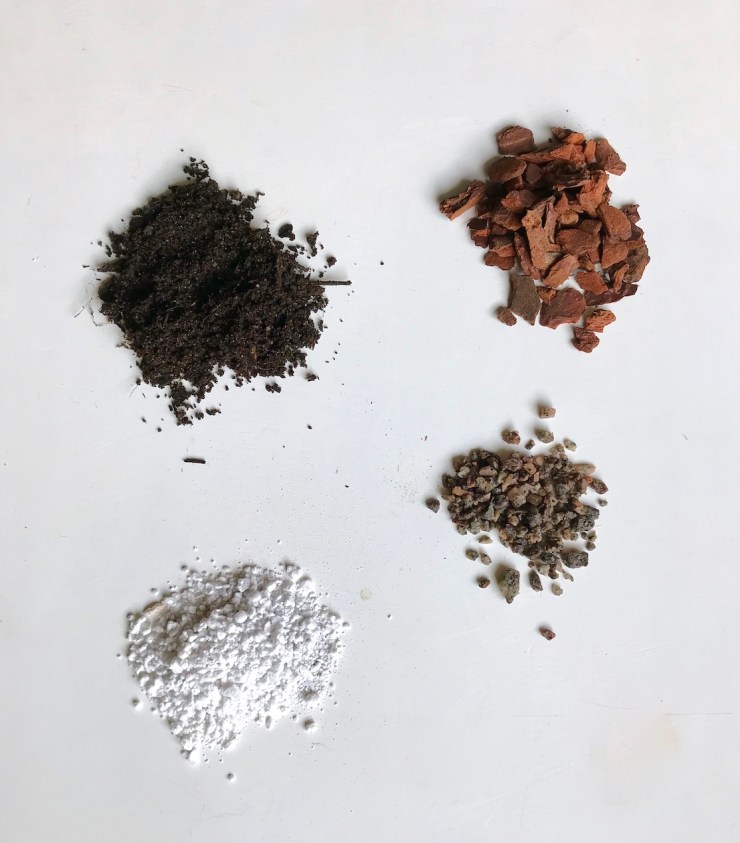
As a guide, I use a variety of propagation media + methods for different reasons:
- SOIL MIX: I like to use soil propagation for some of my foliage plants. I will use houseplant potting mix with a little bit of perlite in + I’ve found this media good for GOLDEN POTHOS, PILEA PEPEROMIOIDES + TRADESCANTIA ZEBRINA, STRING OF HEARTS.
- COCO COIR: Chunky coco coir (chunky is the key here) is a good alternative to soil propagation as it is gives nice amounts of aeration to the developing roots + is a good choice for plants that like a little more humidity around them like PHILODENRONS, EPIPHYLLUM, MONSTERA etc.
- PERLITE: I will use straight up perlite for rosette succulents like ECHEVERIA, CRASSSULA etc.
- SPHAGNUM MOSS: I tend to use Sphagnum for my JEWEL ORCHIDS (ludisia discolor + macodes petola), MONSTERA ADANSONII, POTHOS, PHILODENDRON + SCINDAPSUS cuttings too.
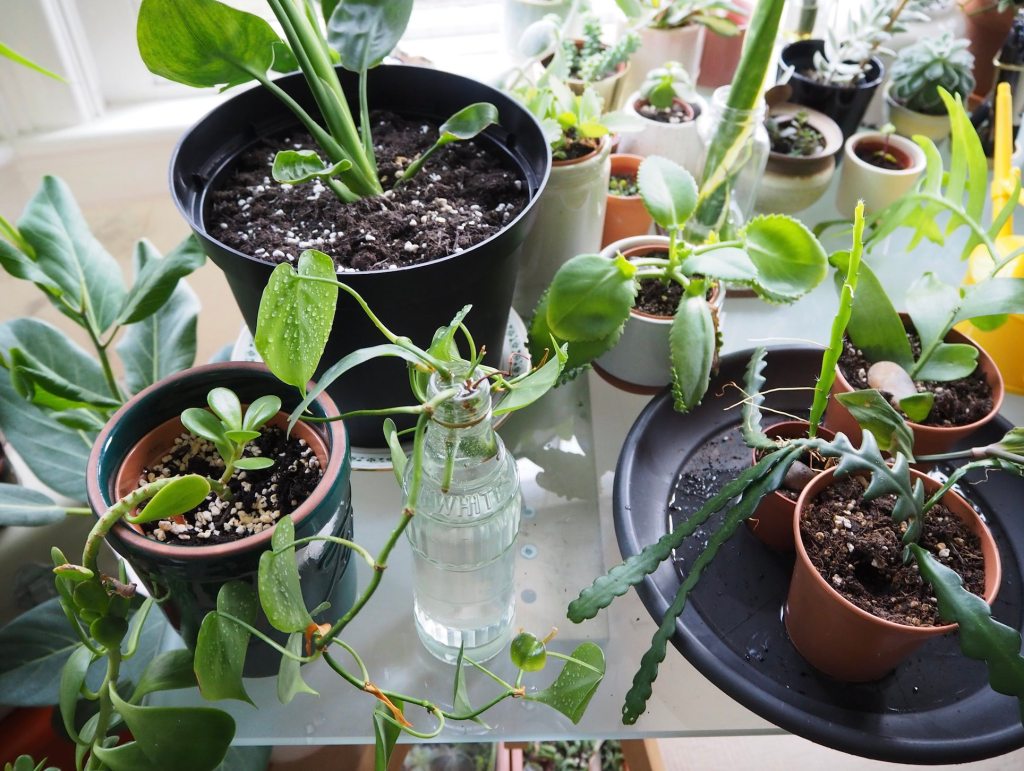
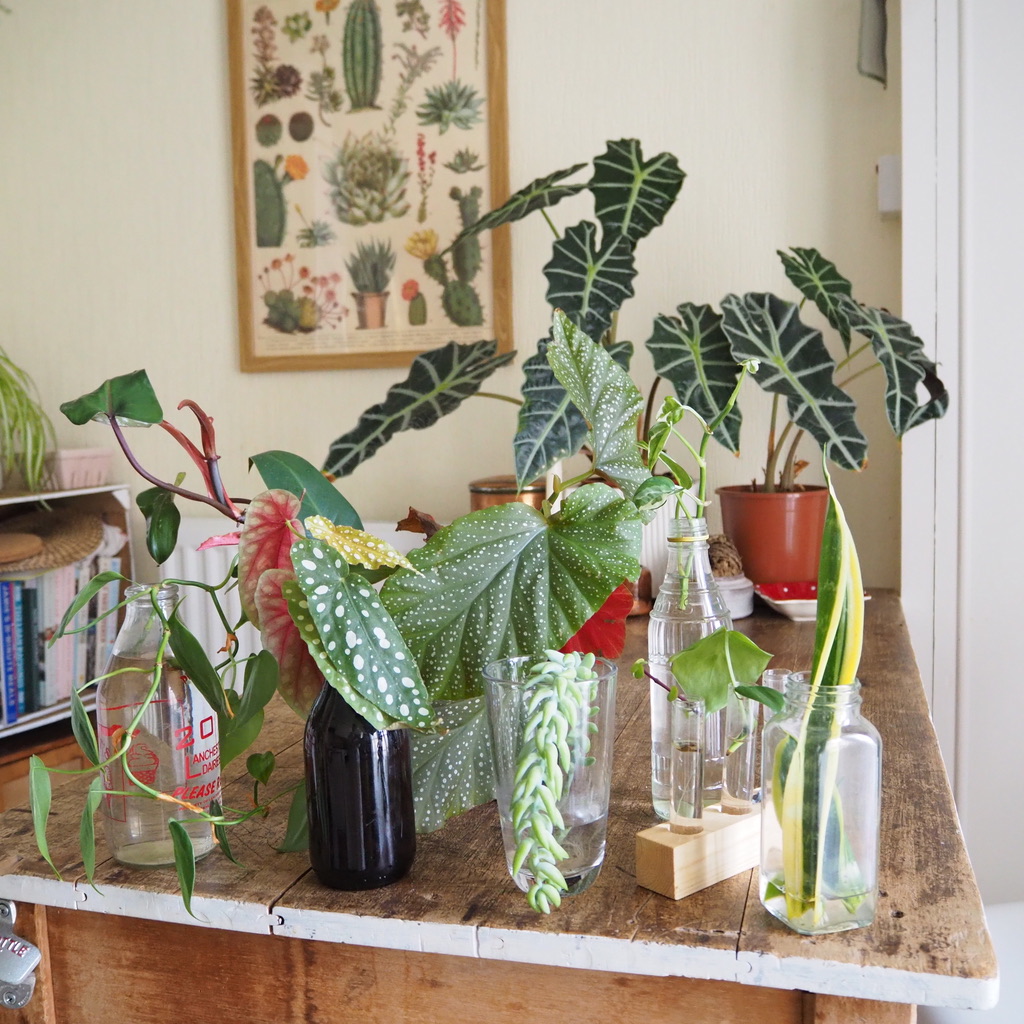
- WATER: Water propagation is my most used method, quite simply because I enjoy the process of watching roots grow! It’s a great way to observe how different houseplants behave + the different types of roots, from the fibrous fine ones to the more chunky. I use it for a whole range of plants + if I’m in doubt, it’s the method I will turn to.


NOTE: It is inevitable that there are champions of each method (especially on social media) but with so much conflicting advice, it can lead to confusion + the feeling that you are ‘doing it wrong‘. I encourage you to find what works for you + what you enjoy!
The question of humidity
Thinner stemmed plants that have delicate leaves such as tradescantia fluminensis can sometimes fail in propagation due to a lack of humidity. If I’m propagating cuttings like my thinner stemmed tradescantia, I’ll generally water propagate as I find them to cope well in vessels in regular household conditions (my house is old + pretty humid without any humidifiers) while they root. If I propagate straight into potting mix, I will place a bag over my potted cuttings to create a ‘mini greenhouse’ environment, or use a cloche or propagator. This can help the leaves from crisping up + create a favourable environment for rooting. I also do this for my other foliage plants if I want to encourage them along a bit.
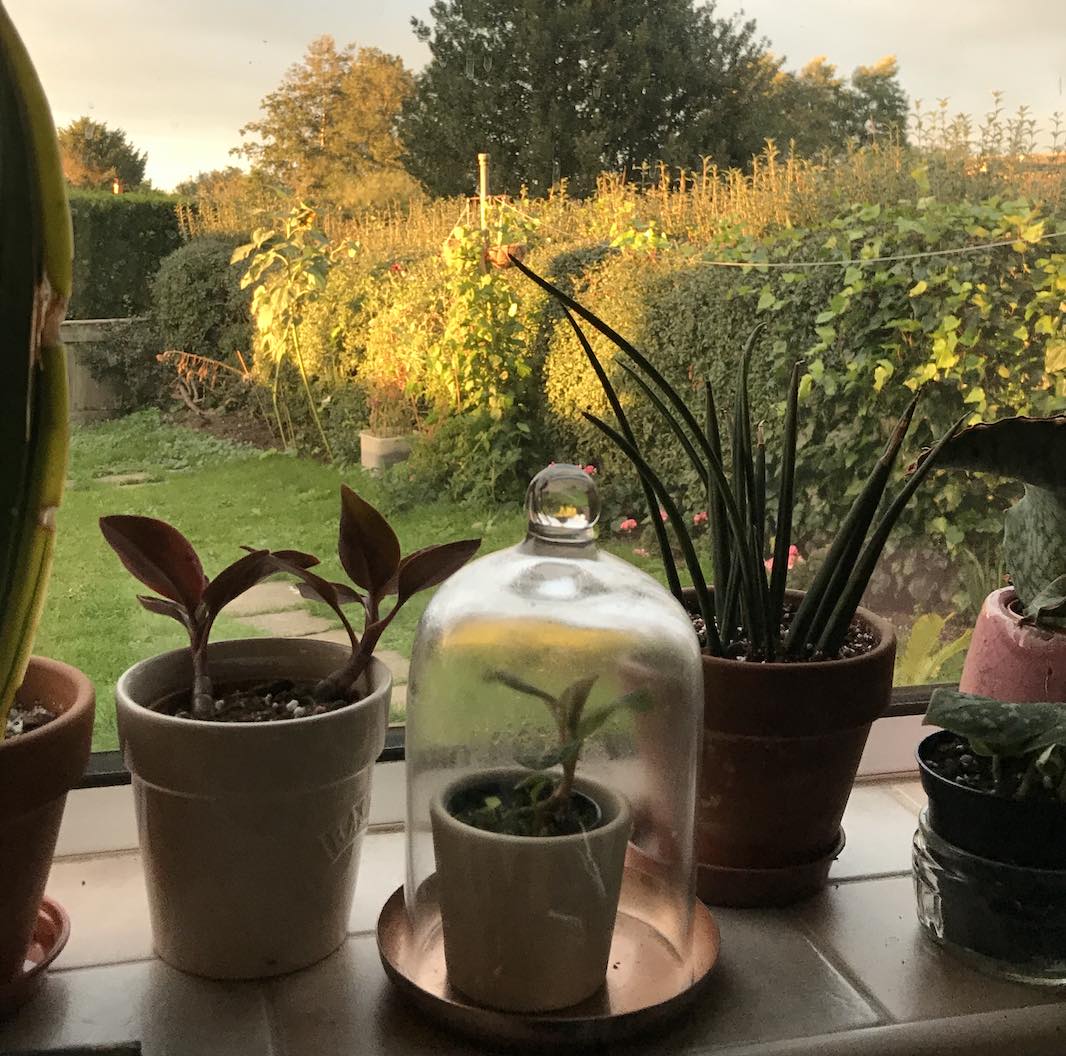

You can easily make a propagation box or lid out of an old food container (make sure it is clean), or by cutting a large bottle in half and placing as a lid over the pot, large yogurt pots, etc. I’ve successfully used a clear old lunch box to grow cacti from seed over the last few years + it takes up very little room on my windowsill too. I’ve written more about re-using + re-purposing what you have at home as gardening ‘equipment’ here + an older one here if you’d like some inspiration!
Where do I put the cuttings to root?


Whatever method you choose to propagate, keeping your cuttings in a fairly bright, indirect light position is best. If the location is too dark, growth will be pretty slow + the cutting might start to stretch out to look for light. In a spot that is too bright, the cutting could dry out before rooting or the leaves of the cutting could burn + crisp. Many of my cuttings are around 1 metre from a south-east facing window, with the light diffused by a net curtain.
If you are water propping, fill your container with fresh water so that the stems are well covered. I don’t add anything to the water. If it’s warm, you might need to top up your bottles every few days as the water evaporates — make sure the stems aren’t sitting in an empty vessel as they can start to sweat… this can lead to the cuttings rotting. Try to change the water around once a week if you remember.


4. From propagation to potting up
My cuttings are rooting… but when do I pot them?!
If you have successfully propagated your cuttings in water, perlite, sphagnum or coco, after a time, you’ll want to pot them up into a potting mix that can provide your little plant with nutrients to help it grow to be healthy + strong. I wait until roots are 1-2 inches long before considering planting up, sometimes a little longer (if I leave a jar rooting + forget… like I recently did with a philodendron basil vine!). I often get asked ‘can’t I just leave my plant in water?!’ or ‘How long will my plant last in water?’ + the answer is yes you can, BUT if the purpose of rooting the cutting is to grow it on, or do something with it, then it’s best not to leave the roots get crazy long. Purely for experiments’ sake, I’ve grown a spider plant in a jar for over a year + it was cool to look at, but it didn’t flourish as much as if I’d planted it.
Transitioning your cuttings + potting up
If I have room in my propagator, I will often put my newly potted cuttings in there for a few weeks to help them settle into their pot. It helps at this stage to keep the humidity up as they transition, particularly when moving from water to soil. If light levels allow, the bathroom or kitchen are also areas to consider placing your newly potted up plants as they are often warmer + more humid environments. The plant will detect the change in pH and it can take a bit of time for it to adjust, so if you can keep the surrounding conditions steady during this time, your plant will appreciate it.
Water roots are different to soil roots + it’s part of the reason when some gardeners prefer to root directly into soil. I would recommend using a small pot to begin because I much prefer a number of small re-pots than starting off with a cutting that is in a pot that is too large. This increases the chances of the cutting failing because it’s easier for the cutting to get overwatered like this. I always have smaller pots hanging around too + they are easier to fit into a propagator or onto a shelf. You’ll know when the cuttings have ‘taken’ to the potting mix by giving the stem a very gentle tug after a few weeks — they will feel sturdy + anchored into the planter as the roots develop. Only re-rot when the roots are circling around the base of the existing pot + don’t make any dramatic jumps in pot sizes when repotting. Slow + steady is best.


A note on fertilising
This is another common question — should you feed your plants soon after potting? I know the temptation is to fertilise because you want your plant to get growing already, but it’s a good idea to hold off fertilising for around 6 weeks. This goes for repotting too — waiting until your plant has acclimatised to its new pot is something my grandpa taught me + in both cases, this will allow the new roots to develop a bit + will decrease the chance of fertiliser ‘burning’ them.


There we go, a longer post today but I know that a few of you enjoy a read + some virtual armchair gardening with your weekend morning coffee. I also share my current propagation experiments over on my Instagram if you want to check it out. Hope this was helpful + happy propagating!
You’ll find the pins for this post to share or save to refer back to later:

Leave a Reply