
Today’s post is a reader request from over on instagram + it’s a Rhaphidophora tetrasperma care guide. These plants have really propelled to the forefront of houseplant popularity over the last 2 years, largely down to their easy going nature + fast growth habit. I can also attest to their lure, because it’s one of only two plants I’ve bought myself in the last 12 months! Plus, they’ve always been a plant that gets a lot of buzz with customers which is an indicator of more widespread plant popularity + not just in the plant corner of social media.
Before we get into the care guide, a note on it’s (mouthful of a) name — Rhaphidophora tetrasperma is an aroid + part of the Araceae family, however you might have seen this plant labelled as a ‘mini monstera’ or ‘monstera minima’ + I’ve even seen it called a Philodendron or Epipremnum too. It’s actually none of these! The marketing of this plant by distributors/retailers has certainly caused extra confusion by choosing a ‘catchy common nickname’ for sales reasons! I remember labelling these plants a few years ago at a HPH pop up event + had to make my handwriting ever so small so that I could fit Rha-phid-oph-ora tet-ra-sper-ma on the label! That did get the spelling engrained in my head though. But for my own paperwork, I will often use the shorthand ‘RT’, which I’ll also use on occasion here in this post.
Rhaphidophora tetrasperma is native to Malaysia + Southern Thailand, whereas its ‘namesake’ Monstera relatives are found in Central + Southern America. ‘RT’ grows in a range of forest conditions, from dry to more jungle environments + as such it’s a very adaptable, fast growing houseplant to add to your collection. As I always say in my Plant Care posts, thinking about where your plants grow in nature will really help you to understand their care needs. Plants that grow in a range of conditions like the Rhaphidophora indicate a tolerant plant that is likely to be quite forgiving too. If you love the look of a monstera but don’t have the space for one at home, a Rhaphidophora tetrasperma creates a similar leafy look, but takes up a lot less space. I styled one for a customer in the corner of her office a few years ago, where we trained it up a sphagnum moss pole over time until it reached the ceiling! Think of it as an alternative, or perhaps more modern take on the commonly seen Philodendron scandens, or Epipremnum Aureum totem displays you often see in shopping malls or hotel lobbies.
In today’s post, I’ll be going into the topics of:
- light
- watering
- humidity + leaf care
- training your plant around a support
- fertilising
- pests
- potting mix (+ pots)
- repotting
- + propagation

Light
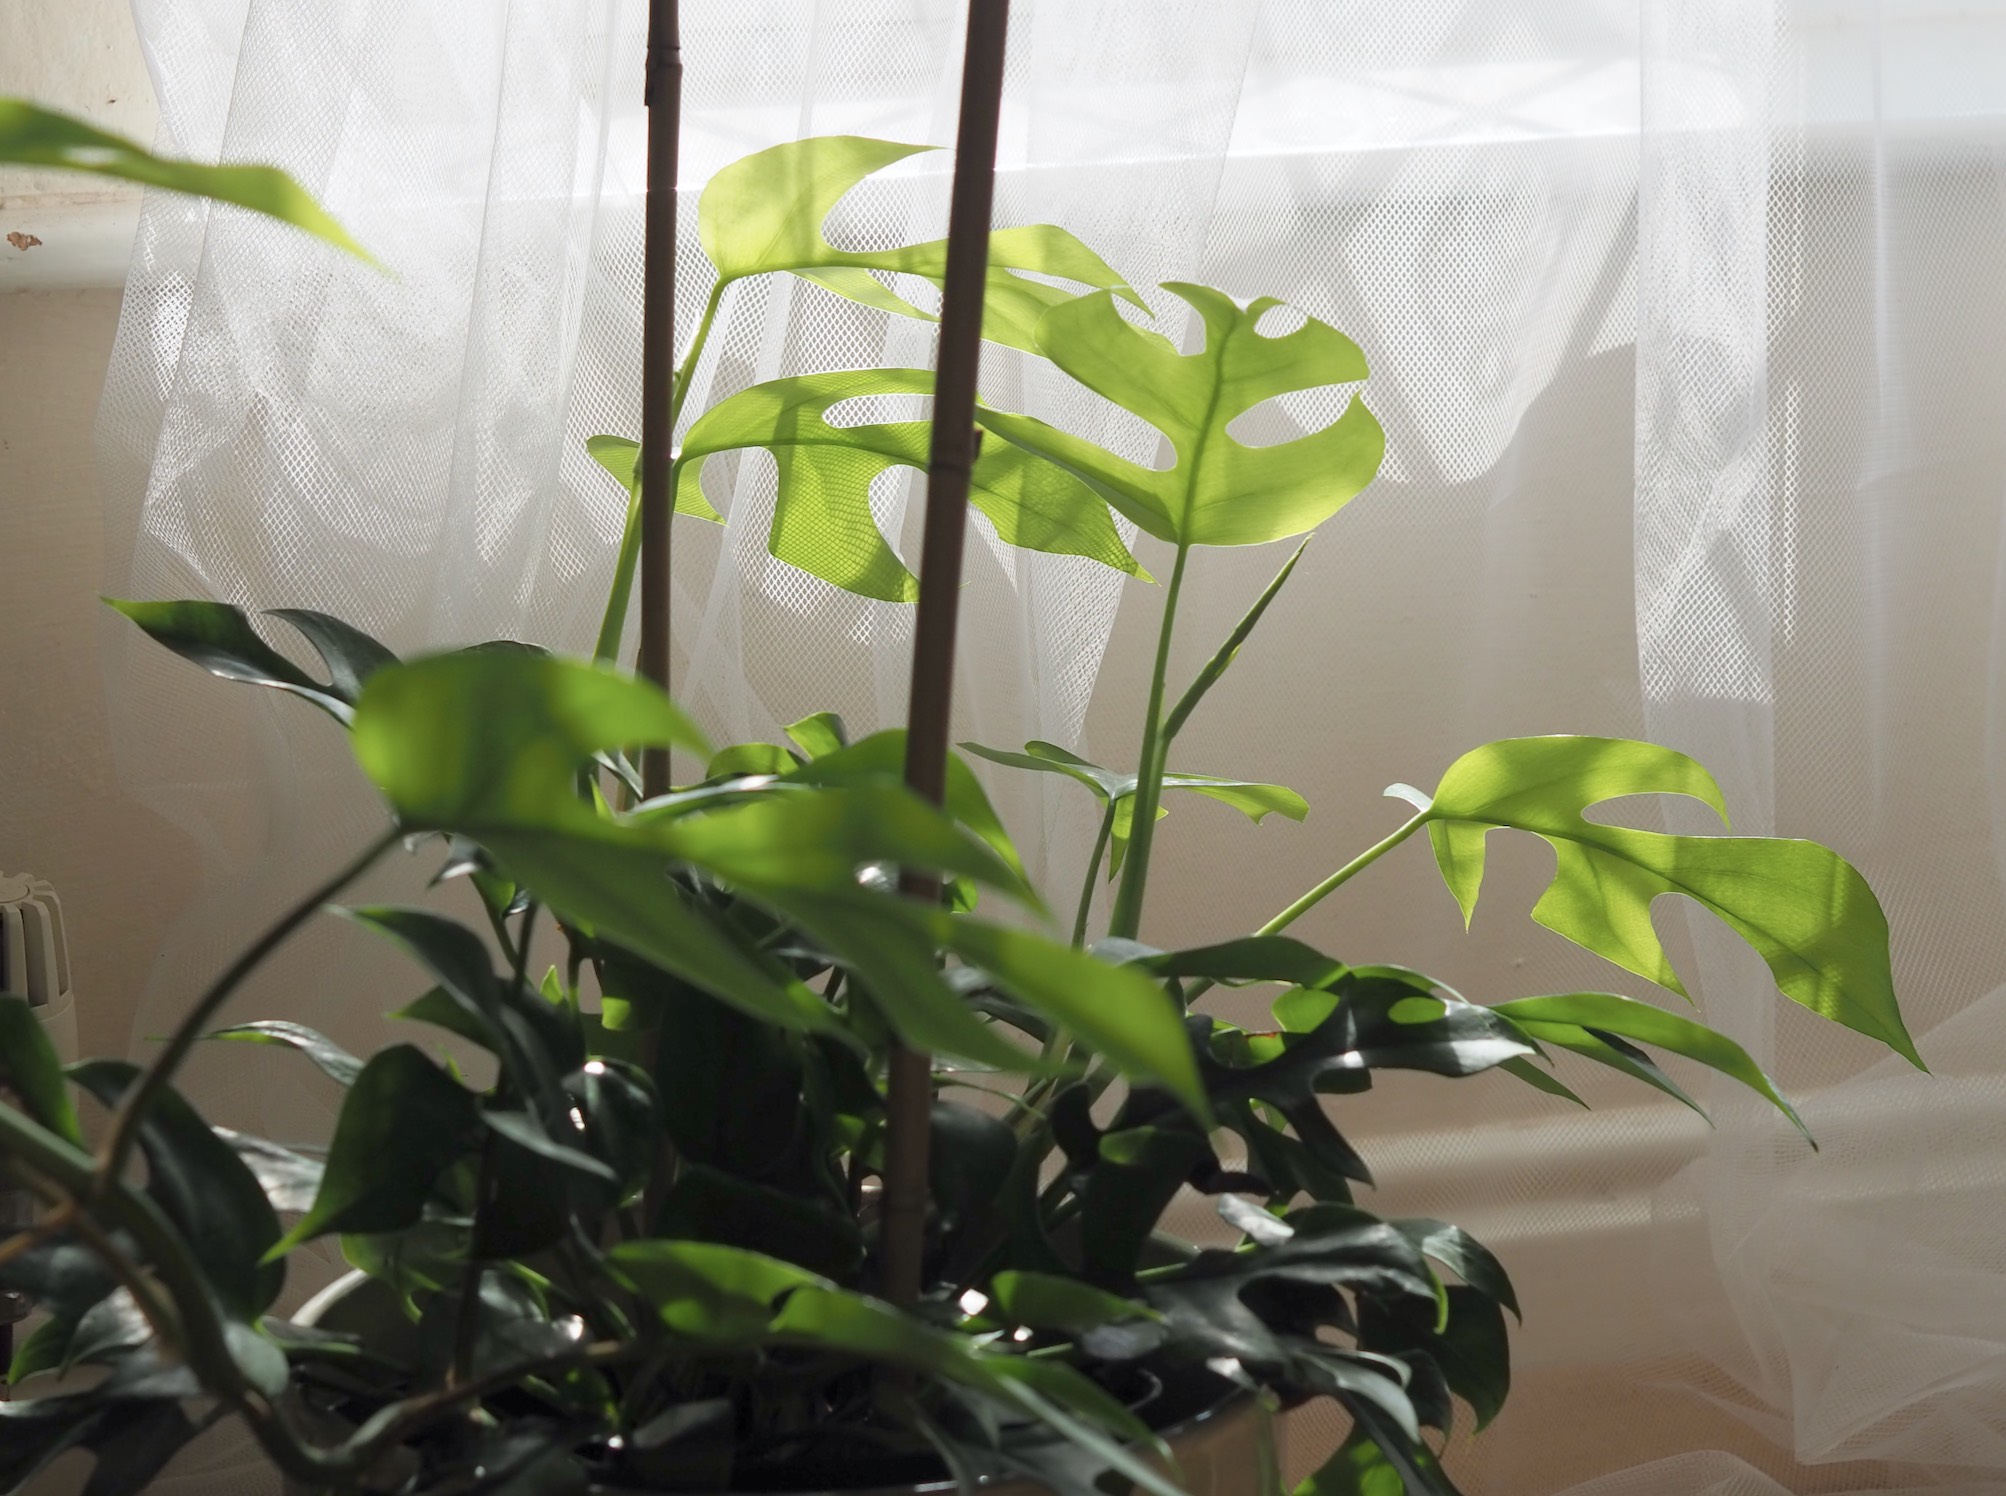
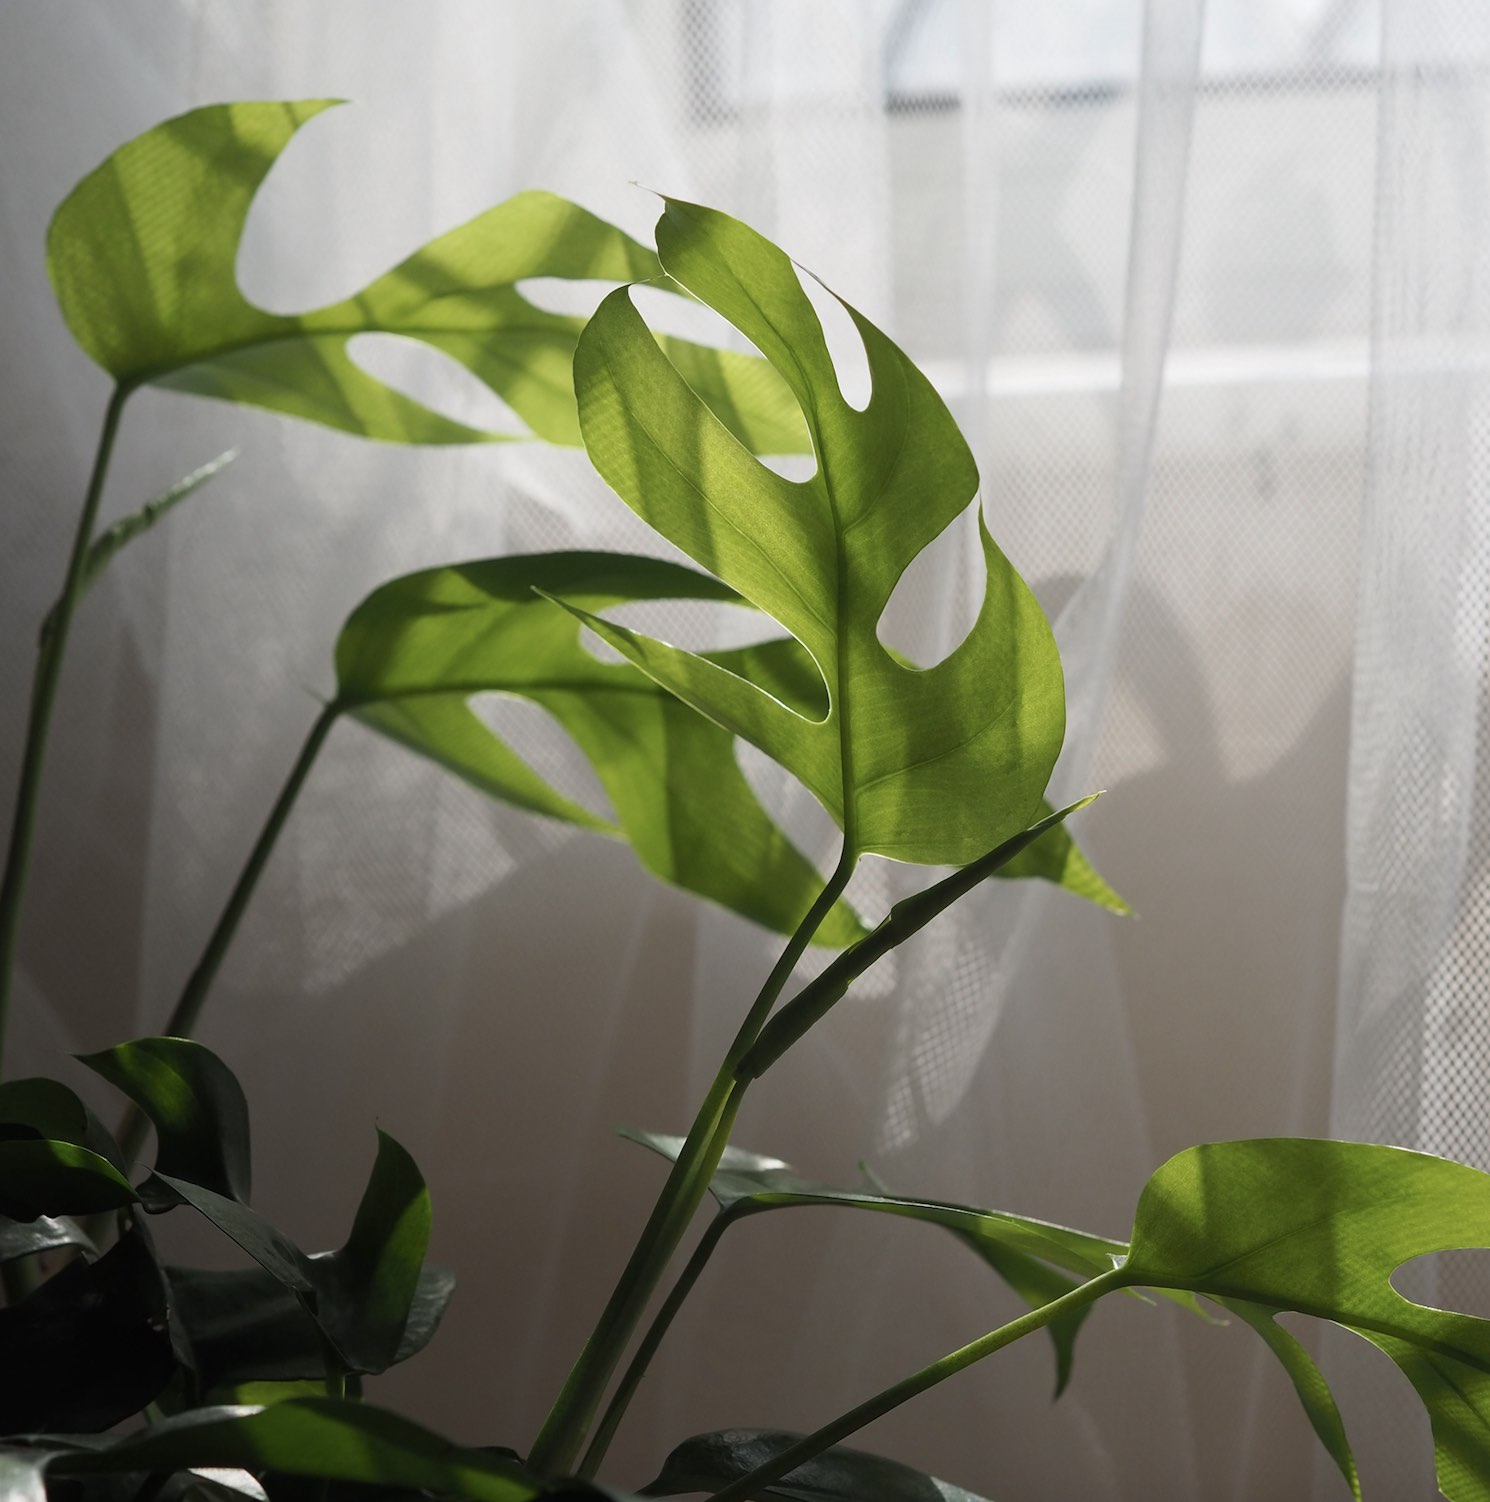
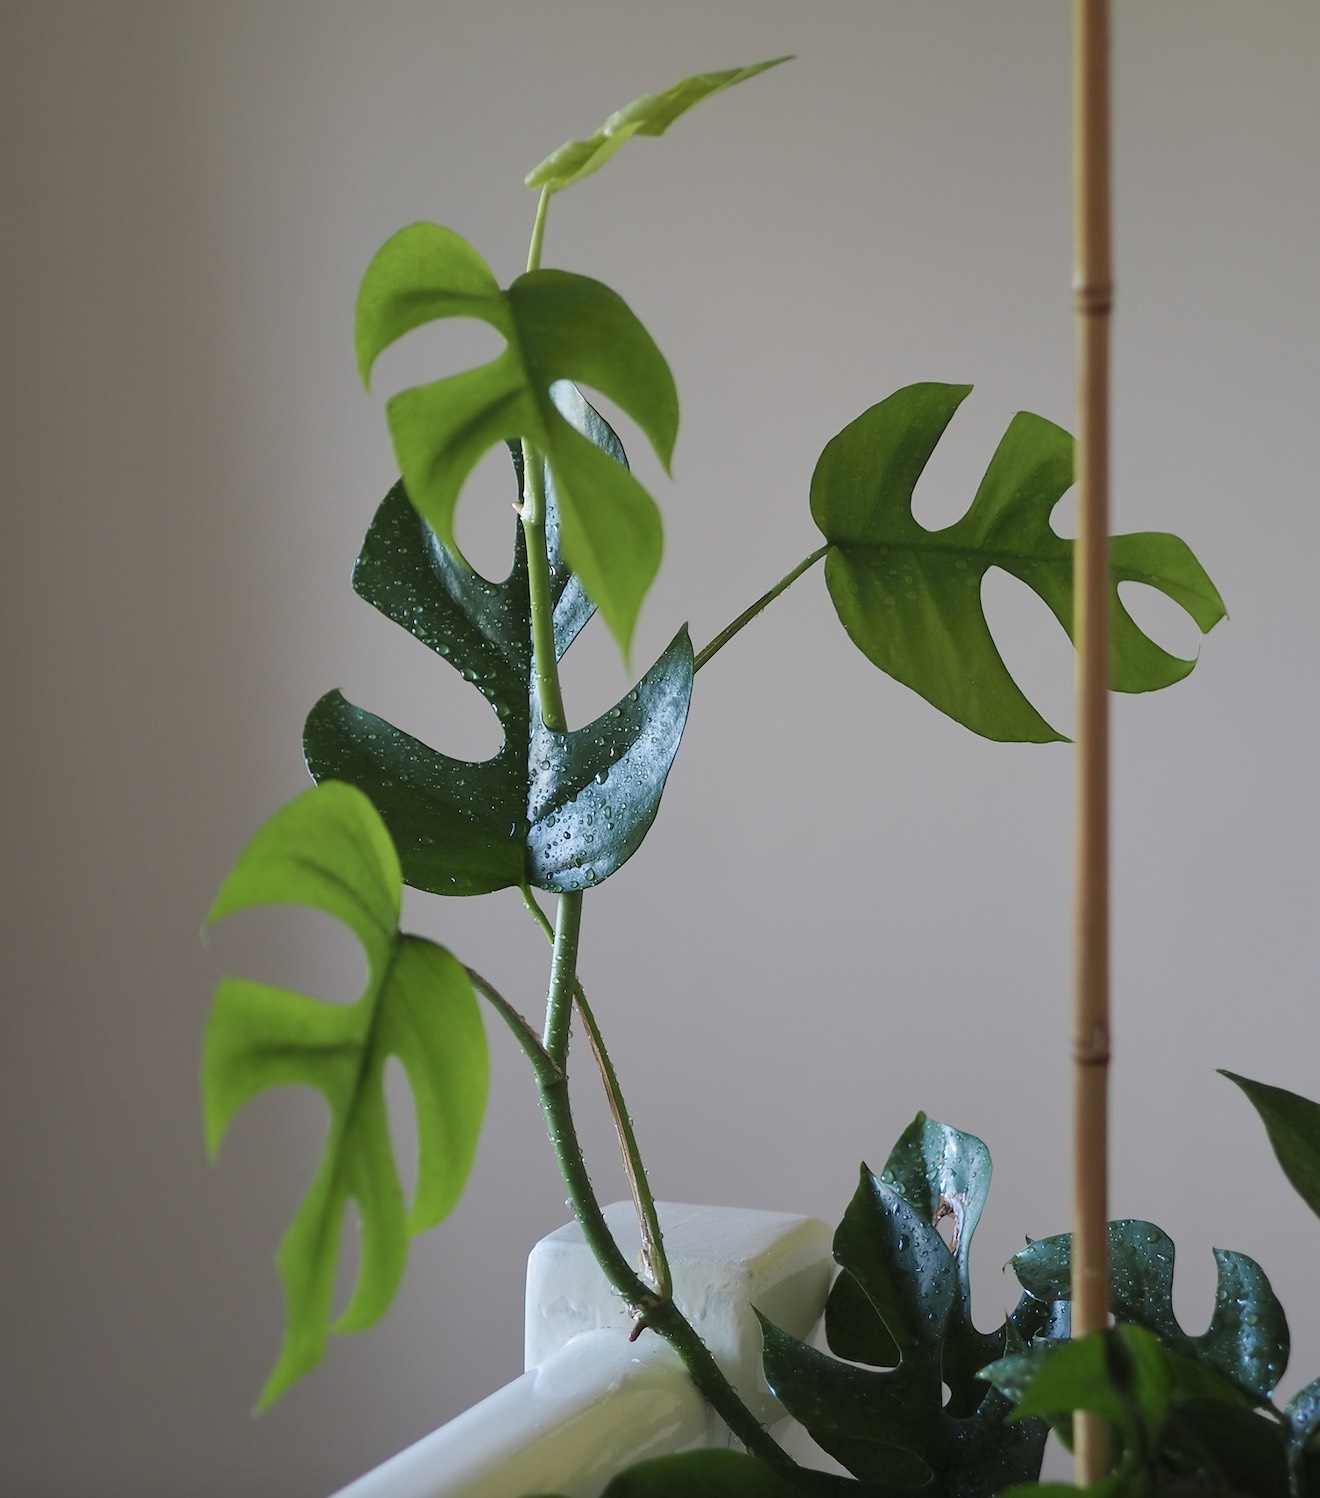
As a houseplant, Rhaphidophora tetrasperma enjoys a position that receives fairly bright but importantly, indirect light. I’m in the northern hemisphere + I grow mine around 1 metre away from my south-eastern bedroom window behind a net. It also does well in a west or south-western spot, but during Summer be sure to protect the foliage from harsh sunlight. Compared to a Monstera deliciosa, it has thinner, less waxy leaves which means it’s a little less robust + more sensitive to prolonged, strong sunlight. In a position that is too bright, the leaves have a tendency to yellow, so if your plant is looking a little washed out with crispy tips, this is the likely cause.
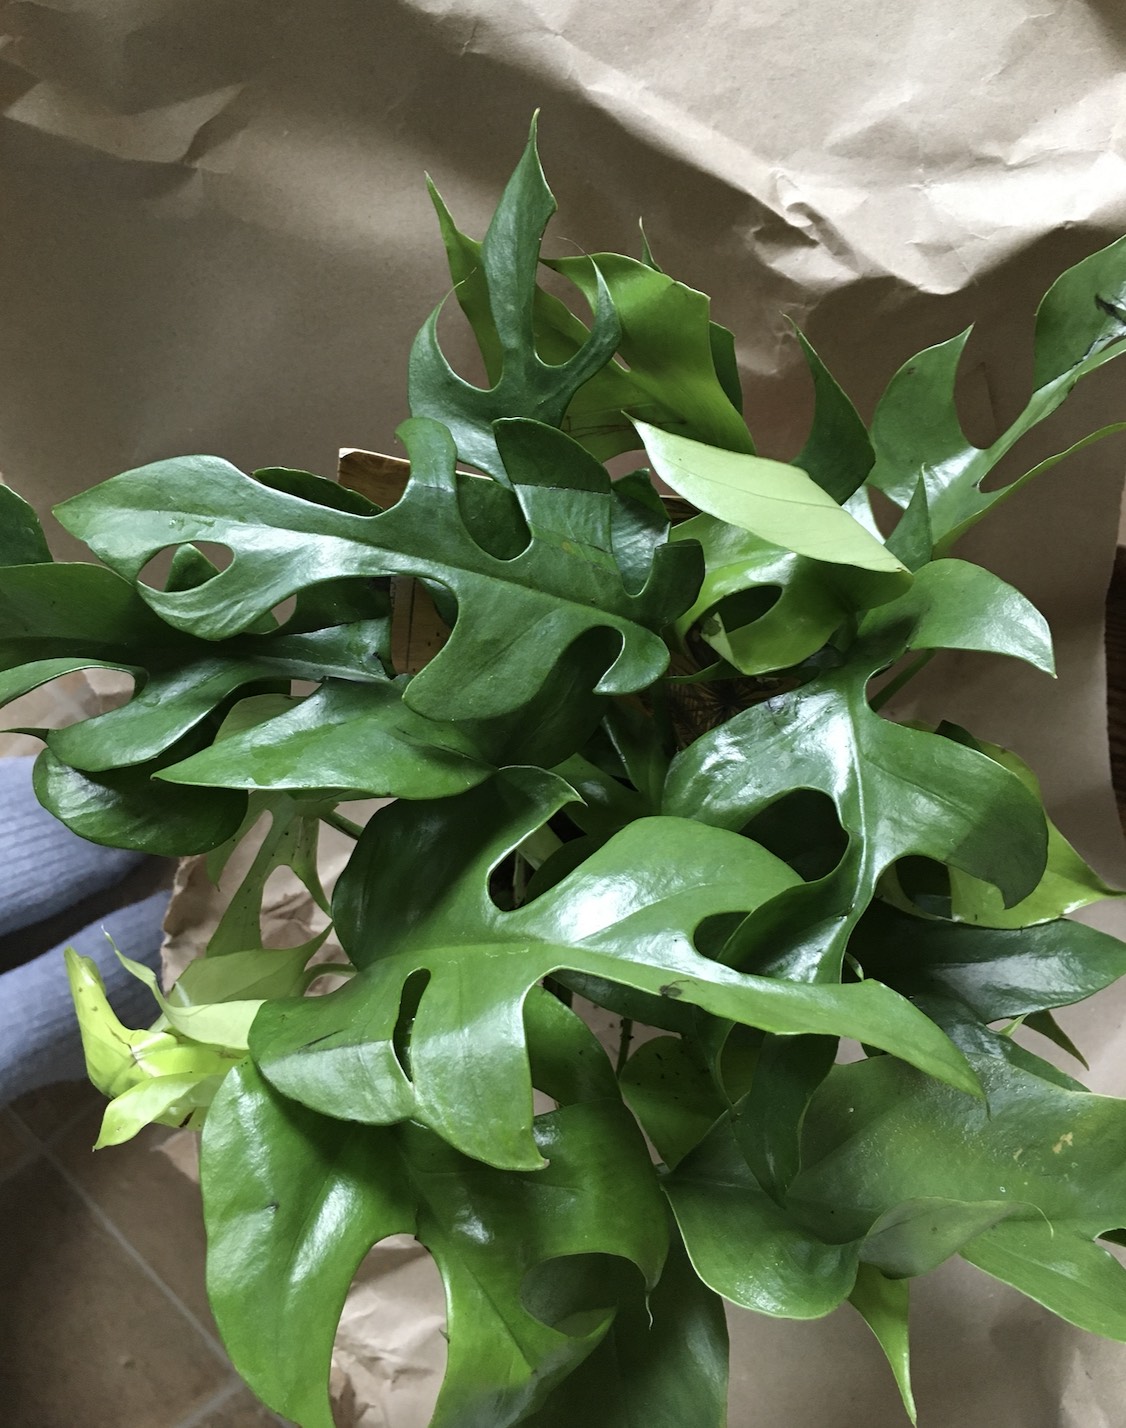
This plant is a notoriously fast grower when it’s happy! But in lower light conditions, growth will slow + leaves might have less splits in + be smaller in size too. It doesn’t do well in these low light positions, so give your Rhaphidophora decent light + reserve your low light tolerant plants for dark corners! Over winter when light levels are lower, growth on my RT slowed right down as it’s also quite cold here, but now that we are into Spring, there are signs of growth once more!
Bear in mind that these are the conditions that are personal to my current environment + are used as a guide for you to compare with your own home. It’s important to also remember that windows can be pretty different in size + if you live in a built up area, with other buildings close by, or if there are obstacles like trees outside, this all has an impact on the intensity of light.
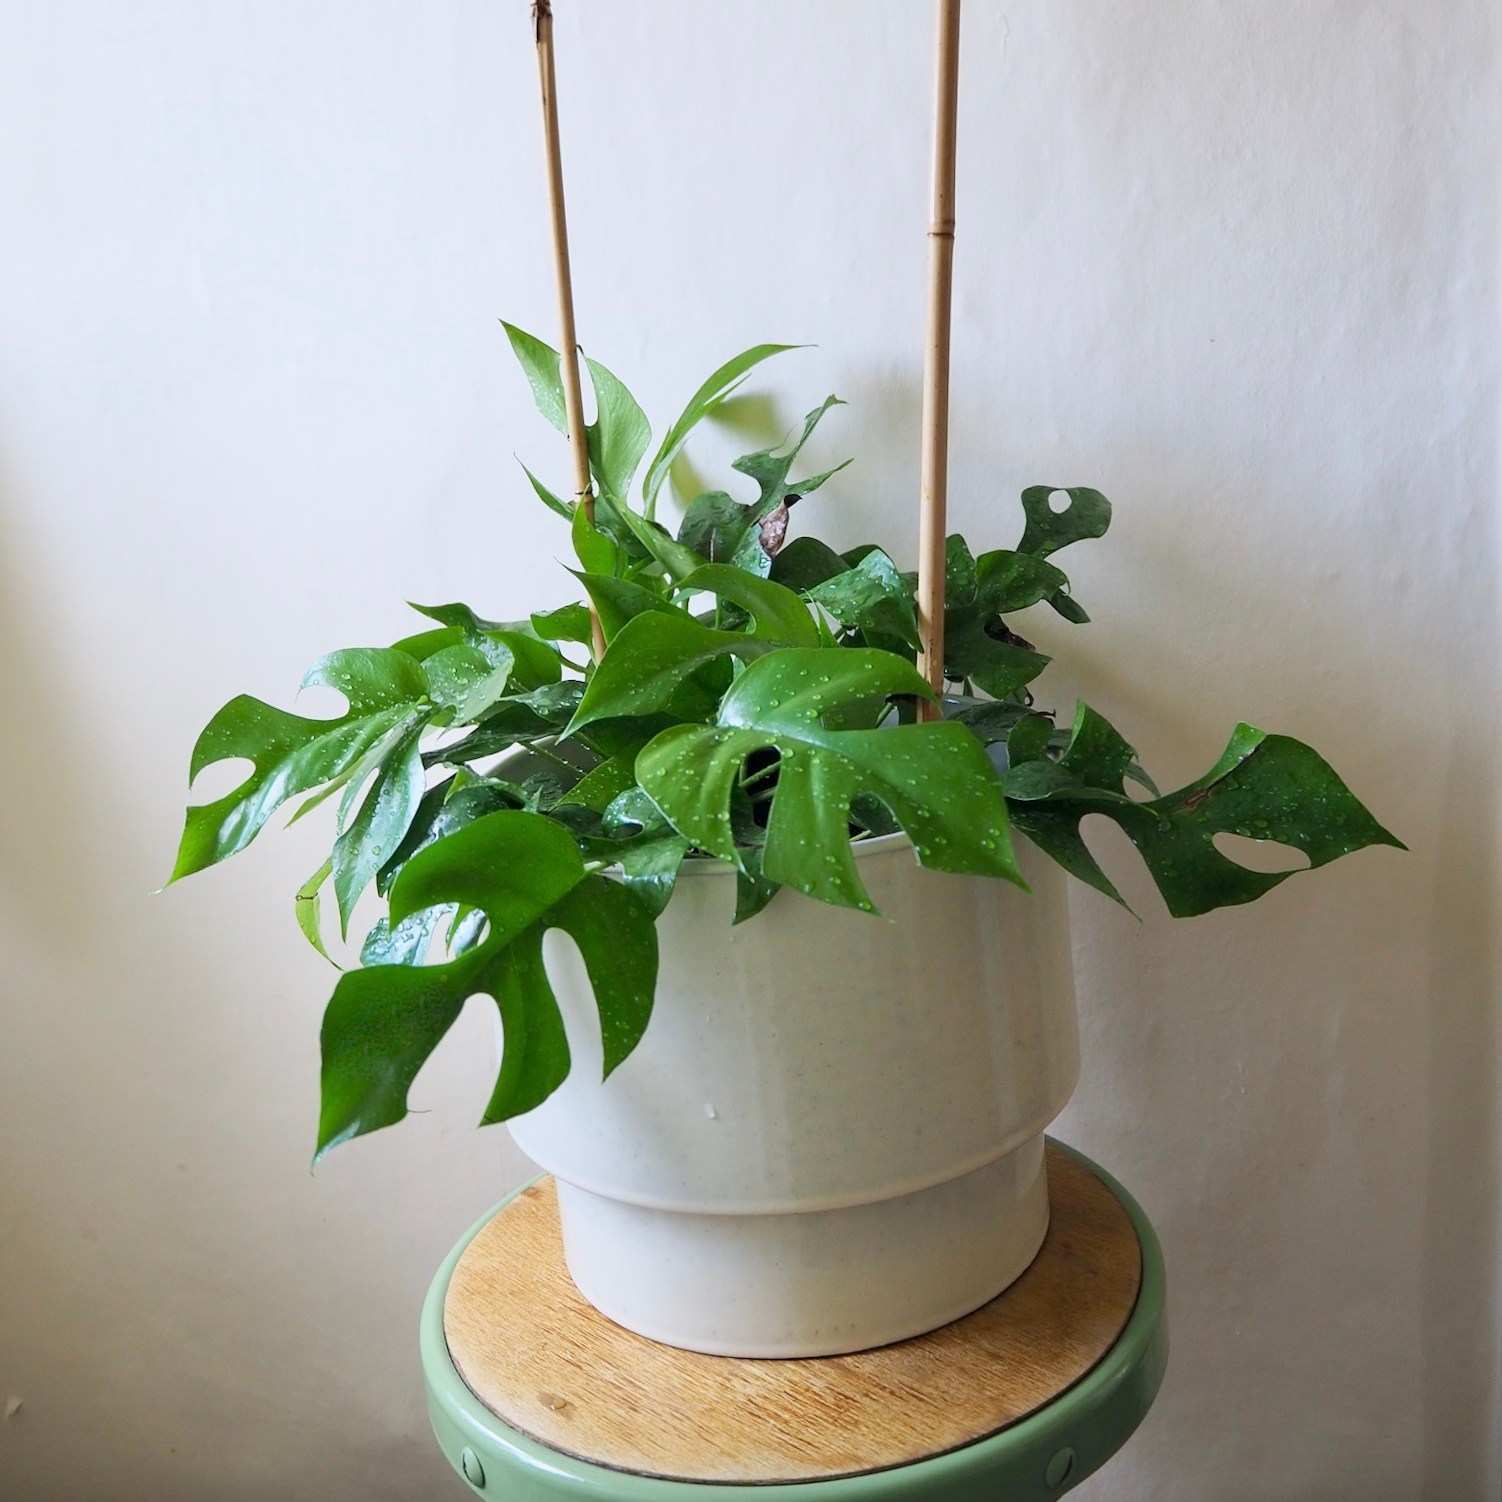
Some growth progress between August 2020 + March 2021:


Watering
During the growing season, Rhaphidophora tetrasperma enjoys regular watering + for me, that is around every 7-ish days, depending on how close it is to the window + how warm it has been! I allow the top layer of potting mix (1 inch or so) to dry out between waterings, just like with my pothos + monstera plants. Prolonged under-watering is not advised as it will dry out the root ball which can be problematic. If you occasionally forget to water though, don’t panic + a good soak in the shower for a few hours can really perk your plant up if you might have accidentally let it dry out a little…! It’s certainly a more forgiving plant than others in my experience.
To see if your Rhaphidophora needs watering, you can either use your finger to test the soil under the surface layer of potting mix, which should be moist but not soggy or saturated, or use a hygrometer if you feel like you struggle to get houseplant watering right. I’ve found that this plant responds really well to consistent watering + will reward you with faster growth all round. So if it’s warm, I’ll use a watering spike to help keep moisture levels up — here is my current favourite one, + there’s a similar clear one here or a colourful option here. These all help to keep the potting mix at a decent level of moisture, particularly between waterings.
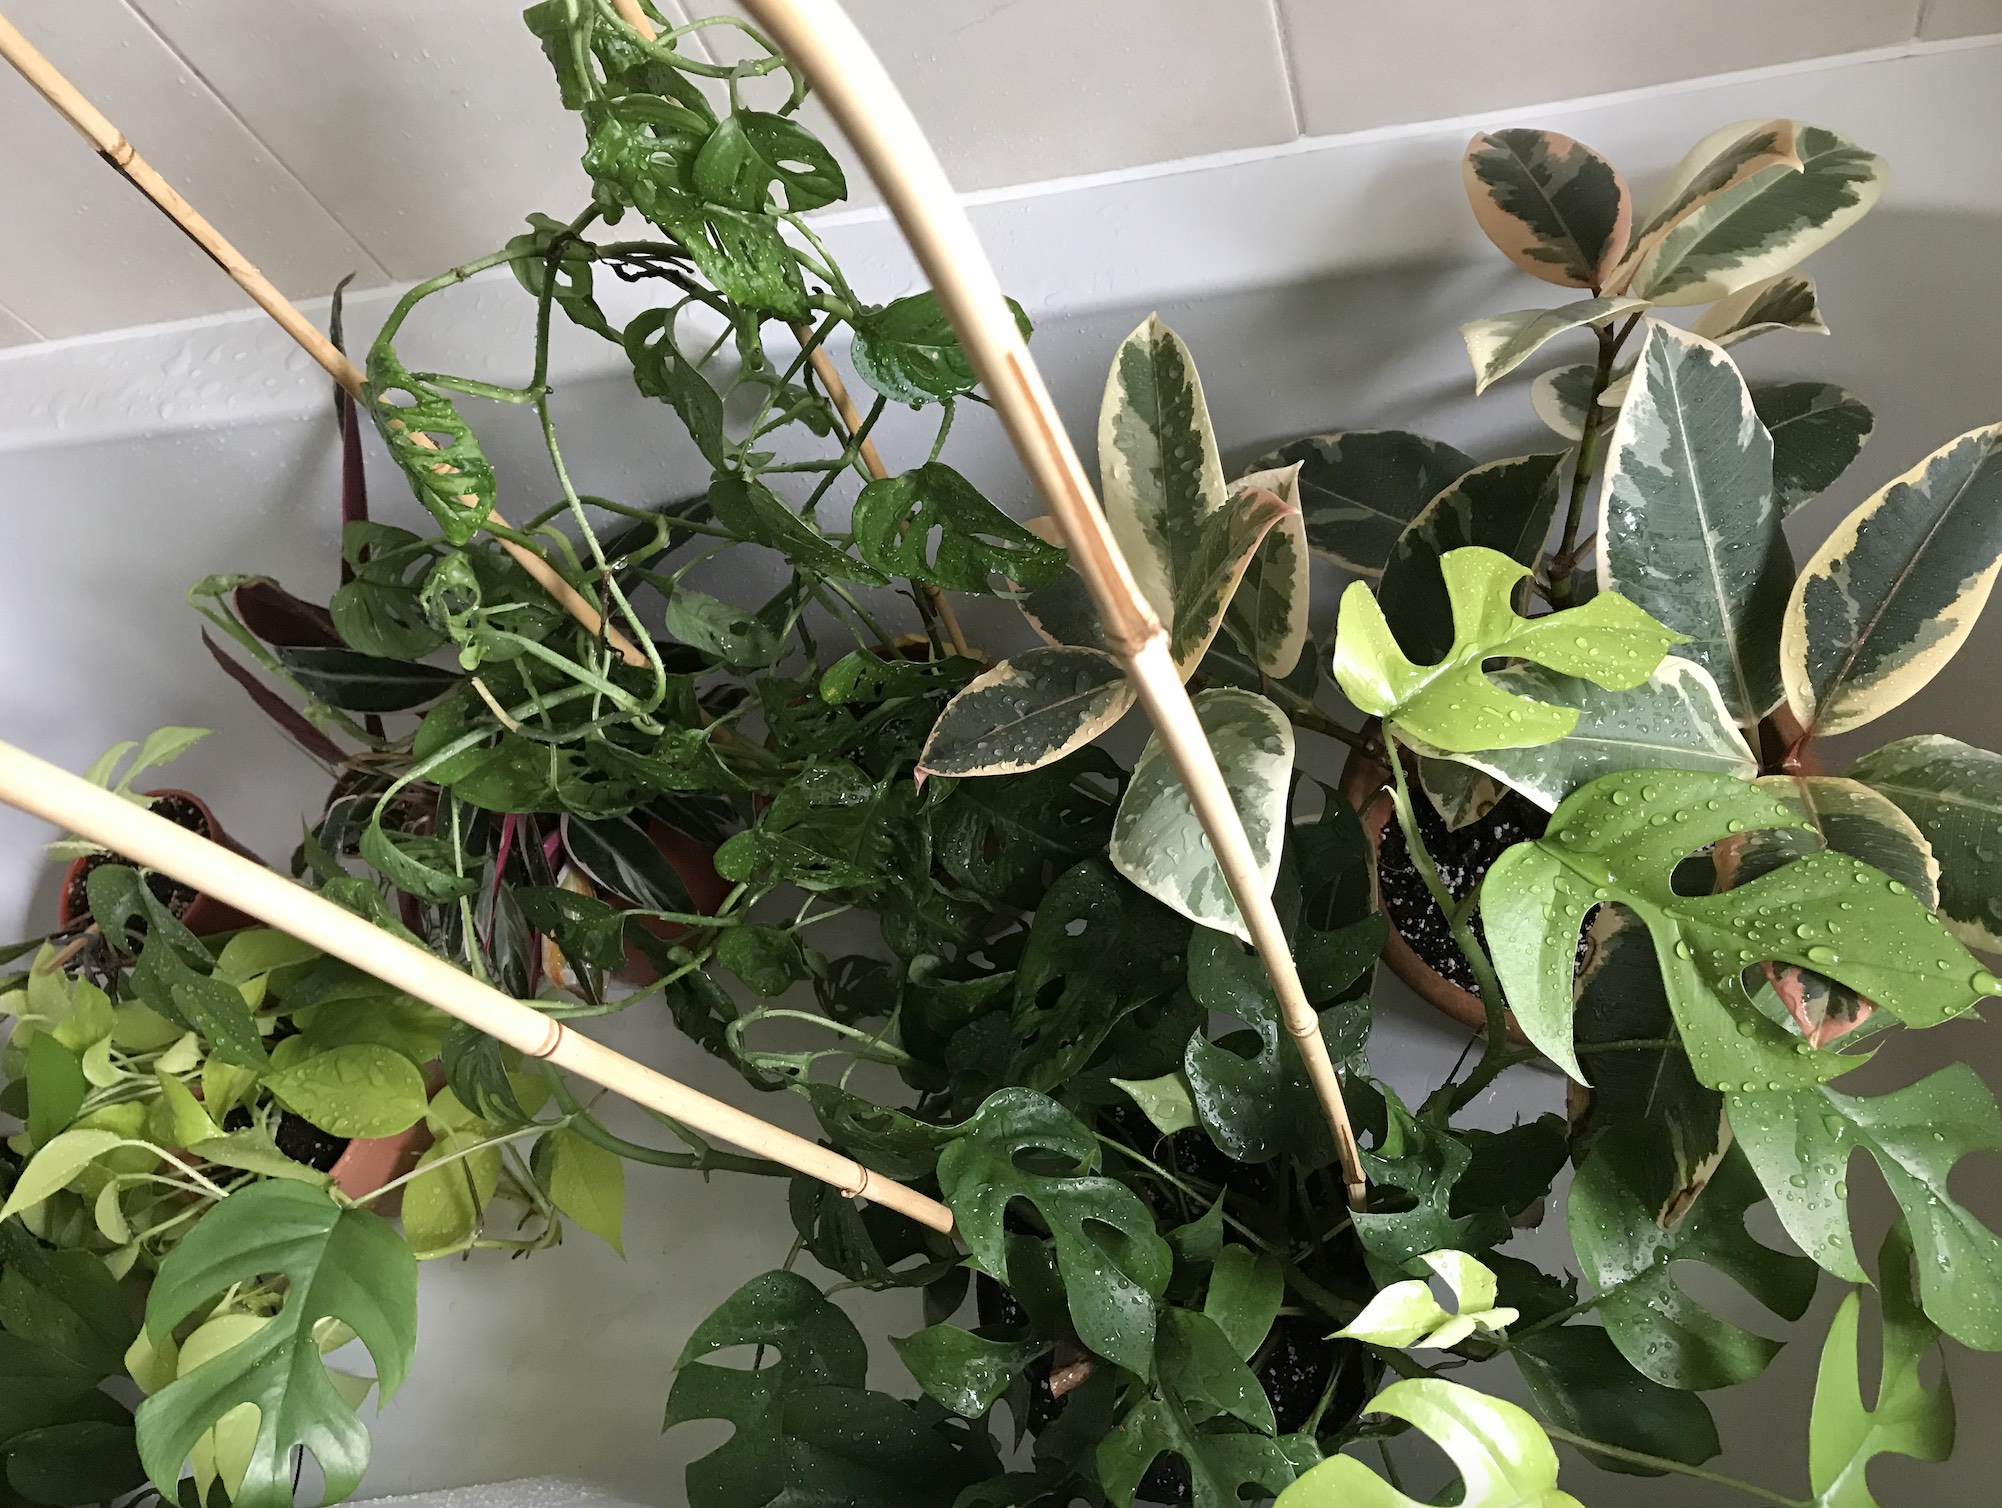
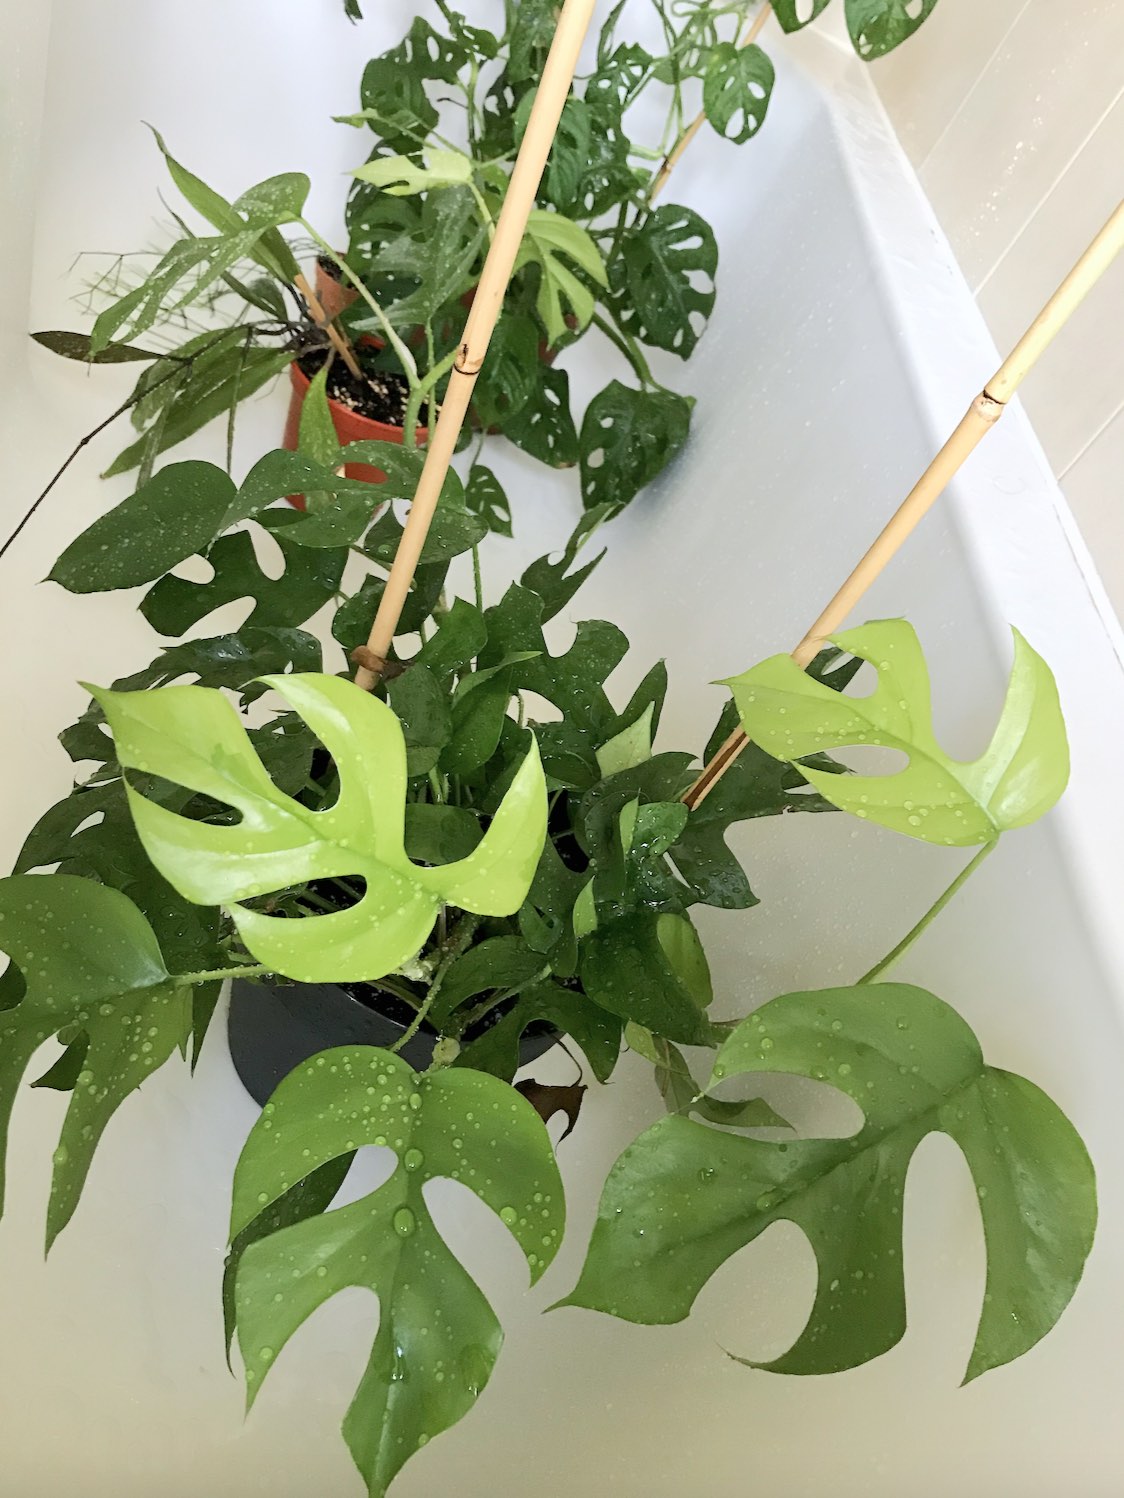
In terms of watering, remember that tepid (room temperature) water is always best for your houseplants as anything too cold can shock them. Remove your plant from the cache pot if it’s in one + water thoroughly until water runs out of the drainage hole. I like to do this in the bath or sink with a few plants together (as in the photos below), where I’ll leave it to sit for a while to dry off. Never let your houseplants sit in water inside their pots, or if your planter does not have a drainage hole, proceed with caution! Also, If you live in an area with hard water like me, you might notice some marks on the leaves (these can be wiped away with a soft cloth). If possible, using rain water or filtered water can help to prevent some brown crisping at the leaf edges too.
Humidity + Leaf Care
As Rhaphidophora tetrasperma grows in a variety of conditions in the wild, when it comes to its humidity requirements as a houseplant, it’s quite easy going + grows well in typical home conditions. That being said, it will really flourish in a more humid location by growing faster + producing larger leaves with more fenestrations/splits. If you have the conditions for it, this would be a good option as a kitchen or bathroom plant providing the lighting is sufficient. I did position my plant in the bathroom last Spring for a time, but as a speedy grower, I quickly had to move my plant back to the bedroom to slow the growth down a bit (low ceiling problems!) + it seems really happy here without any supplemental humidity.
RT will be actively growing in temperatures of 12-27°C but try to avoid positioning any of your houseplants near heaters + be aware of draughts from open windows too. Like most other aroids, very cold temperatures can cause some harm, so if you live in a cold location, you might want to huddle your plants with similar needs together away from the cold. Any excessively hot conditions can cause your Rhaphidophora to wilt… but there’s not much chance of that happening here!
In terms of my own environmental conditions for reference, the humidity is generally around 60% during Spring/Summer + in Winter is more like 70%, but that’s more to do with the age + condition of the property I’m currently in. A humidifier doesn’t suit my environment because I collect vintage furniture which does not enjoy increased humidities, but if you live in a space that works, adding in humidity in this way can be a great option. Don’t feel pressured to invest because you’ve seen humidifiers on instagram though — do what works for you + your home.

As with some of my other plants that prefer more frequent watering, another way to keep the surrounding humidity up is to top your pot with Sphagnum moss — it can help conserve moisture levels which will reduce watering frequency + create an increase in localised humidity. At the bottom of my pot (underneath my drip tray), I have an inch or two of pebbles that lifts the pot + tray up in the planter + I will occasionally add some water to this when it’s hot, which lets the moisture evaporate around the foliage. But this is more a practical styling thing than an effective way to raise humidity because the results are very temporary.
Around once a month I put all my bedroom plants in the bath for a deep clean (thank goodness it’s only in the next room…though still quite a workout) because it’s the most time efficient + effective way for me to care for a sizeable plant collection. If you are thinking about cleaning your plants in this way be careful to check the temperature before potentially shocking your plants with water that is too hot or too cold! There’s a comprehensive post on my leaf cleaning technique which I’ll link to here if you want to see more on this.
Training your Rhaphidophora around a support
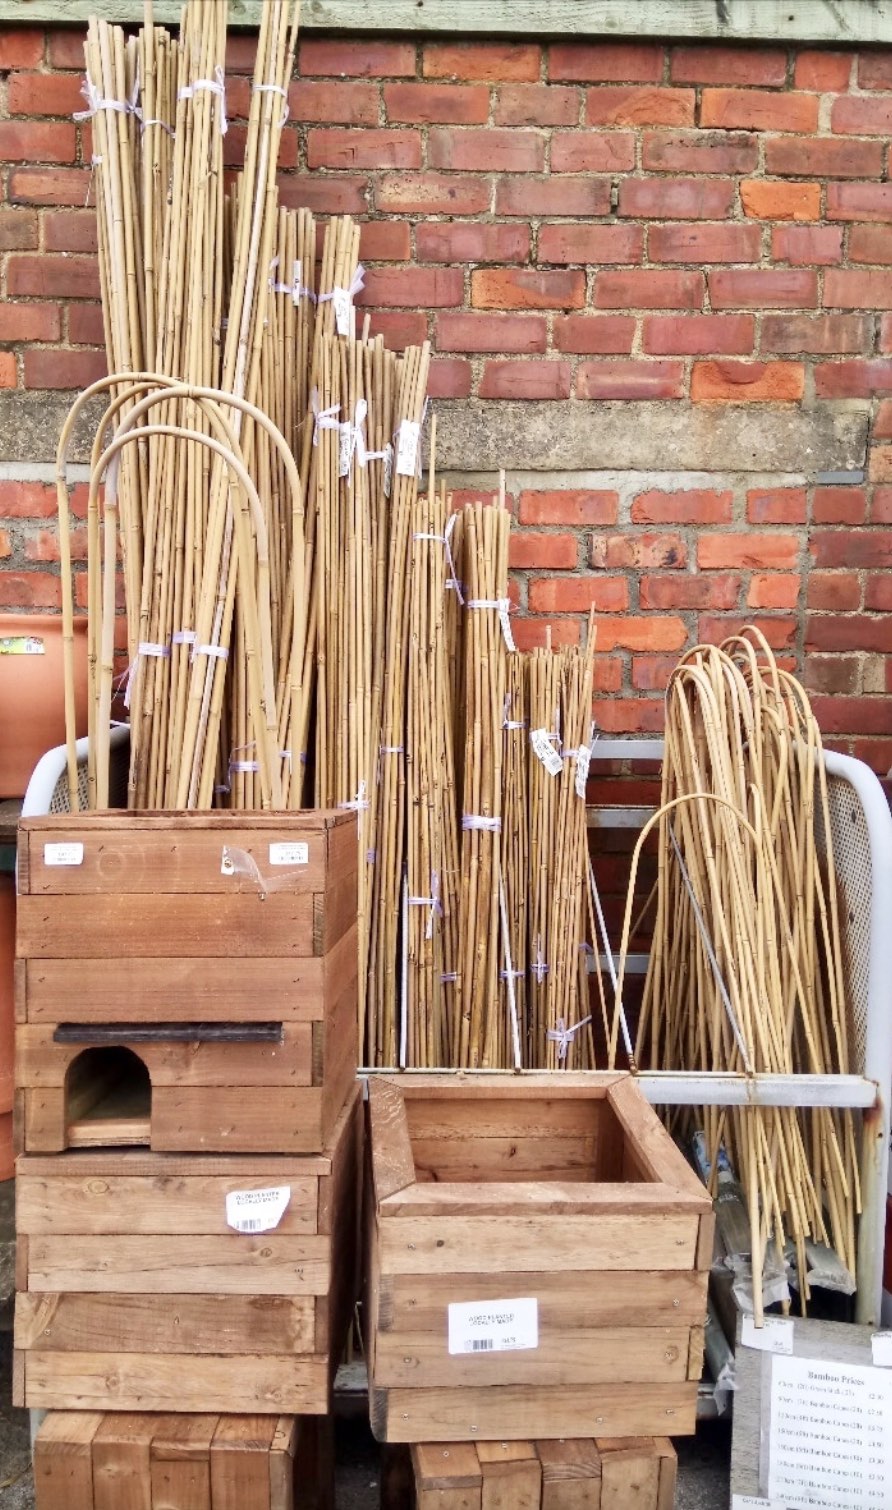
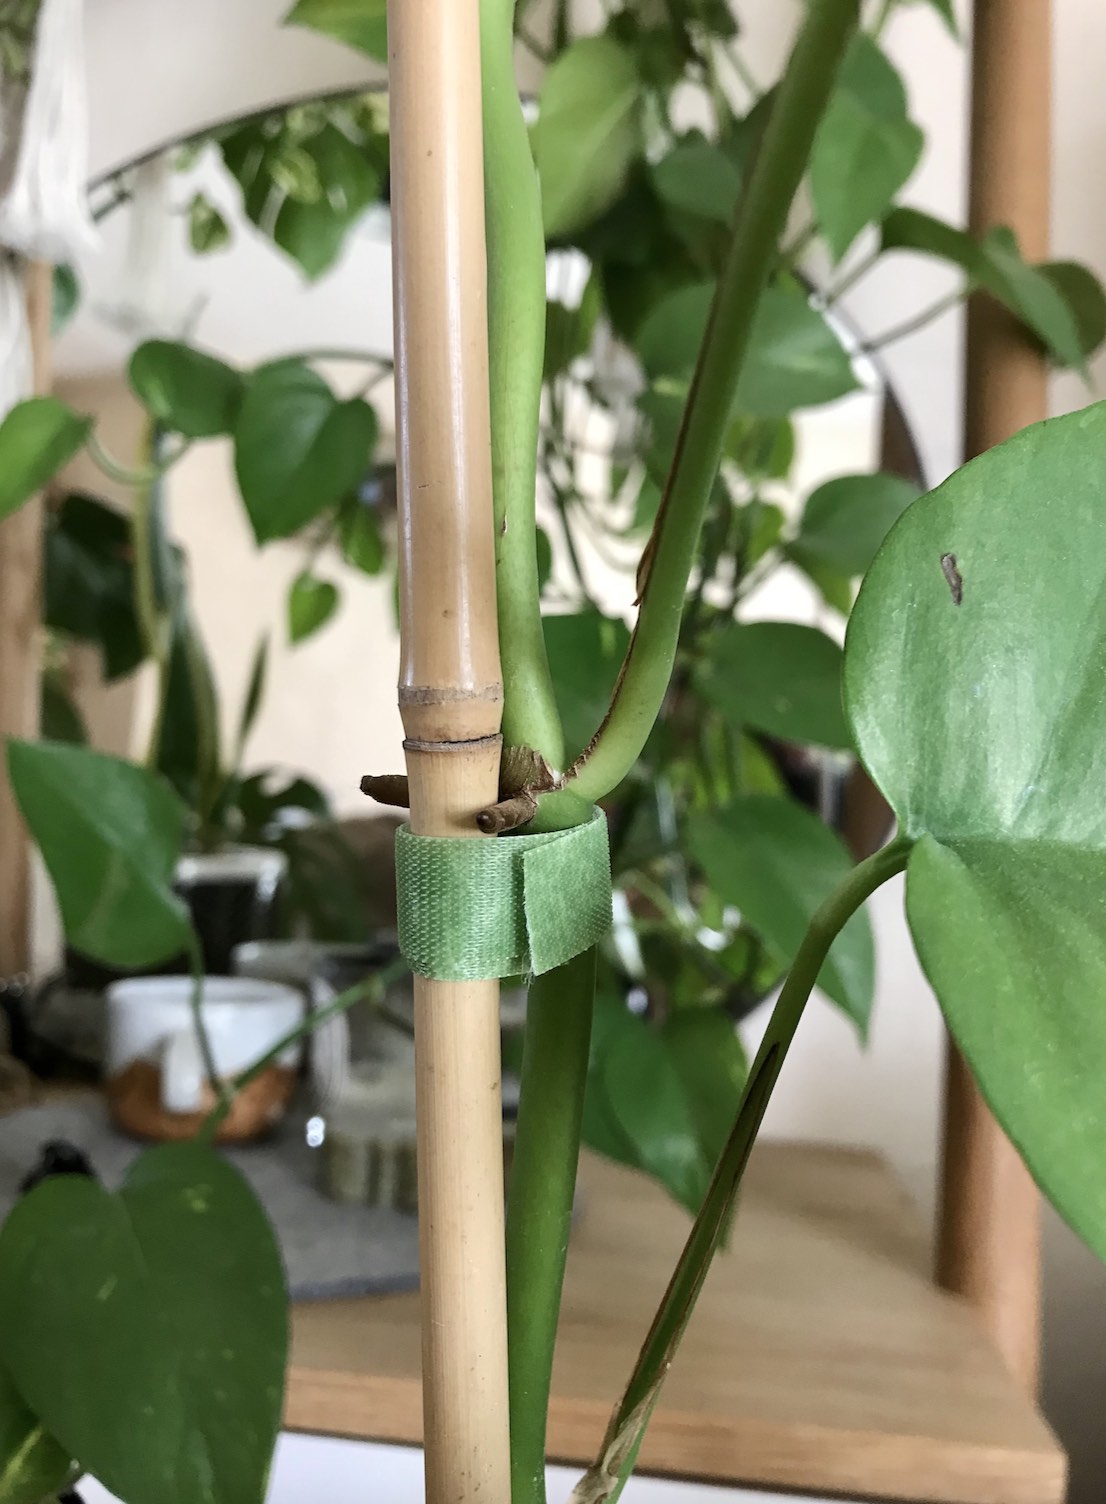
When your plant gets growing, it’ll generally start to splay out + will require some kind of support to keep it looking its best. I left mine grow without a support for a while before using a U shaped support. I’d thought about using a coco coir pole (alternative here) but it looked a bit chunky for my liking. I think the U shaped bent canes are lovely + elegant because the Rhaphidophora stems are comparatively thin, actually they are similar in size to the bamboo now that I look at it! This means that the support doesn’t take centre stage of the display which I quite like. But in the corner of a room, perhaps the best option would be to make a sphagnum moss pole. This is perhaps the most beneficial support because it provides good levels of moisture for any aerial roots. You can regularly moisten the moss pole using a sprayer + you might even notice bigger leaf growth as a result. To make a pole you essentially get a layer of mesh big enough to wrap around a broom handle + cover it with a fine layer of sphag. You wrap this around the pole, securing it with ties to keep everything in place until you end up with something that resembles the coco coir pole, but made out of sphagnum moss!
To attach the plant to whichever support you decide to use, this velcro roll is something I always have to hand, but you can check out some alternatives in my Monstera support post.
Fertilising
I know not everyone uses fertiliser with their houseplants, but regular feeding during the growing season can do wonders to keep your plants healthy + strong. I fertilise my Rhaphidophora around once to twice a month with a balanced liquid houseplant feed at half the recommended dilution rate. As a plant that gets watered regularly you’re unlikely to encounter any problems with fertiliser burn, but as a precaution, be sure to check the potting mix is not excessively dry before feeding.
If your climate is quite different to mine + your plants grow consistently year-round, then more regular fertilising is absolutely okay — the easiest way to judge whether or not to feed is if your plant has new leaves growing! Between October + April, I pause feeding my houseplants until I notice signs of active growth again as it’s very cold where I live over the Winter months.


Pests
All of the above factors in this care guide will help to keep your Rhaphidophora happy + more resilient to pest pressures. The most common reason for a pest outbreak is often as a result of incorrect care alongside very low humidities, coupled with high temperatures. If you are new to plants, it’s always best to take time to consider what types of plants will work for your lifestyle + importantly, your household conditions.
The most common pests that occur with RT are spider mites, thrips + occasionally aphids — none of which are much fun to attempt to eradicate. Prevention is better than cure though so some pointers that help to keep pests away are making sure you regularly clean the leaves (front + back) of your plant — this doesn’t have to be a laborious task, just making a habit of a regular shower or pressure spray can really help keep your RT free from dust, which can attract pests. Also, brighter light locations can also exacerbate any lurking pest problems + if you have a recovering plant, it’s best to keep in a more ambient light spot. When I bring a new plant into my home, I will always quarantine it for a few weeks + give it a thorough inspection in good light + often a soil change before introducing it to my other plants. As I have a lot of plants, this is an important step in ensuring my collection is not compromised by pests brought in by new plants + it’s totally worth the slight inconvenience of having a ‘new plant gang’ hanging around on the kitchen table.
If you have noticed a pest problem though, an insecticidal soap spray + bath (roots + all) is a good starting point, before showering down. After any treatment, I like to use SB plant invigorator either as a ready to use spray, or you can also get a concentrated bottle to dilute into a spray bottle yourself, but be extra careful on more delicate foliage + always test a part of the plant first. I spray the front + backs of the foliage as some extra post-treatment care, but be careful to keep out of direct light as the leaves will be more sensitive after any pest treatment. I’ve also used a neem oil solution which is also very effective for something more widespread, or if it’s something very minor, a Q-tip dipped in rubbing alcohol can also work. It might sound unconventional, but beneficial insects can really help to bring a more widespread outbreak under control + are becoming more widely available as a method of pest management, but I have not tried this myself. When I’ve had a pest issue with my plants, I always isolate them for a number of weeks in my kitchen/quarantine zone + monitor before reintroducing near my other plant gang. If you discover a pest issue, it’s always best to carry out a thorough check of any pots that were located nearby, or any ones that are generally more sensitive to an attack.
In terms of my Rhaphidophora tetrasperma, as you’ll have seen above, I like to train the plant up a bamboo cane or sphagnum moss pole. This has the added benefit of lifting up the foliage so that it does not form compact groups of leaves which helps to increase the airflow around the plant. This might not be something you’ve considered, but it can help to prevent pests congregating in hard to reach areas that are dense with foliage.
Potting mix

For potting substrate, a chunky well-draining mix is best for your Rhaphidophora tetrasperma. This element of indoor plant care is one that can often be overlooked, but getting to grips with soil amendments can be a game changer in keeping your houseplants happy + most importantly will provide the right conditions to allow them to thrive in the long-term.
For my RT, I like to use my standard mix I concoct of peat-free houseplant compost, orchid bark + some perlite, with a sprinkling of horticultural grit if I have it. This will ensure that the plant has plenty of aeration + moisture without the risk of over-watering a very dense, water-retaining potting mix that will likely lead to root rot. In addition as I mentioned above, I might get out some sphagnum moss to use as a pot topper for some extra moisture retention + to keep the soil temperature up too, also a good tip if you are prone to under-watering! If you are using this substrate please make sure you buy your Sphagnum from a reputable source.
A NOTE ON POTS:
The type of pot you choose to use is also intrinsically connected to your mix + watering requirements. For me, I prefer to use nursery pots with the majority of my houseplants because I find they dry out far too quickly in terracotta, especially aroids like Rhaphidophora. Terracotta is much more porous + will wick the moisture away from the plant. If you want to use terracotta for display or plant styling reasons, you can always use the terracotta as a cover (cache) pot. This is personal preference of course + if you are a big time over-waterer, you actually might find terracotta can be corrective in helping to manage your over-zealous watering efforts! But it’s a hard one to judge so be careful with plants that require more frequent watering such as this one.
Repotting
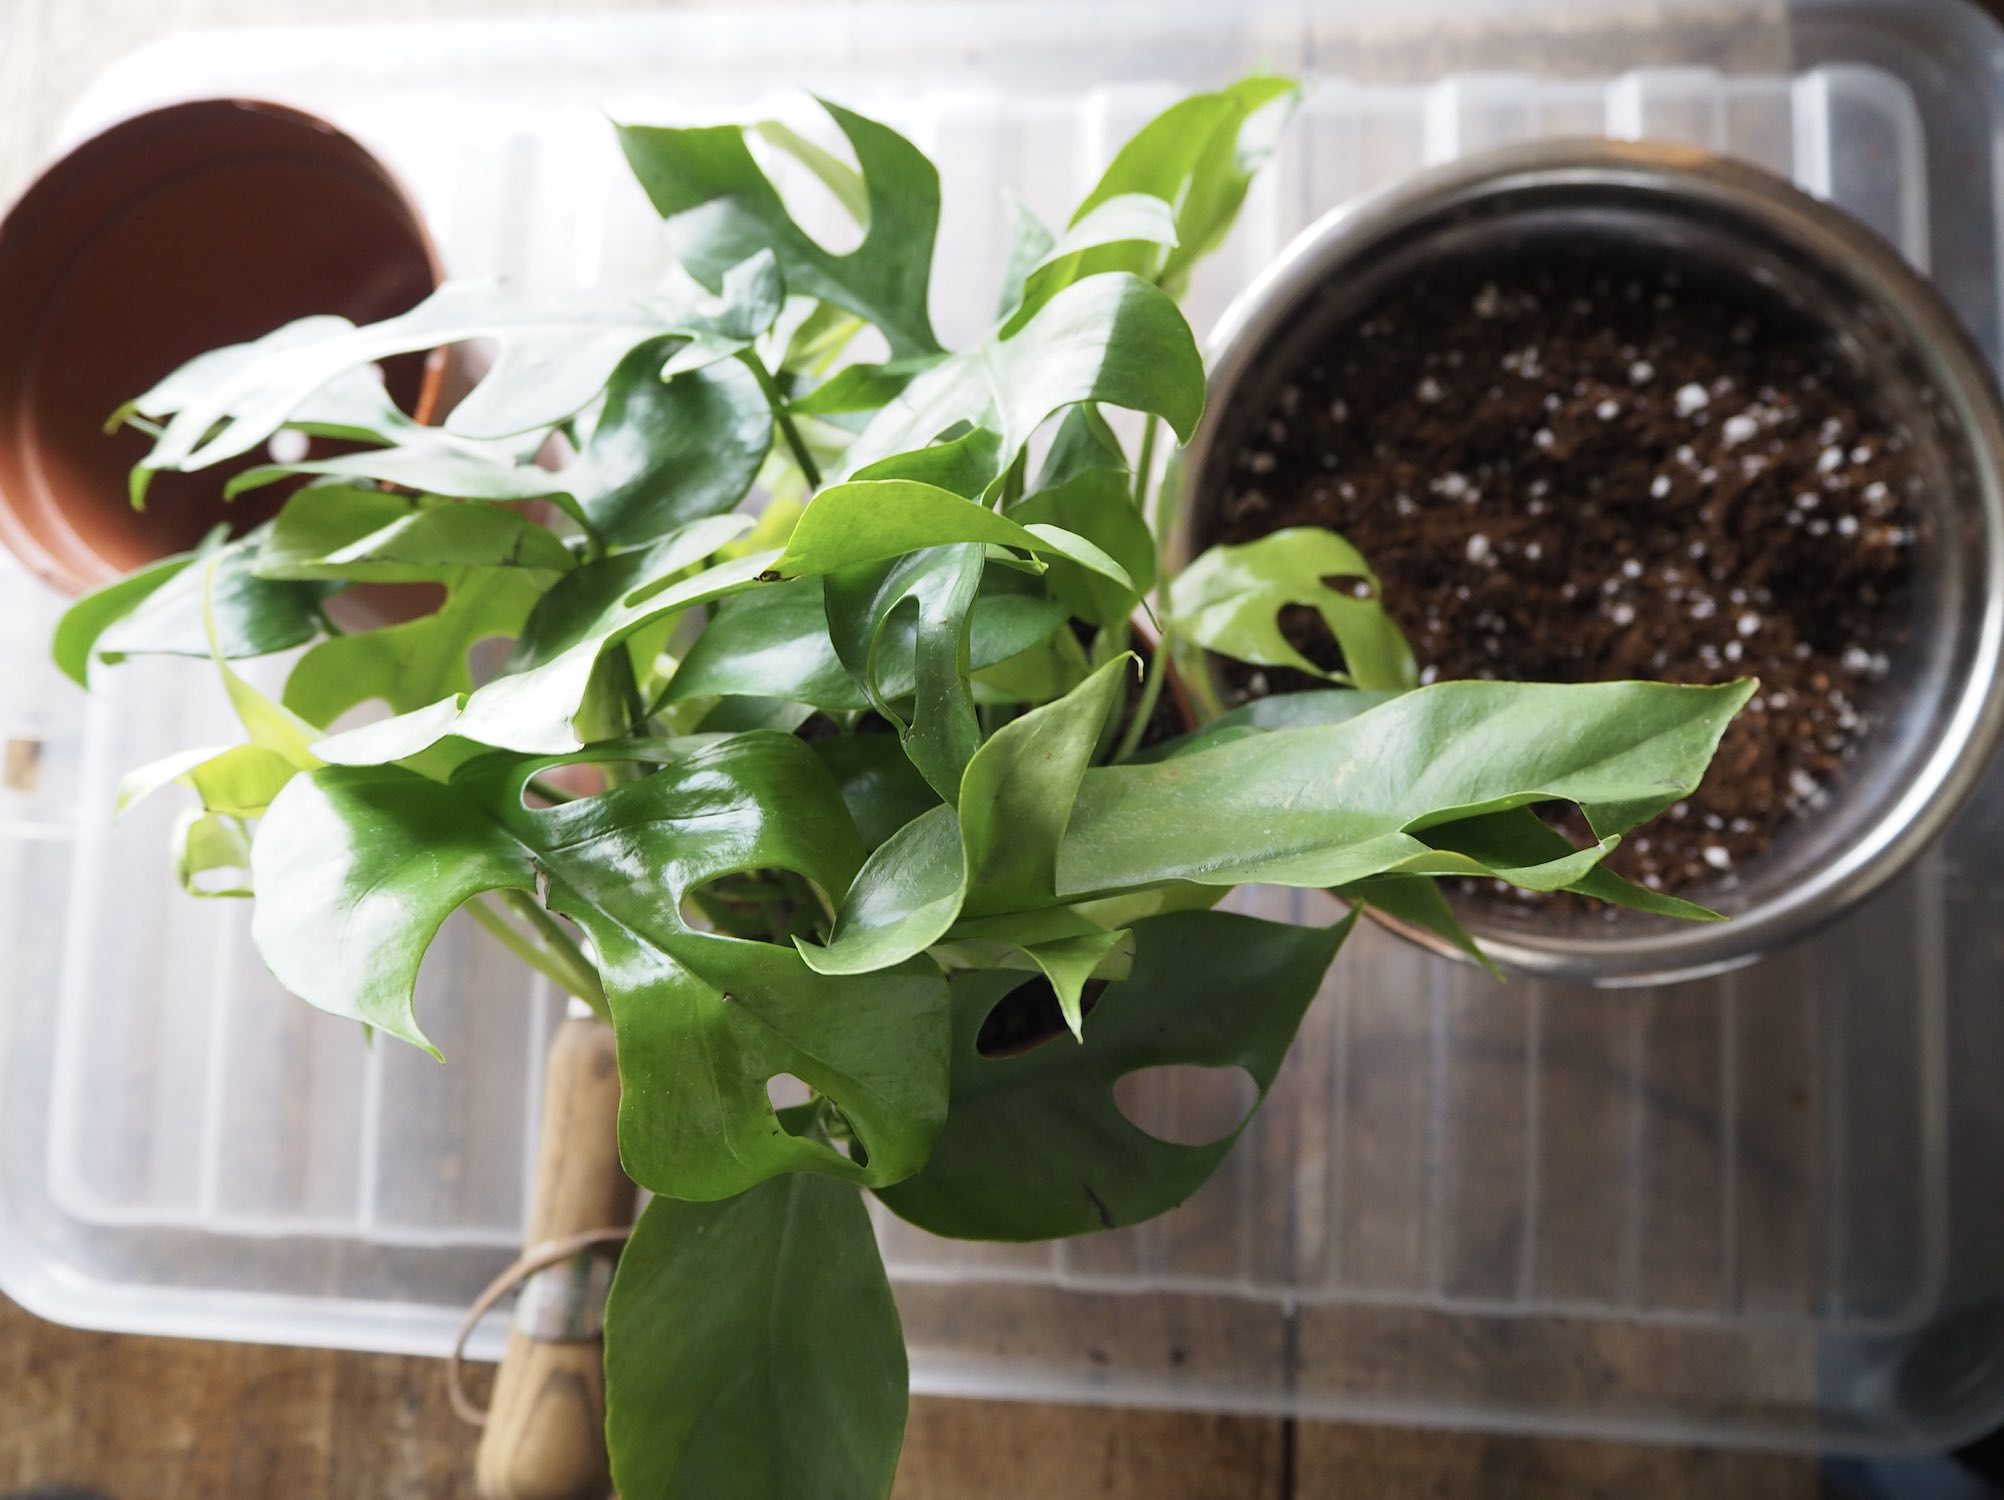
Fast growing plants can out-grow their planters relatively quickly, which means more frequent repotting is an inherent part of Rhaphidophora care. In the 12 months I’ve had this plant, I’ve repotted it twice + it’s actually ready for another pot as I write this. A new pot one size bigger than the previous one is often the best way to approach houseplant repotting, as opposed to any big jumps to a large pot. When you are planning to re-pot, it’s good practice to water in the few days before repotting because manipulating a very dry plant can sometimes cause transplant shock. As you remove the RT out of the existing pot, be gentle with the roots as you loosen them with your hands, shaking off any old potting mix in the process.
I tend to do my repotting in batches so will make up a container of potting mix that suits the plants in question. Remember to check wether or not your compost has any slow release fertiliser in it, so that you aren’t double feeding.
As an additional note here, a tell-tale sign that your plant might need repotting is if you notice it is drying out more quickly than what is usual for you. That might mean it looks a little bit floppy, a bit washed out, or there are dry tips on some of the leaves.

Propagation
Being a very vigorous grower, it might not be too long before you are tempted to prune your Rhaphidophora to keep it looking neat, or to experiment with a little houseplant propagation. Often, pots are made up of cuttings so you can either propagate by division or by trimming the existing stems to root. Regular pruning can encourage growth so don’t be afraid to give it a go — these plants often tend to have a rogue long stem that’s just crying out for a chop!

To propagate by division, you’ll want to take the plant out of the pot as you would when repotting + remove the old potting mix as you gently untangle the roots. Here you will be able to see if there are multiple plants that can be separated/divided up into multiple pots. The advantage of this is to multiply your collection, or if you are planning on using a particular type of support, it enables you to position the plants in the best way to enable them to train + grow up up up! You would do this in the same way as you would with a monstera. When propagating by division, it helps to choose a part of the plant that is healthy + that also has some roots — this makes the transition smoother + less stressful for your plant as it adapts to its new home/pot.
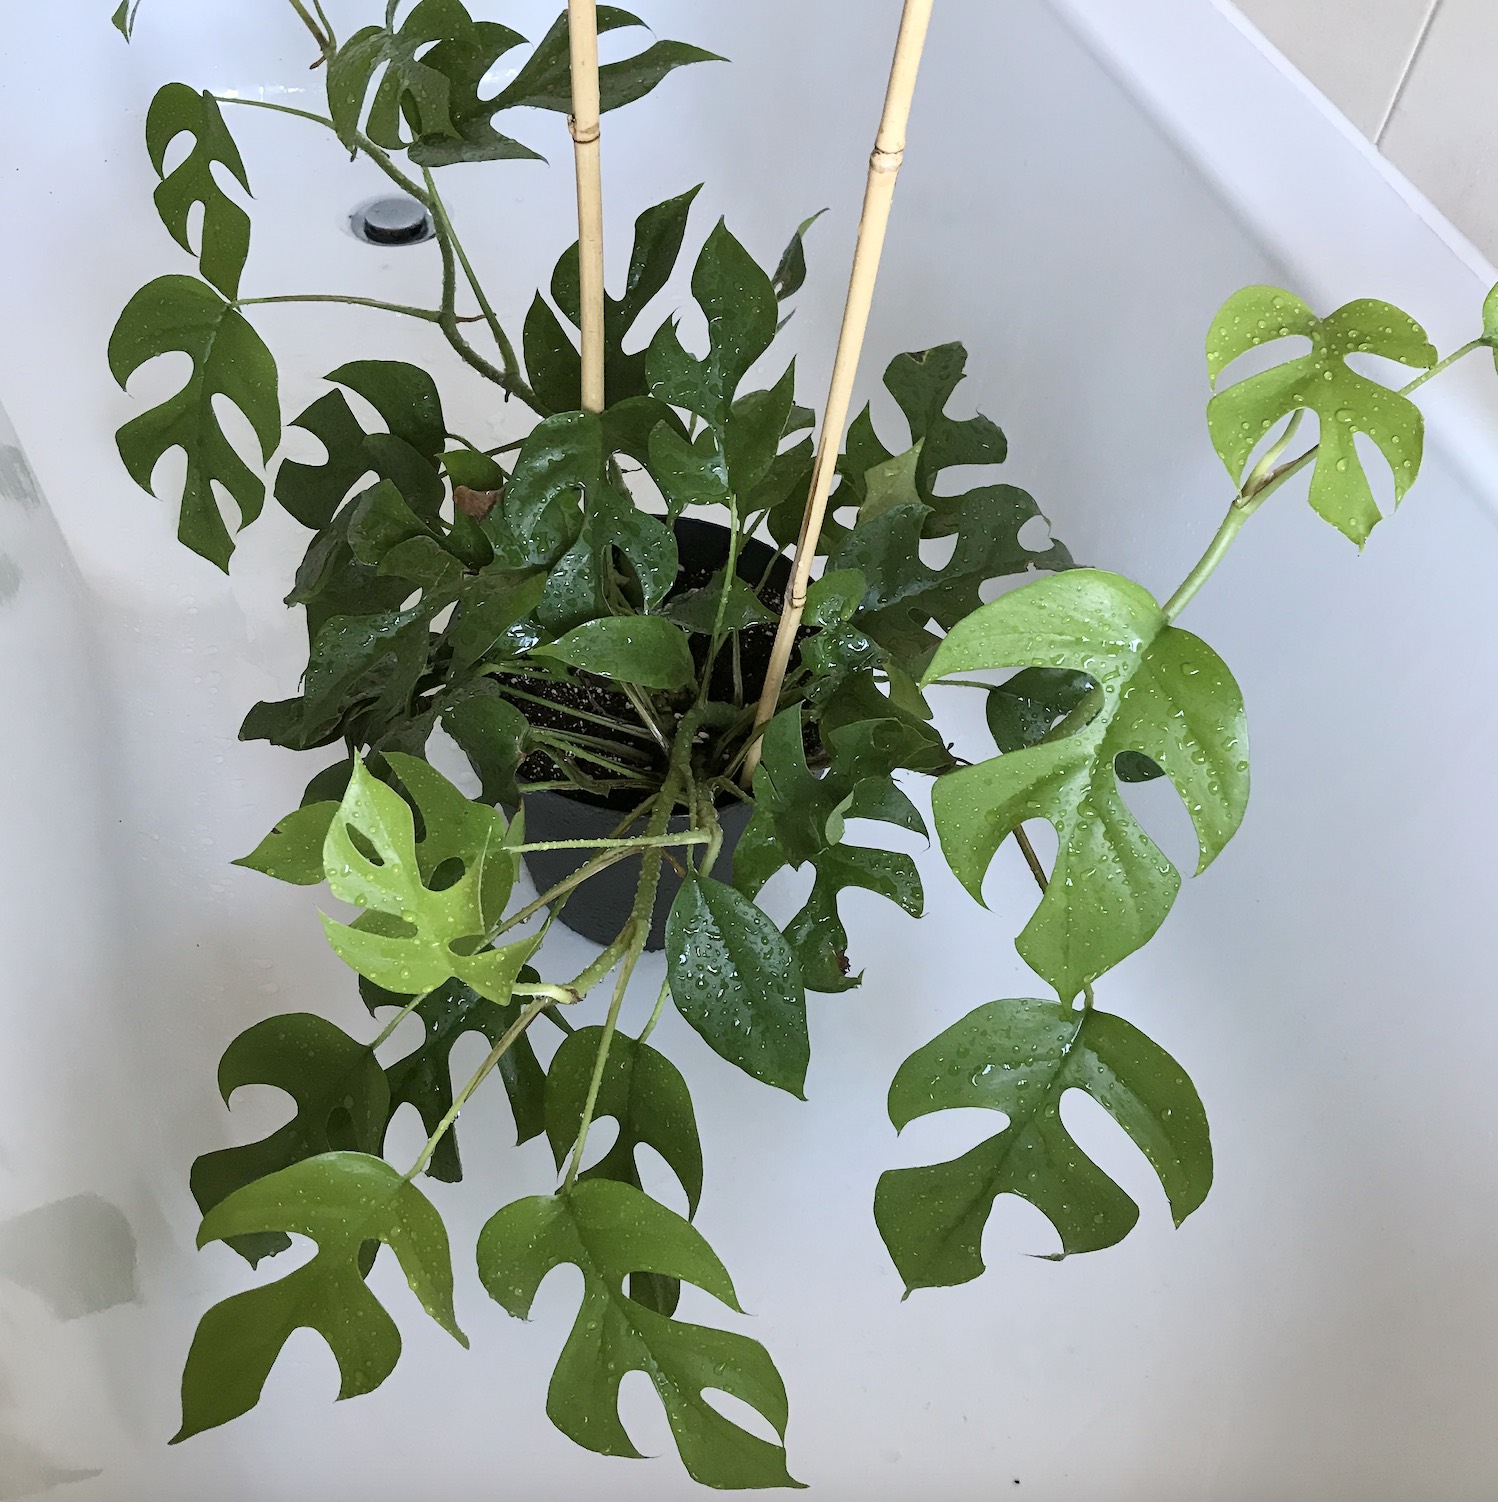
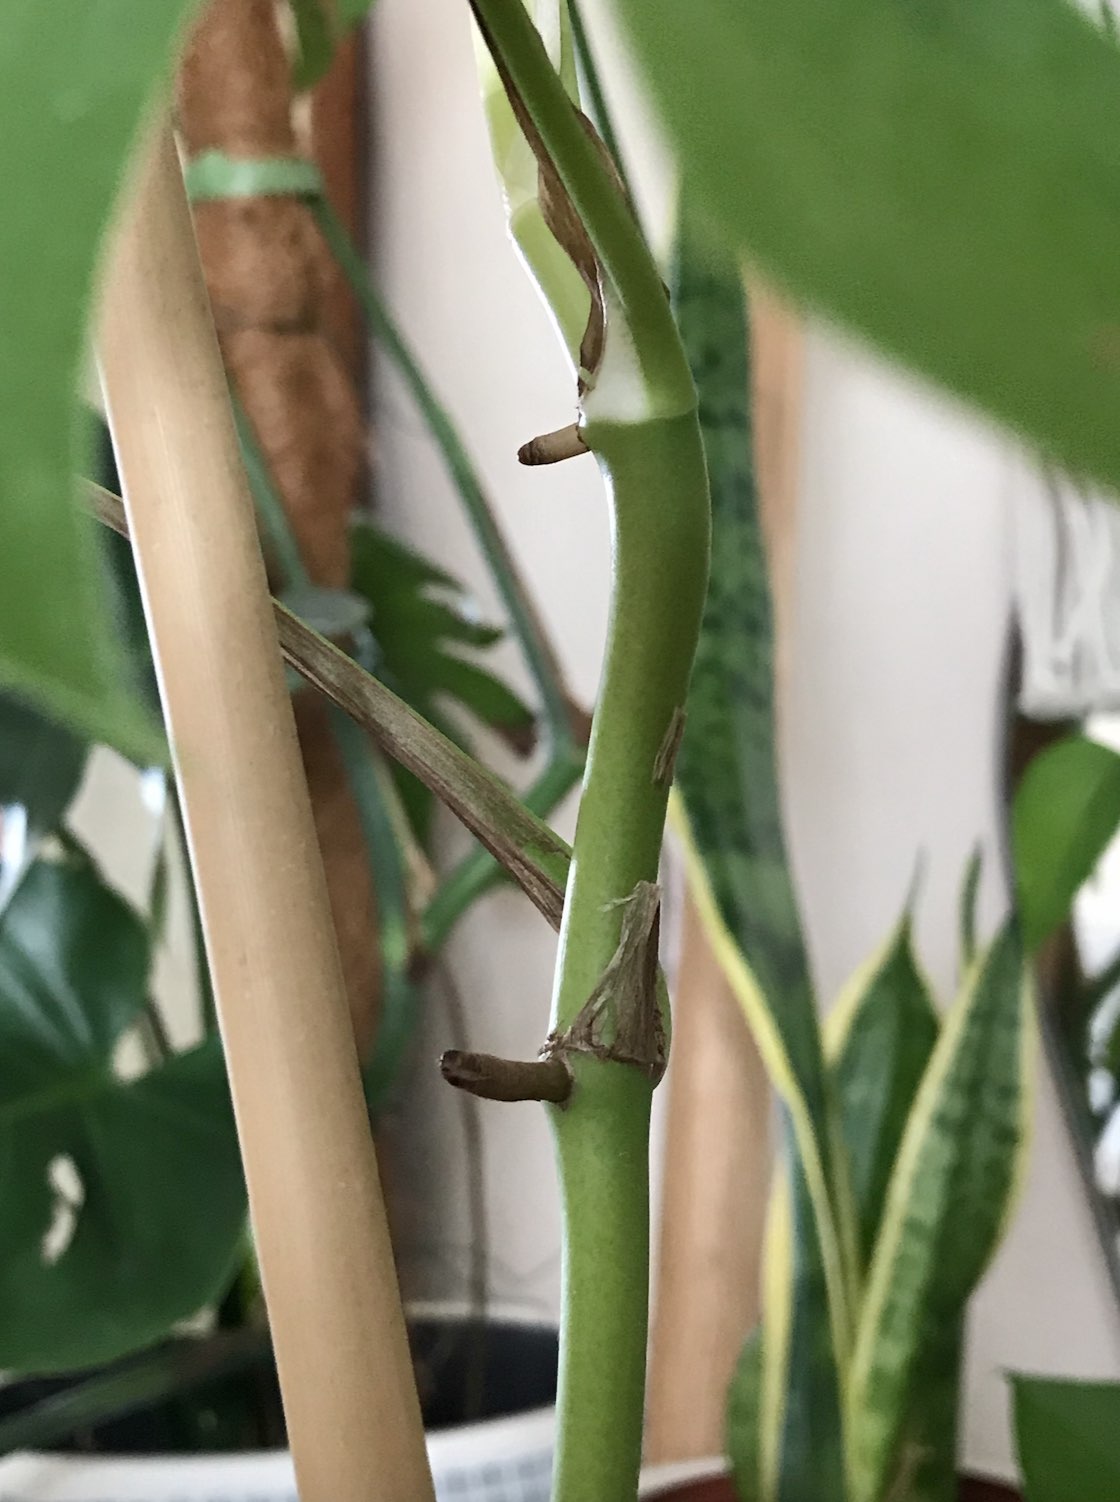
To take cuttings, refer to the photograph below left, where you will see two nodes along the stem. This is where roots will form, so again, choose a healthy part of the plant + chop a centimetre or two either side of the node, until you are left with an upside-down T shape. Leave this to callus over + pop in your chosen propagation media (more on that here).
Conclusion
I hope you enjoyed this post + I always love hearing what content you’d like to see here on HPH so thanks so much for your blogpost requests. A special thanks to Becca for asking me to put this one together + I wish you luck with your new Rhaphidophora tetrasperma! They really do get growing in Spring + Summer, so be sure to check those roots to see if your plant could do with a pot upgrade. You can find this post under my ‘Plant Care Guides’ tab on my homepage if you wish to refer back to it + here are some pins to share or save too:
*Affiliate links are used in the post which means I can receive a (very) small amount of commission if you make a purchase — thank you for supporting my blog. I often get asked where I get specific items from so have linked these here. I have bought all these products with my own money.

Leave a Reply